Open the browser and enter https://cloud-japan.ruijienetworks.com into the address bar to log in to Ruijie JaCS to complete the advanced configuration.
Step 1: Select Configuration > Wireless > Basic.
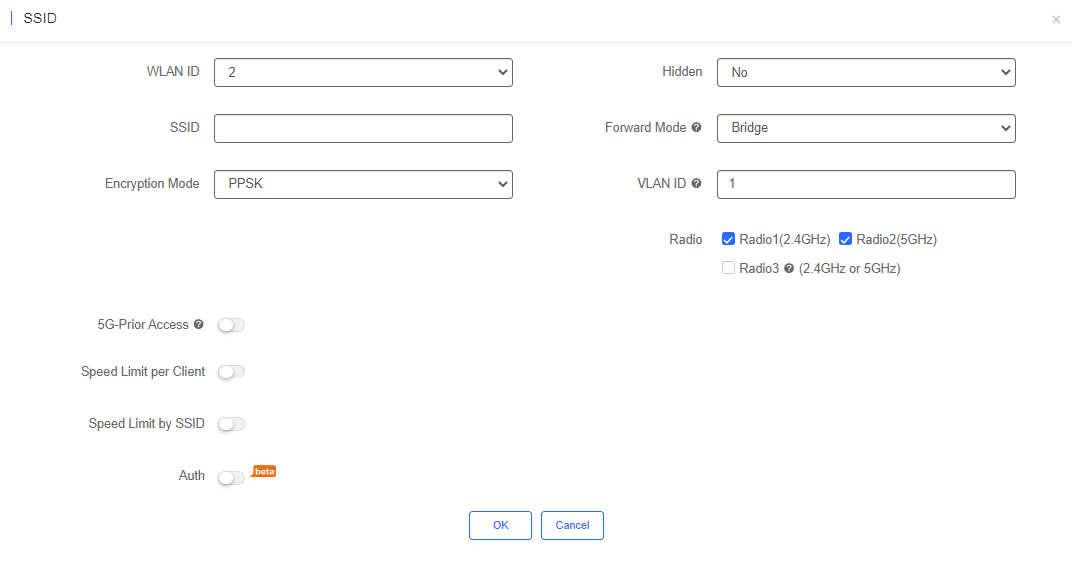
Step 2: Click “+” to create a new WiFi, and enter the SSID name in the field, such as "WiFi_test".
Step 3: In the Radio area, set the radio card with your need.

Step 4: Click OK.
Step 5: Click Save to save the group configuration and synchronize it to devices.
Step 6: Then you can find the new WiFi named "WiFi_test".
Cloud service supports portal function. You can edit it while create or edit SSID. There are two modes for portal server: Inner Portal and Extern Portal.
Captive Portal is integrated in Cloud service, and only logo, welcome message, and terms are supported to change. It provides quick and easy way to configure the portal authentication.
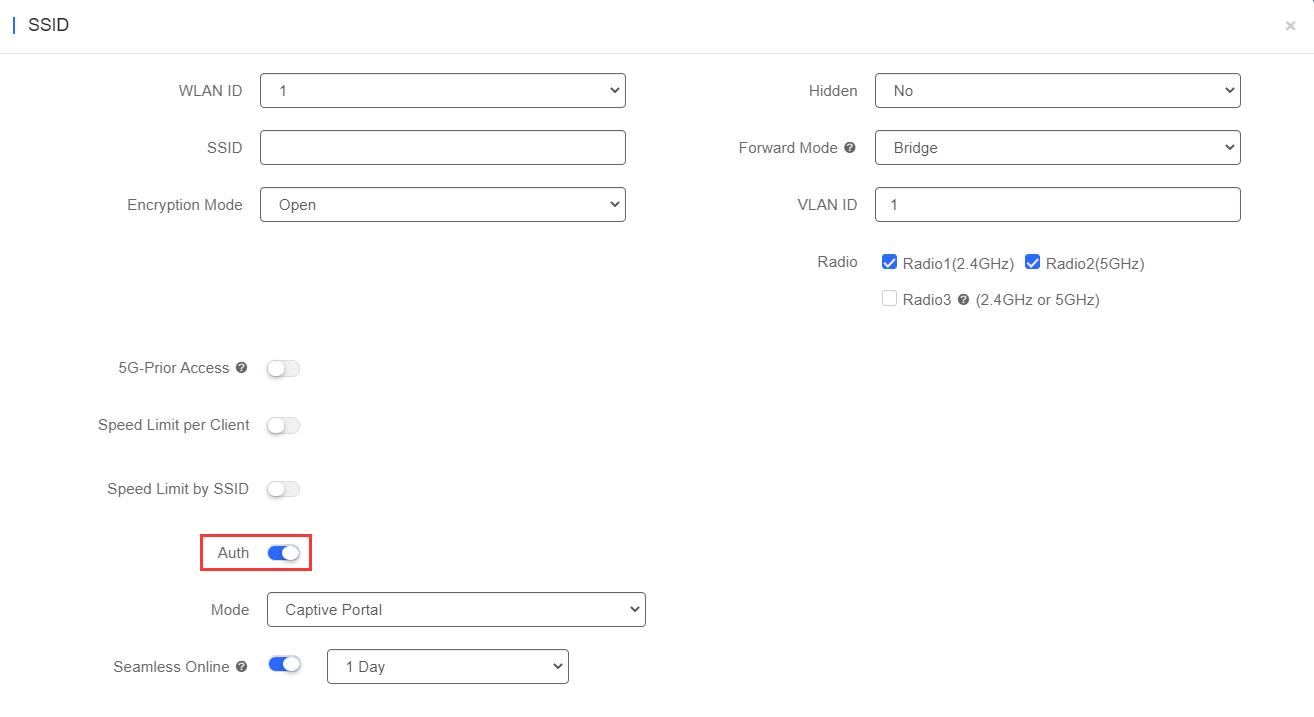
Step 1: Go to Configuration > Wireless > Basic.
Step 2: Click “+” to create new SSIDs, or click  to edit the existing SSIDs.
Step 3: Enable Auth, the default Captive Portal mode will be displayed.
Step 4: Select an existing portal or add a new one.

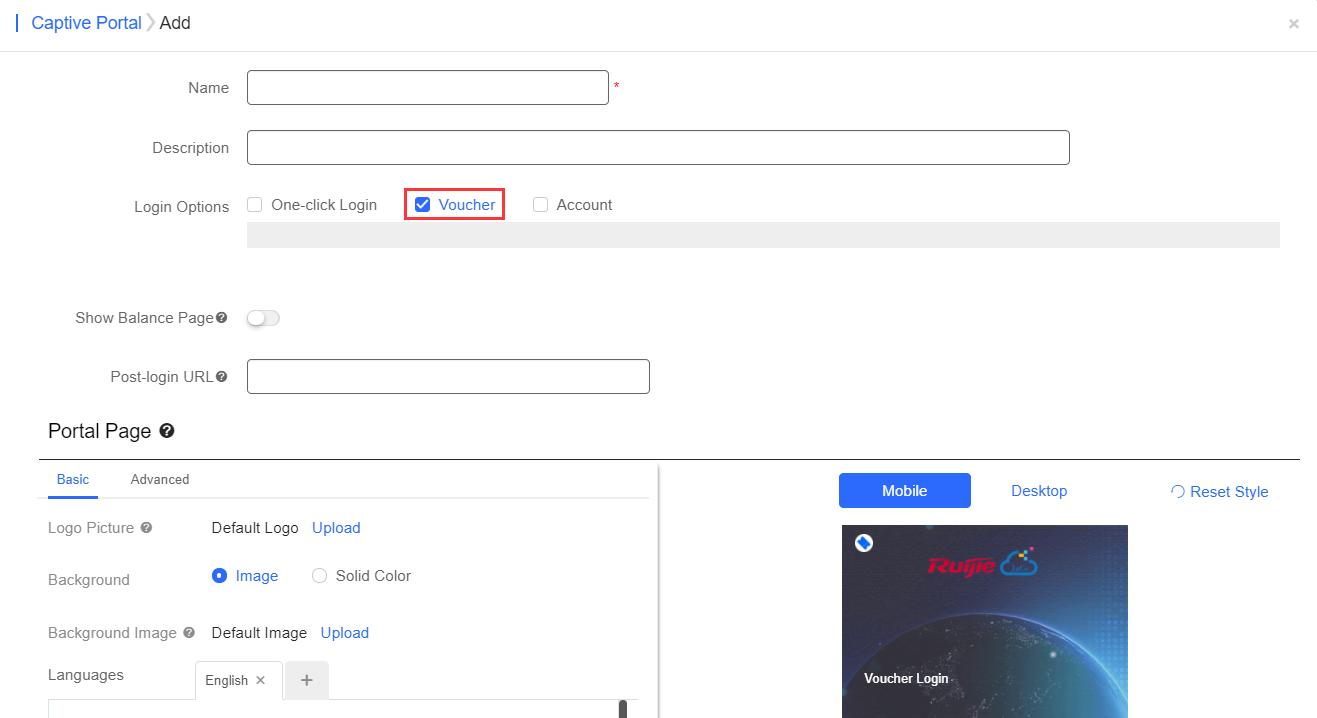
When adding a new portal, you can configure the Login Options and edit its Portal Page.
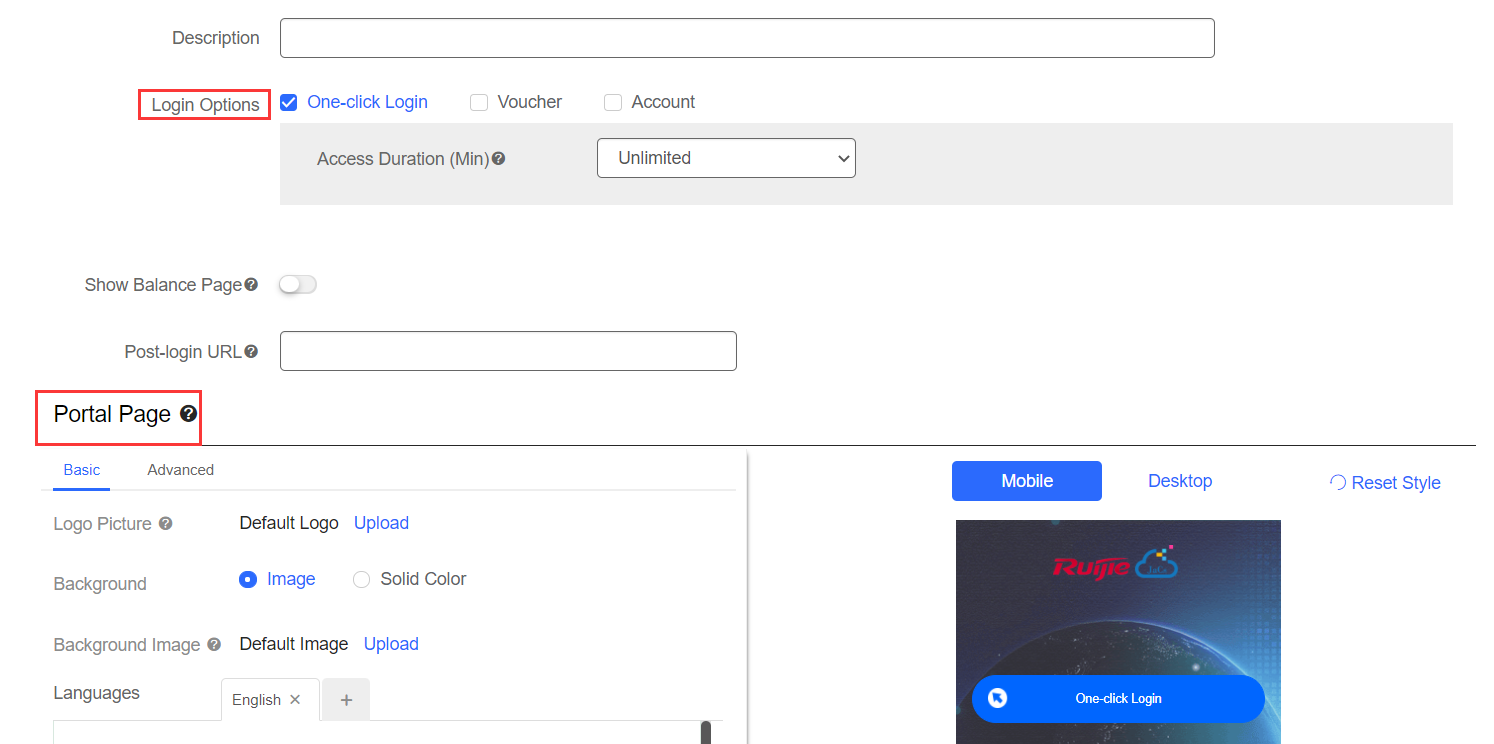
Step 5: Click OK.
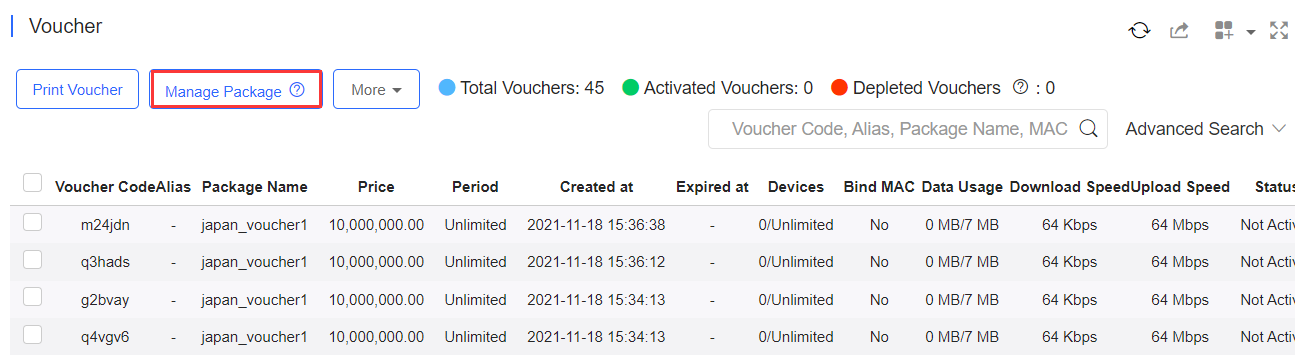
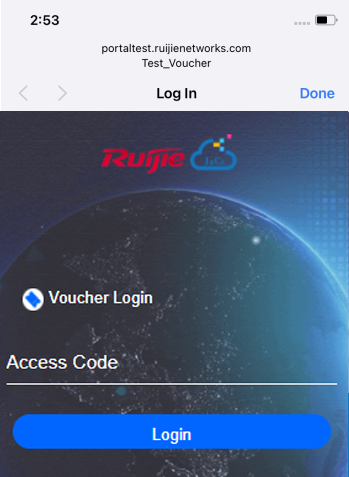
Step 6: If Login Options is Voucher, you can select CONFIGURATION > AUTHENTICATION > Voucher > Manage Package to add a package. After printing the Voucher Code, you can use it to connect to the WiFi.
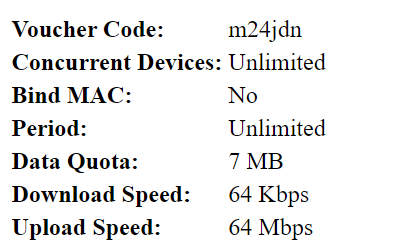
Voucher authentication on Ruijie JaCS allows you to charge guests for accessing wireless network with voucher code. Concurrent users, period and data quota limit can be customized and offered to your guests.
Step 1: Select Voucher in Captive Portal mode under the corresponding network (Refer to "Captive Portal").
Step 2: Select CONFIGURATION > AUTHENTICATION > Voucher.
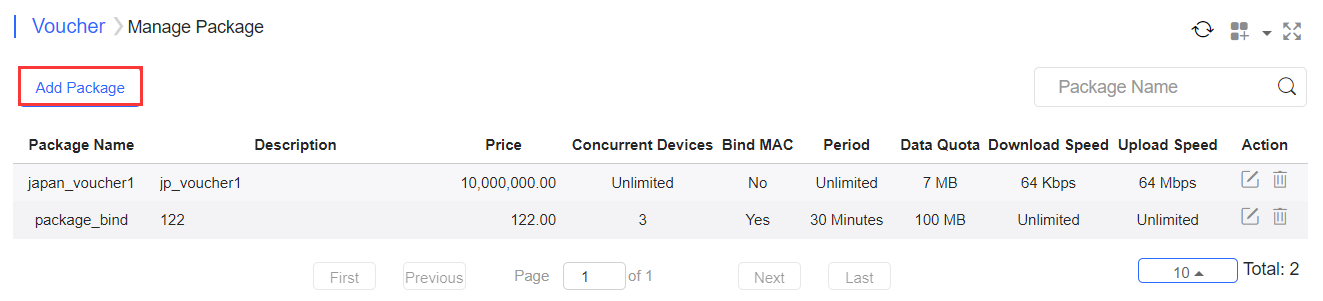
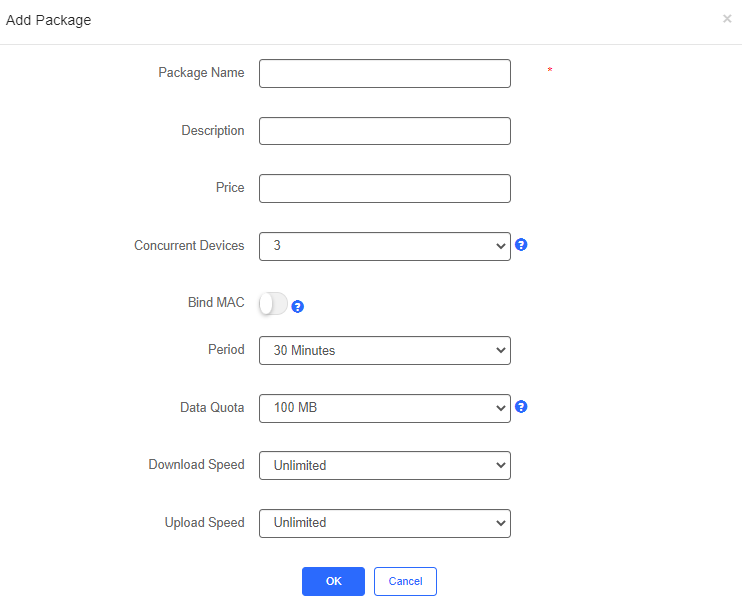
Step 3: Select Manage Package > Add Package to define a voucher type for your guests.
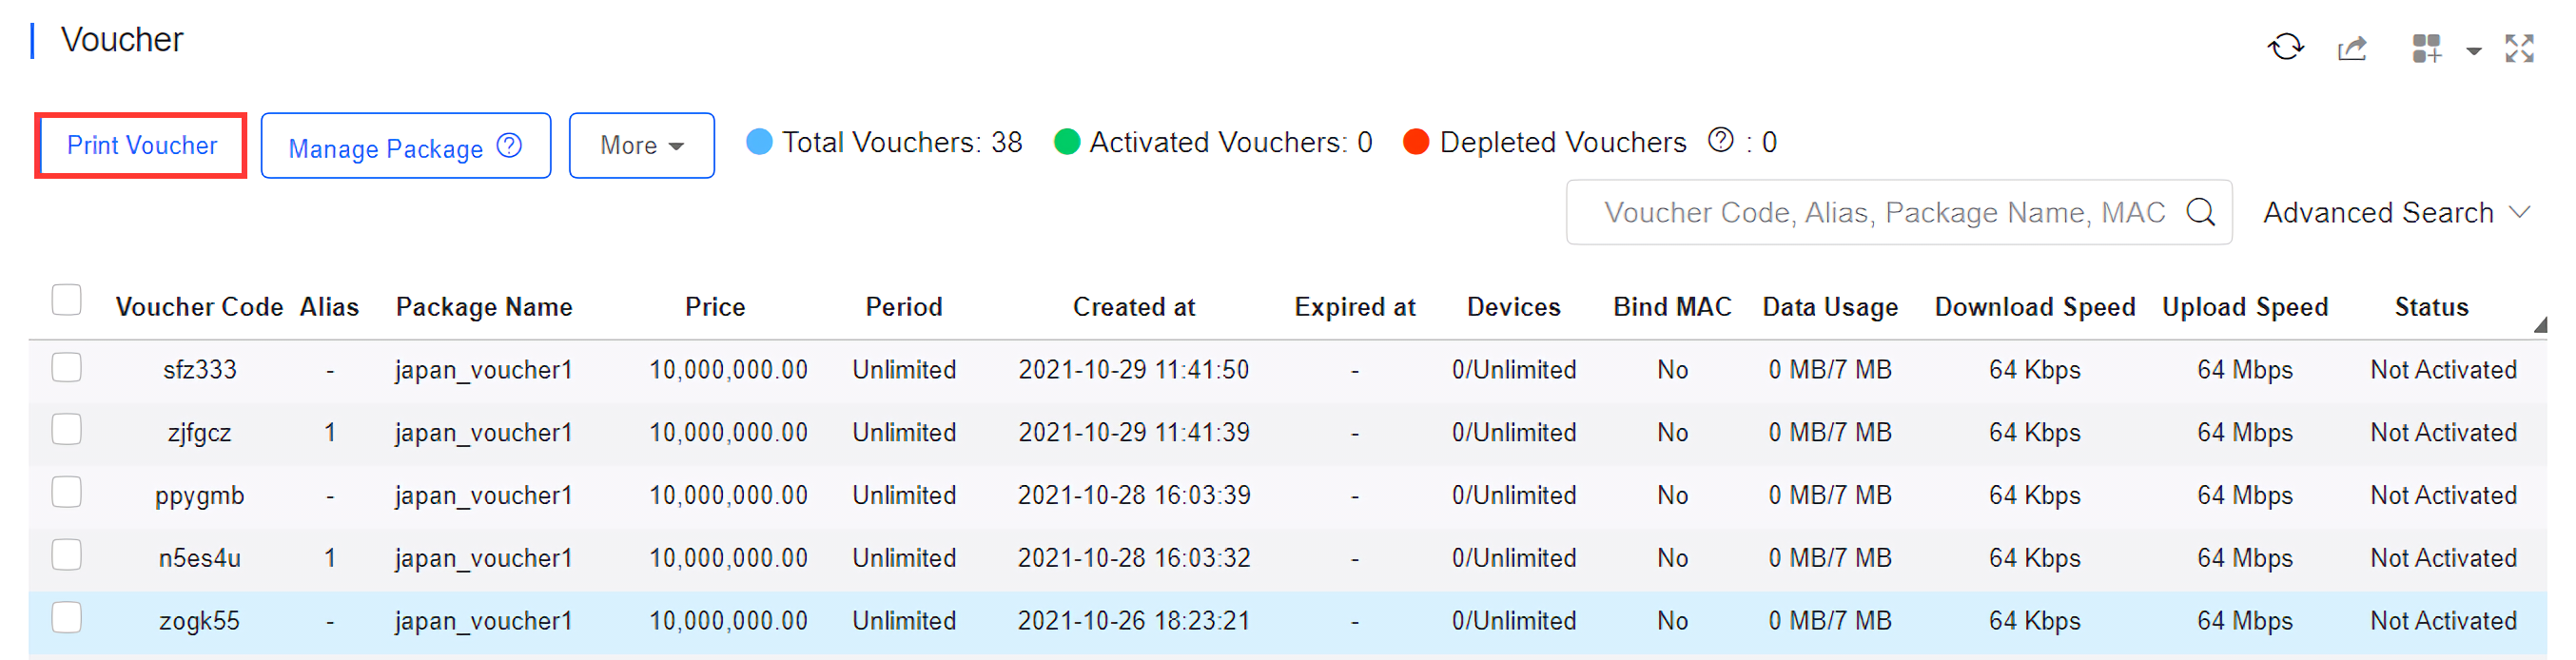
Step 4: Click OK to go back to the Voucher page and click Print Voucher.
Step 5: Enter the Quantity and select the Print Method.
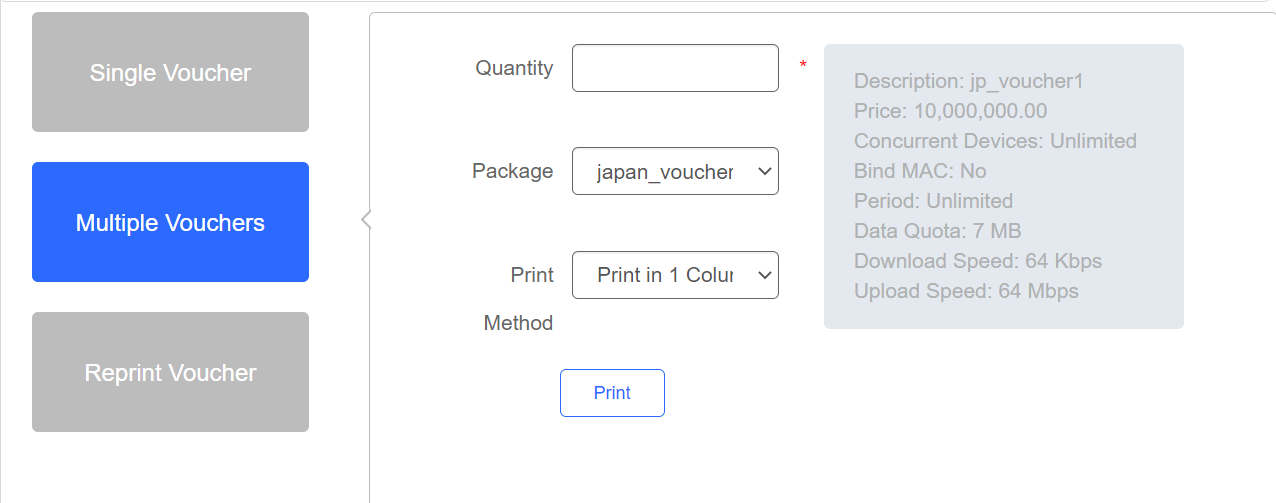
Step 6: Click Print to print the Voucher Code.
Step 7: Connect to the WiFi and enter the Voucher Code for login.
PPSK combines the advantages of PSK and 802.1x. It prevents the network from being stolen. Each terminal device is bound with a unique WiFi account and key so that the key will not be shared. This can also be called “One Client, One Password”.
The main tasks of the PPSK administrator include:
Log in to Ruijie JaCS and deploy the network. Thus, APs can access the Ruijie JaCS.
Set the authentication mode of SSID as PPSK (the administrator can do it directly).
On PPSK management page, enable PPSK function for an enterprise and choose the network.
Open account for staffs in batch.
Staffs can connect the SSID with the unique WiFi key allocated by the administrator and access the Internet.
Step 1: Select CONFIGURATION > WIRELESS > Basic, click  button beside SSID, and set the Encryption Mode as PPSK.
Step 2: Select CONFIGURATION > AUTHENTICATION > PPSK.
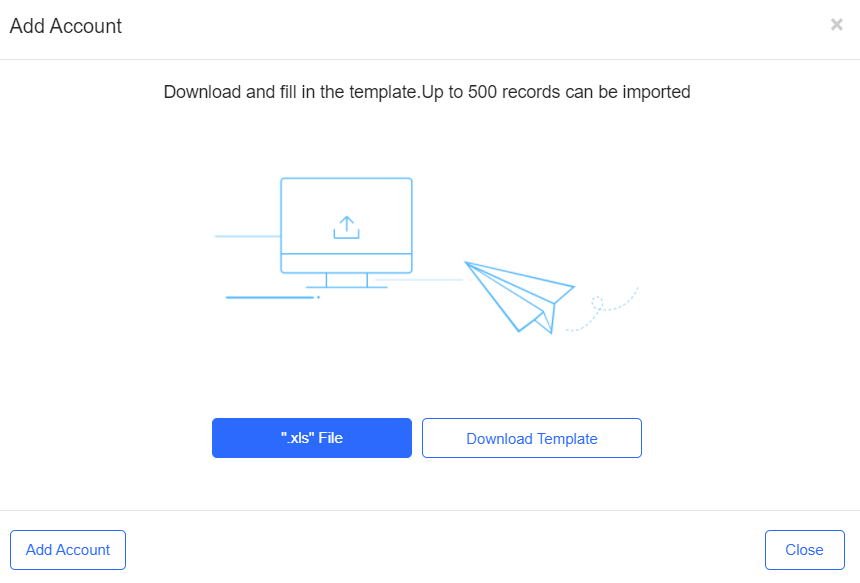
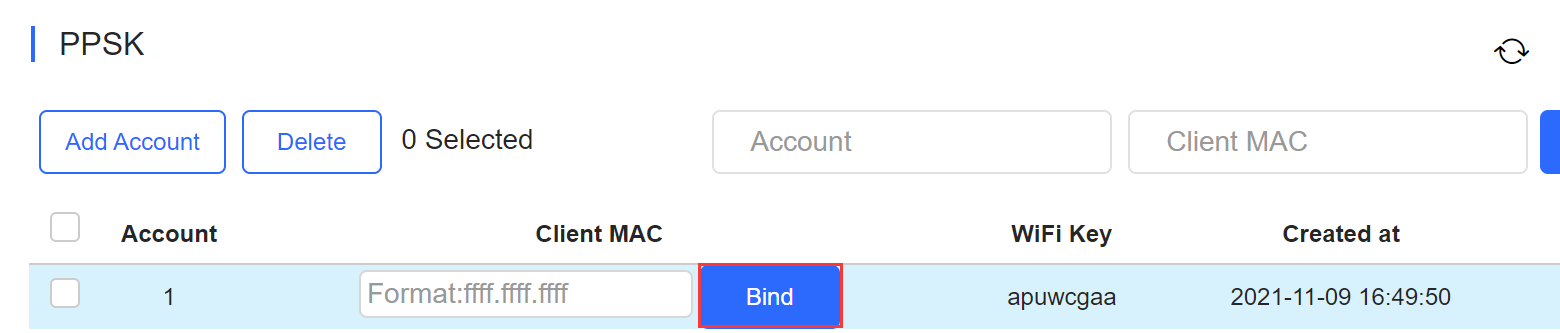
Step 3: Click Add Account to batch import or manually add new accounts.
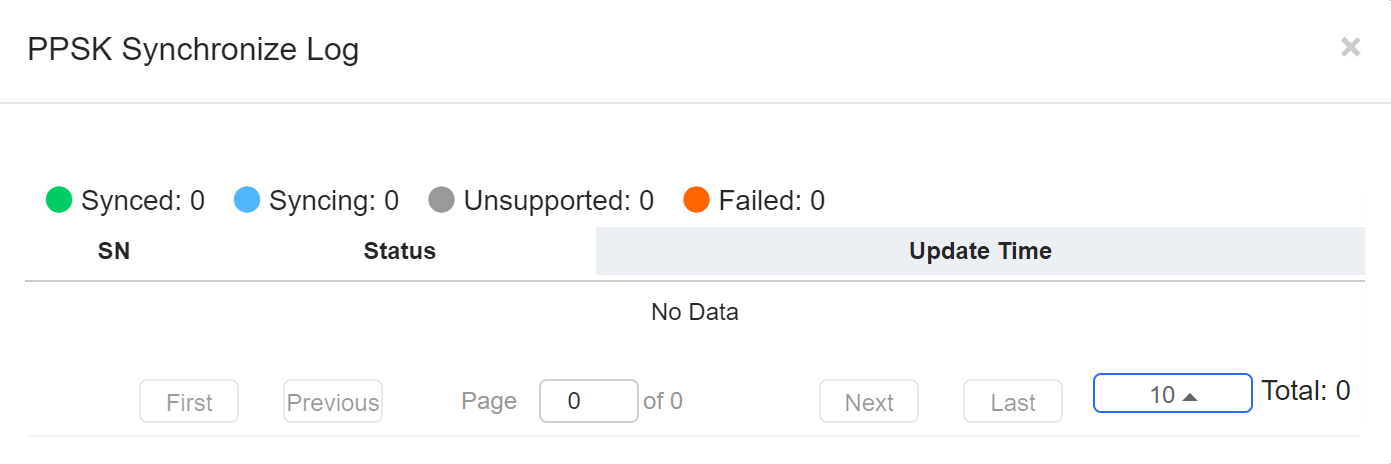
Step 4: Click  on the Action column of the PPSK list to check PPSK Synchronize Log.
Step 5: Bind MAC address for accounts in the PPSK list (Optional. The MAC of STA will be bound automatically after logging in with the WiFi key).
全部评论