The AP List displays basic device information, including online/offline status, SN, configuration status, MAC, alias, management IP, egress IP, initial status, client quantity, network, firmware version, offline time, model and description.
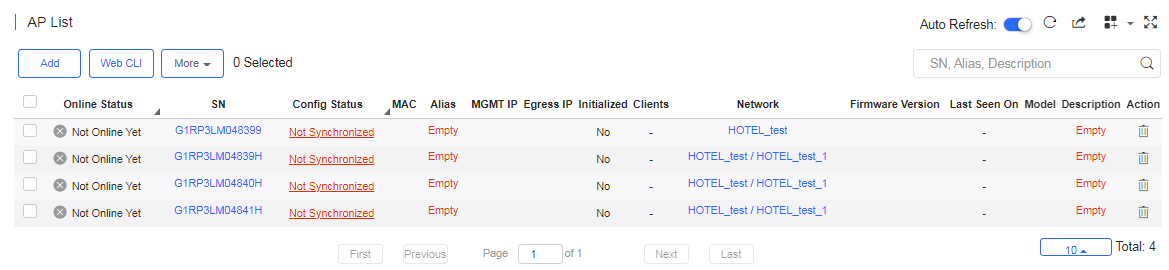
The AP List displays basic device information, including the online/offline status, SN, configuration status, MAC, alias, management IP, egress IP, initial status, client number, network, firmware version, offline time, model, building name, room, remark and description.
The AP List automatically refreshes every minute. Click  to enable/disable the auto refresh function.
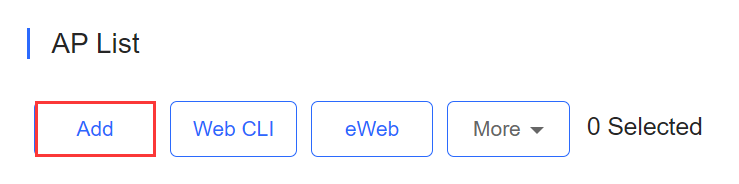
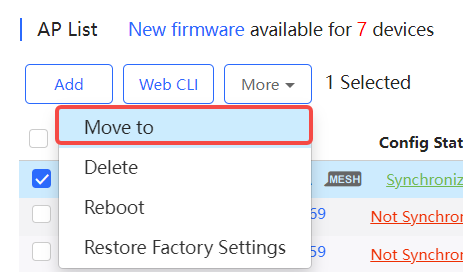
Above the list is the Add AP and Web CLI and eWeb functions. Click  to display the Move to, Delete, and Reboot functions. For more information, refer to Basic AP Operations .
In non-apartment scenario, the Search function supports fuzzy queries based on the serial number, alias and description, while in apartment scenario, it supports fuzzy queries based on the serial number, room, building name and remark. Fuzzy queries based on online/offline status are supported in both scenarios.
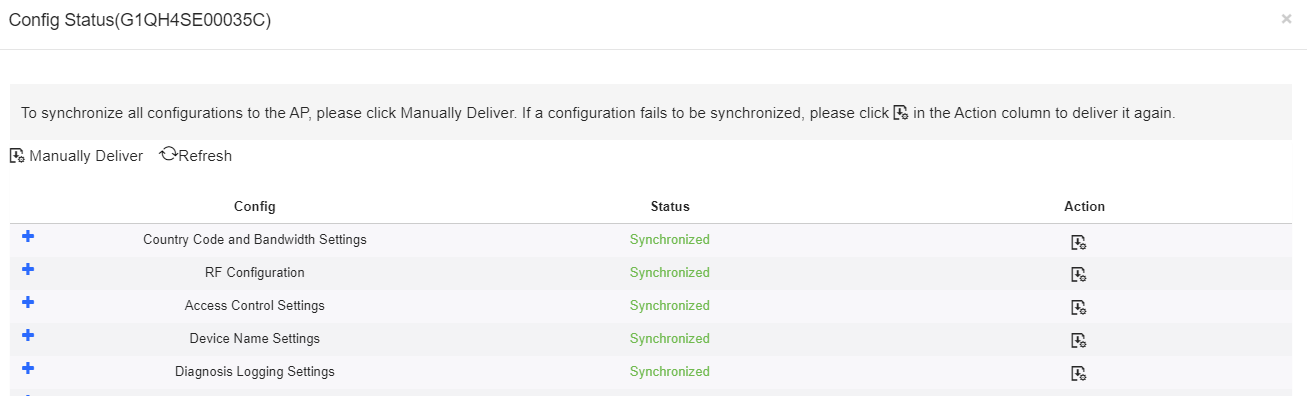
Click the record in the Config Status column to open the Config Status page. On this page, you can deliver one or all configurations.
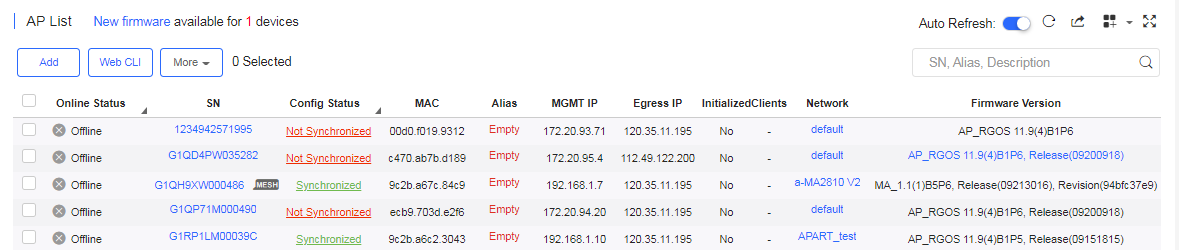
The number of devices which have available firmware for upgrade is displayed on the upper-left corner of the AP List page. Click New Firmware to display the New Firmware List . Then click Go To Upgrade to enter the MAINTENANCE > UPGRADE > Upgrade page.

For more information, refer to Device Details.
If an initial configuration template has been applied to the device, Yes will be shown in the initialized column.

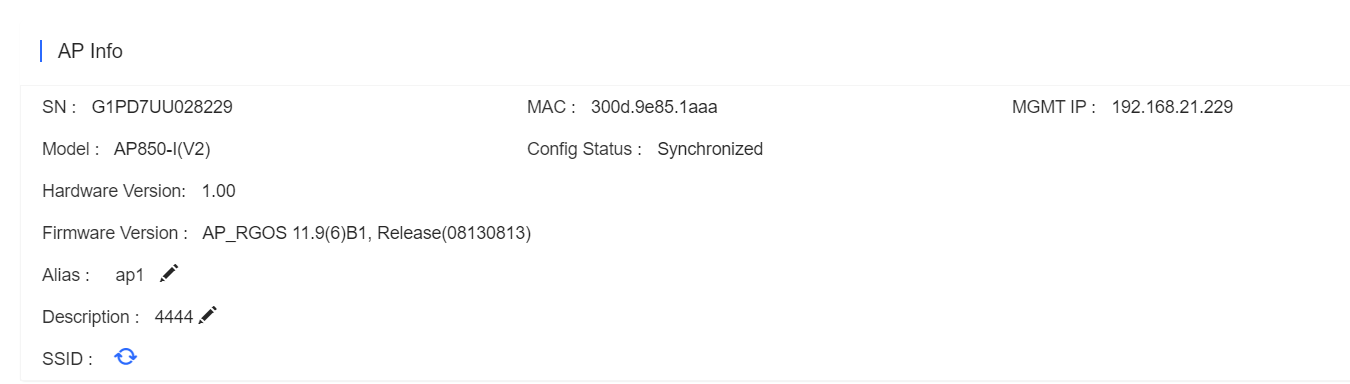
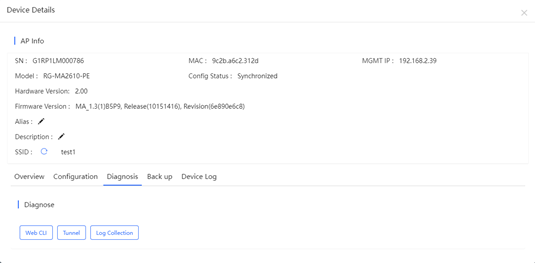
Click the serial number in the device list to open the details page for a single device. The page includes AP Info, Overview, Configuration, Diagnosis, Back up and Device Log.
The basic information includes serial number, MAC address, management IP address, device model, configuration status, firmware version, hardware version, alias, and description.
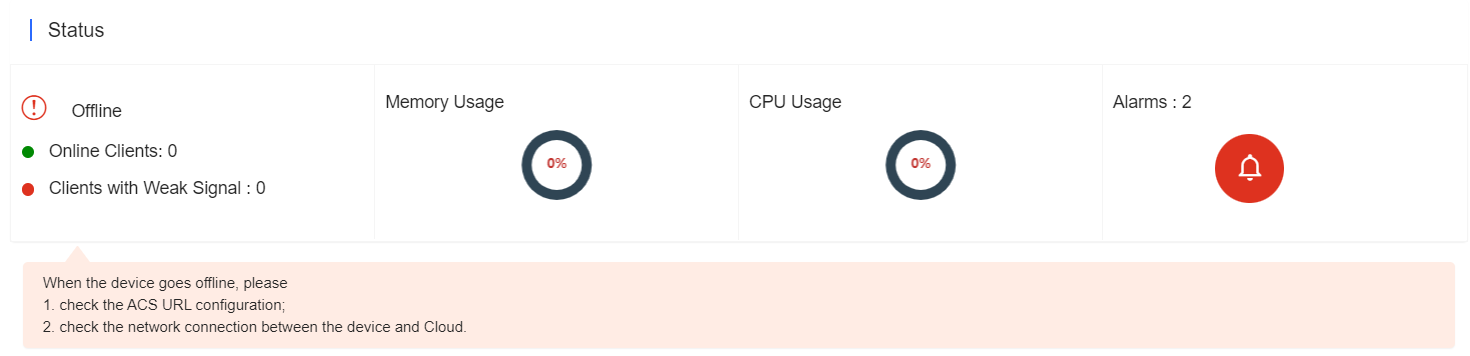
(1) Status
The performance data includes the AP connection status, online client count, CPU usage, and memory usage.
(2) Connectivity
AP connectivity refers to the connectivity (online status) between AP and Cloud Service within a period (1 day or 7 days).

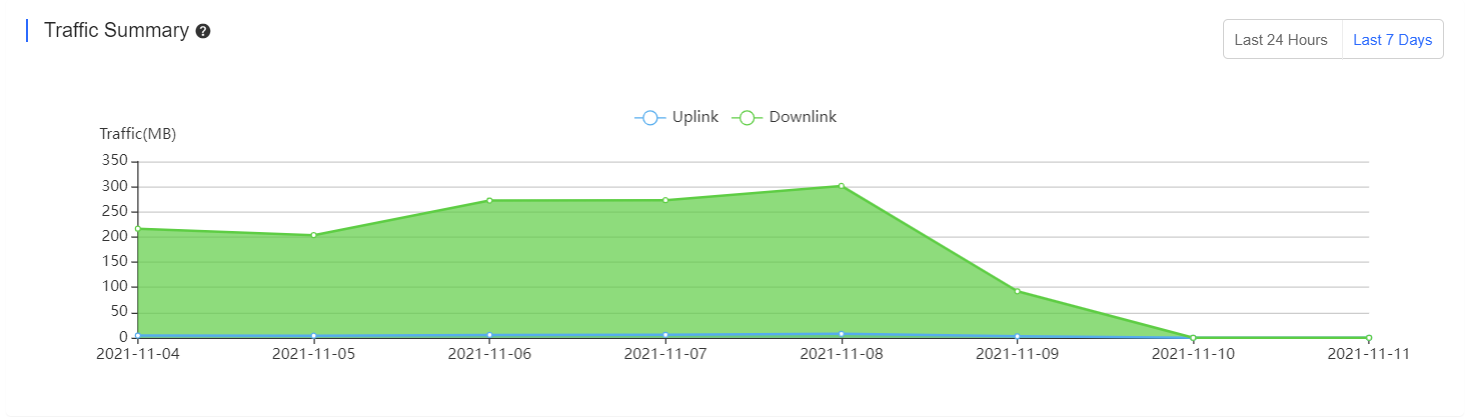
(3) Traffic Summary
You can select to view the AP traffic statistics in the last 24 hours or the last 1 week.
(4) Radio List
The Radio List page displays the RF information, including the RF type, current channel, power (percentage), channel bandwidth, and channel usage.

(5) Client List
The client list displays information about clients currently associated with the APs, including the IP address, MAC address, SSID, RSSI, traffic, online/offline status, and terminal type.

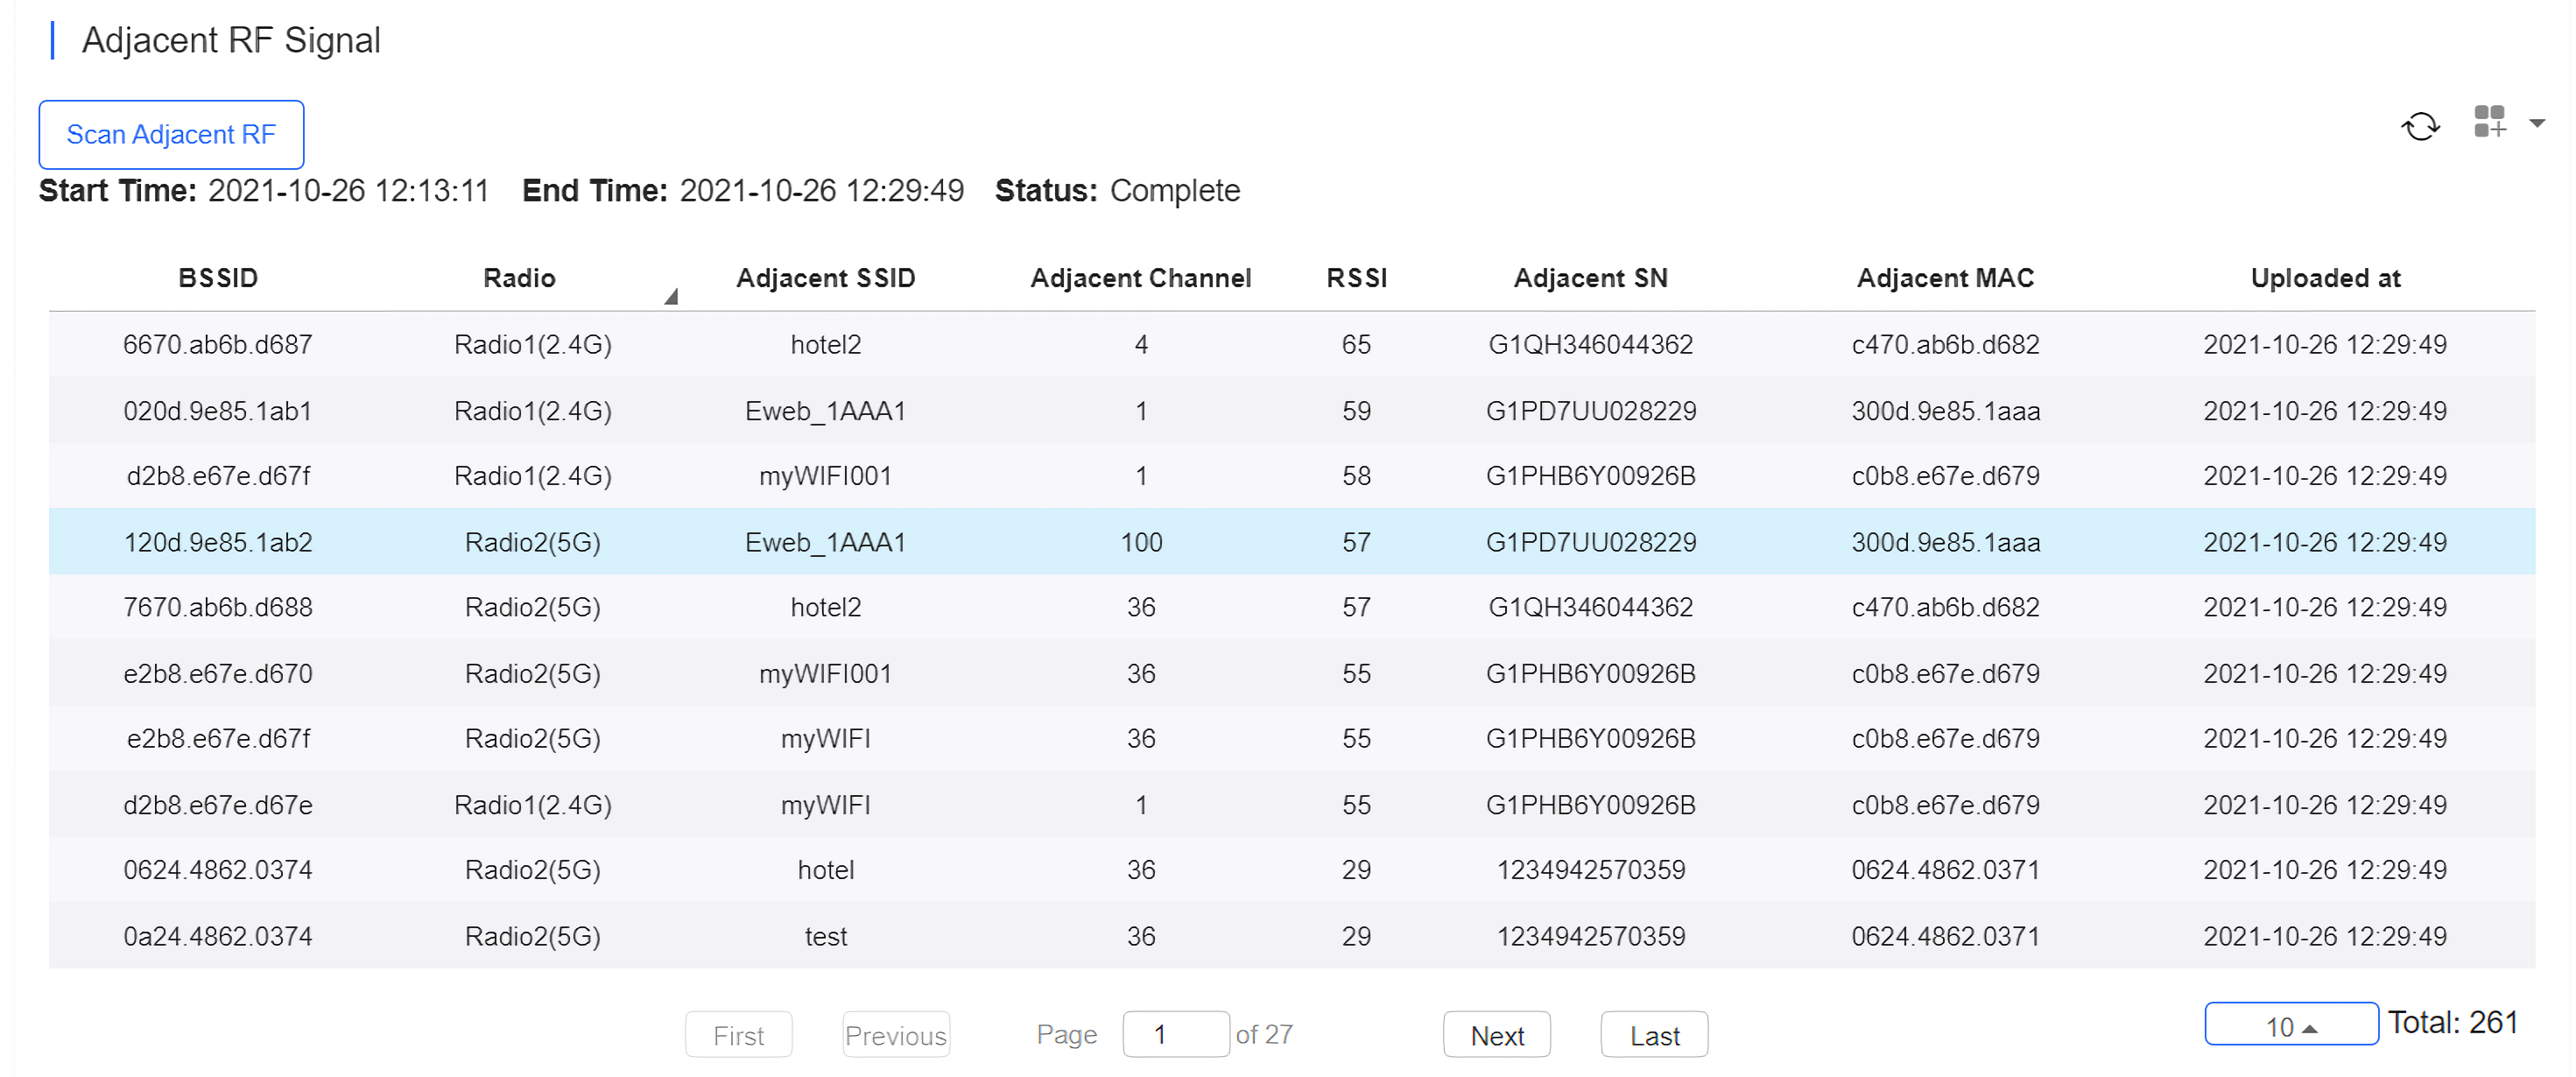
(6) Adjacent RF Signal
The Adjacent RF Signal page displays the RF signals (scanned BSSID) emitted by adjacent APs. The Radio , Adjacent Channel , and RSSI in the list are scanned information. If a signal comes from the AP managed by the cloud controller, the adjacent AP SN and adjacent MAC address will be identified and displayed; otherwise, these two items are in an unidentified state.

You can trigger APs to scan adjacent RF signals, and identified and unidentified RF signals can be observed. There are two known scenarios:
(1) Testing the number and strength of RF signals emitted by neighboring APs that are not managed by the system to predict a degree of RF interference.
(2) Identifying RF signals emitted by neighboring APs managed by the system to diagnose the RF functions and powered-on status of neighboring APs.
On the device details page, you can perform adjacent RF scanning and check the scanning result. The following steps describe the method for scanning the adjacent RF signals:
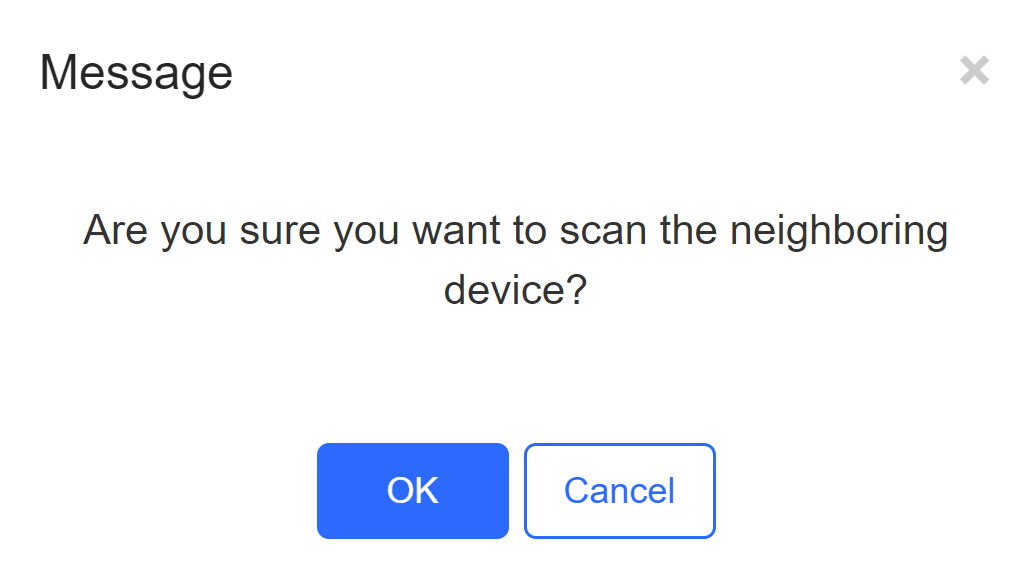
Step 1: Click Scan Adjacent RF to trigger an AP to scan adjacent RF signals.
Step 2: After the AP is triggered, the trigger time, expected completion time, and status are displayed in the status bar. Then wait for the AP to finish scanning and send the results to the cloud controller.

Step 3: A list of RF signals scanned by the AP is displayed after the scanning. The list supports filtering based on the RF type (2.4 GHz/5 GHz).
Note:
The system stores the latest scanning results which will overwrite earlier data.
If the adjacent AP SN and MAC address are unidentified, it indicates that the RF source is not managed by the system; otherwise, the RF signal is emitted by an AP.
(1) eWeb Settings
Support to enable and disable the entrance of a device’s Web, and to configure the password of the Web admin account.

Click Web CLI to open the CLI page of device.
Click Tunnel to create different types of tunnels, and check records and more information.

Log collection is available only for MA series access points. You can click Log Collection to downlaod the logs of the device.
(1) Configuration Backup List
The function is supported only in the apartment scenario.
The backup records include configuration file name, size, time, mode and MD5.
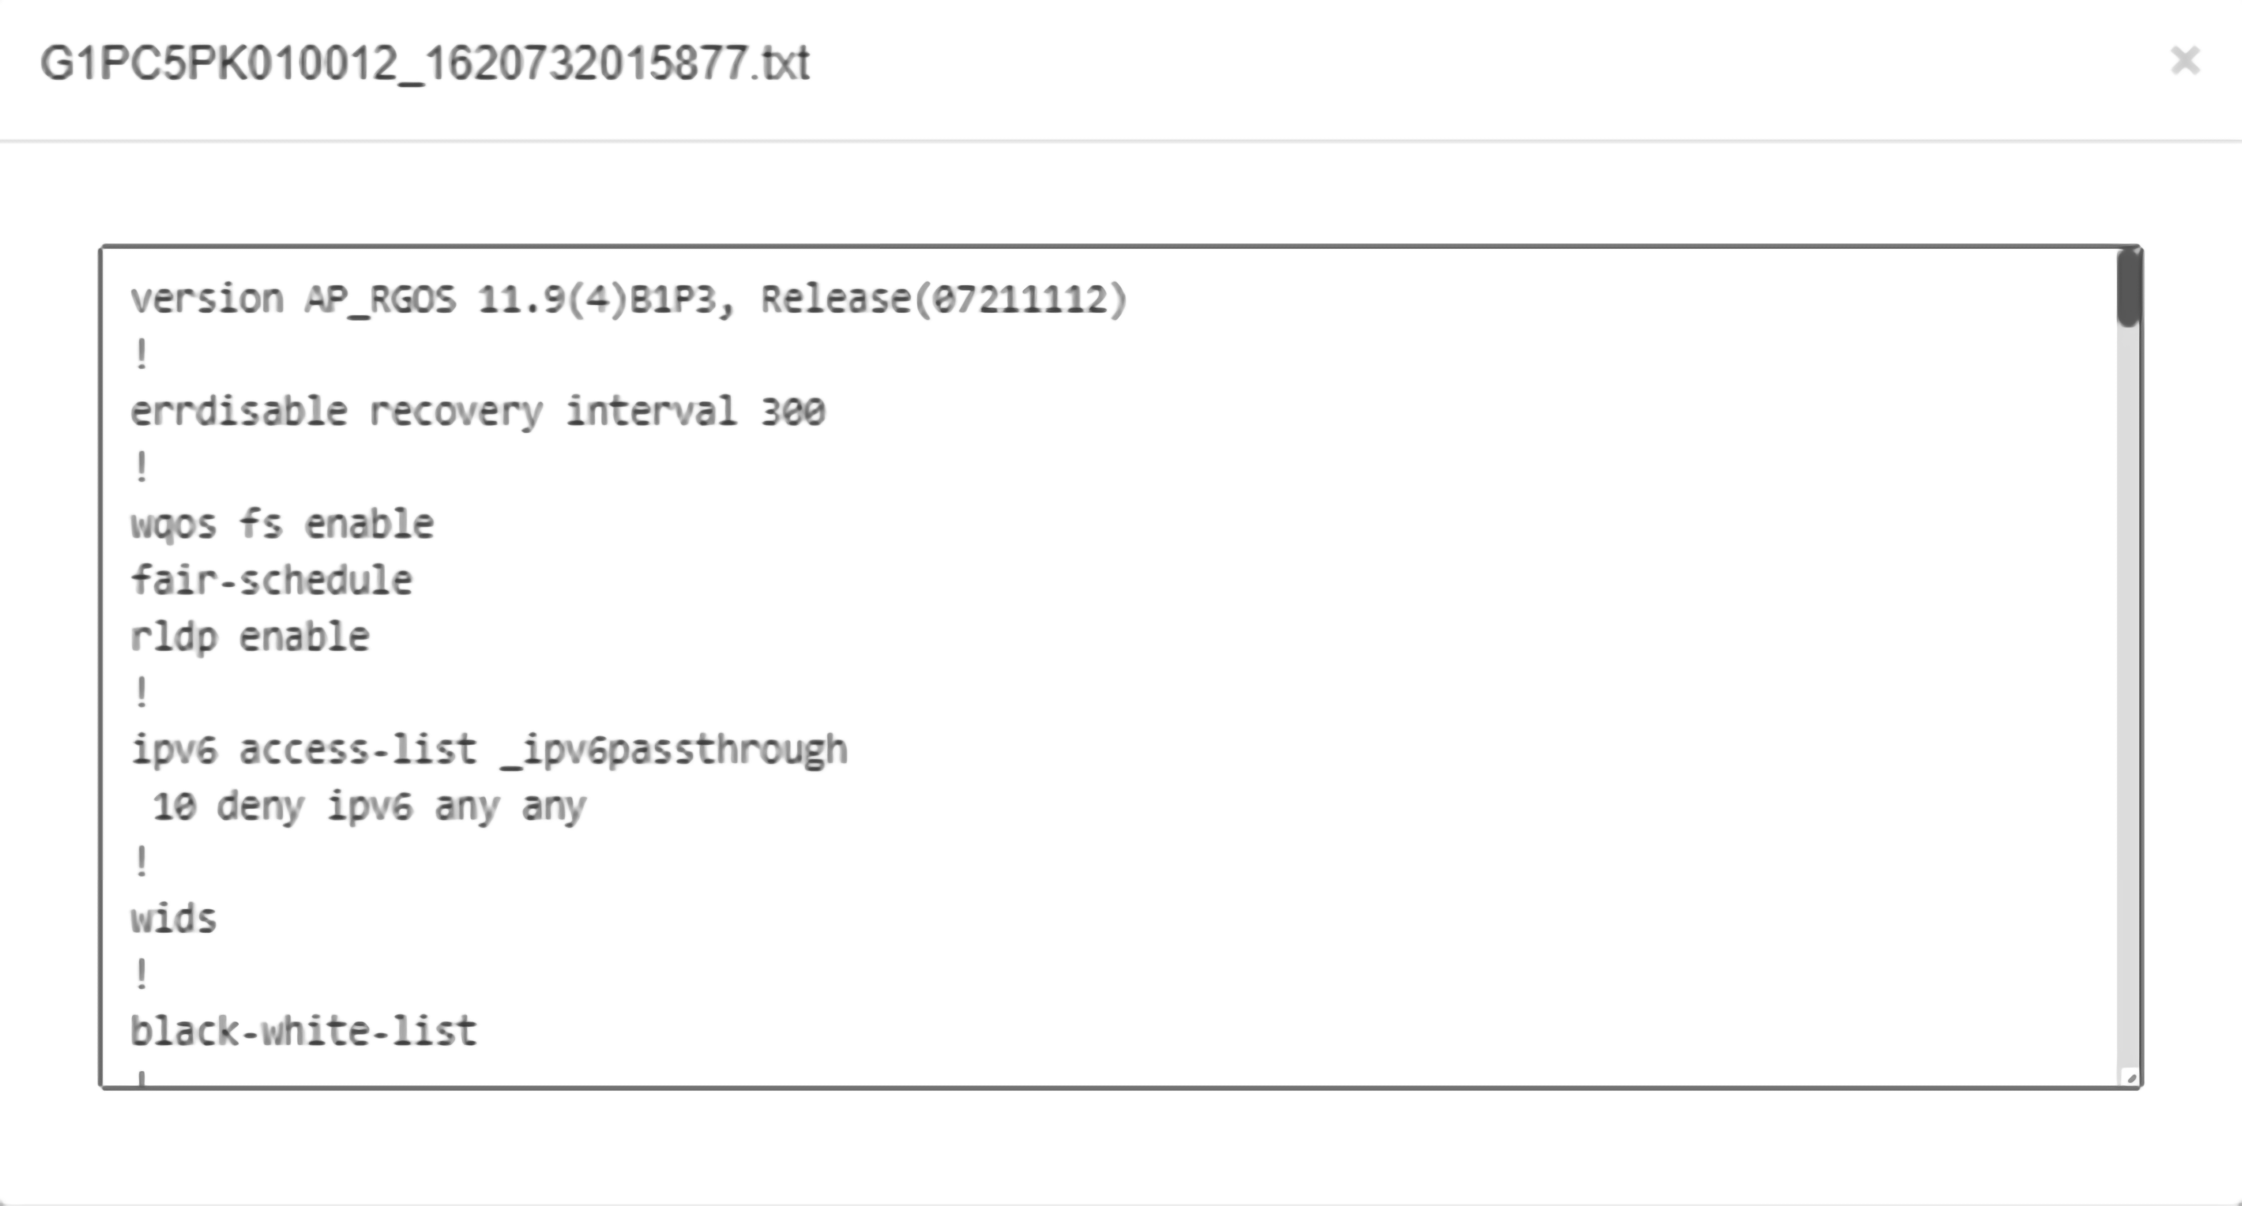
Click Current to display the current configuration. Click Backup in the Config Details page to back up the current configuration.
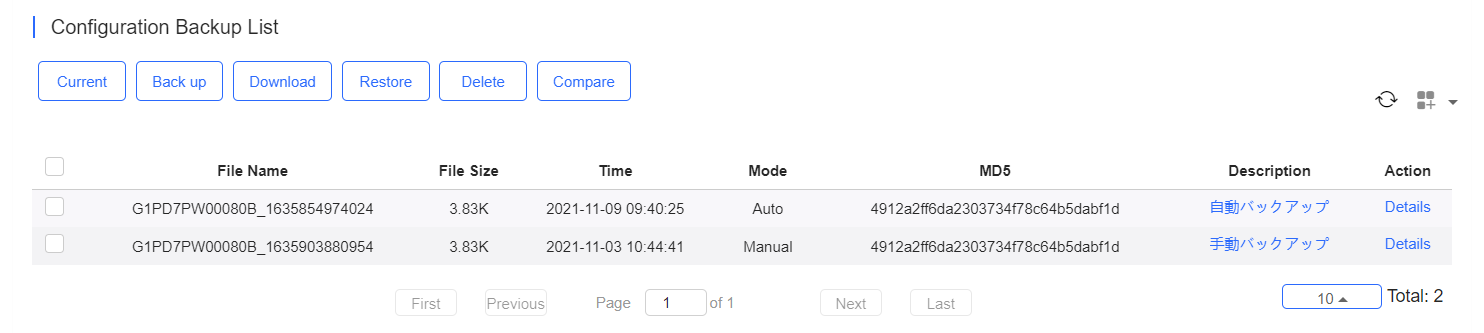
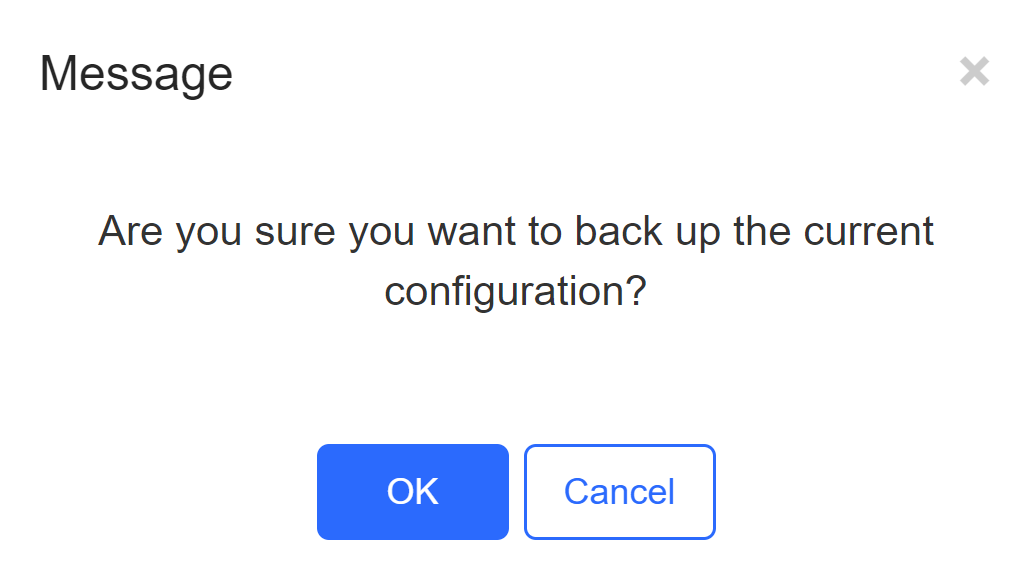
Click Back up and then click OK in the message box to back up the current configuration.
Select one record, and click Download to download the configuration file.
Select one record, and click Restore to restore the current configuration.
Select one or multiple records, and click Delete to delete the backup record.
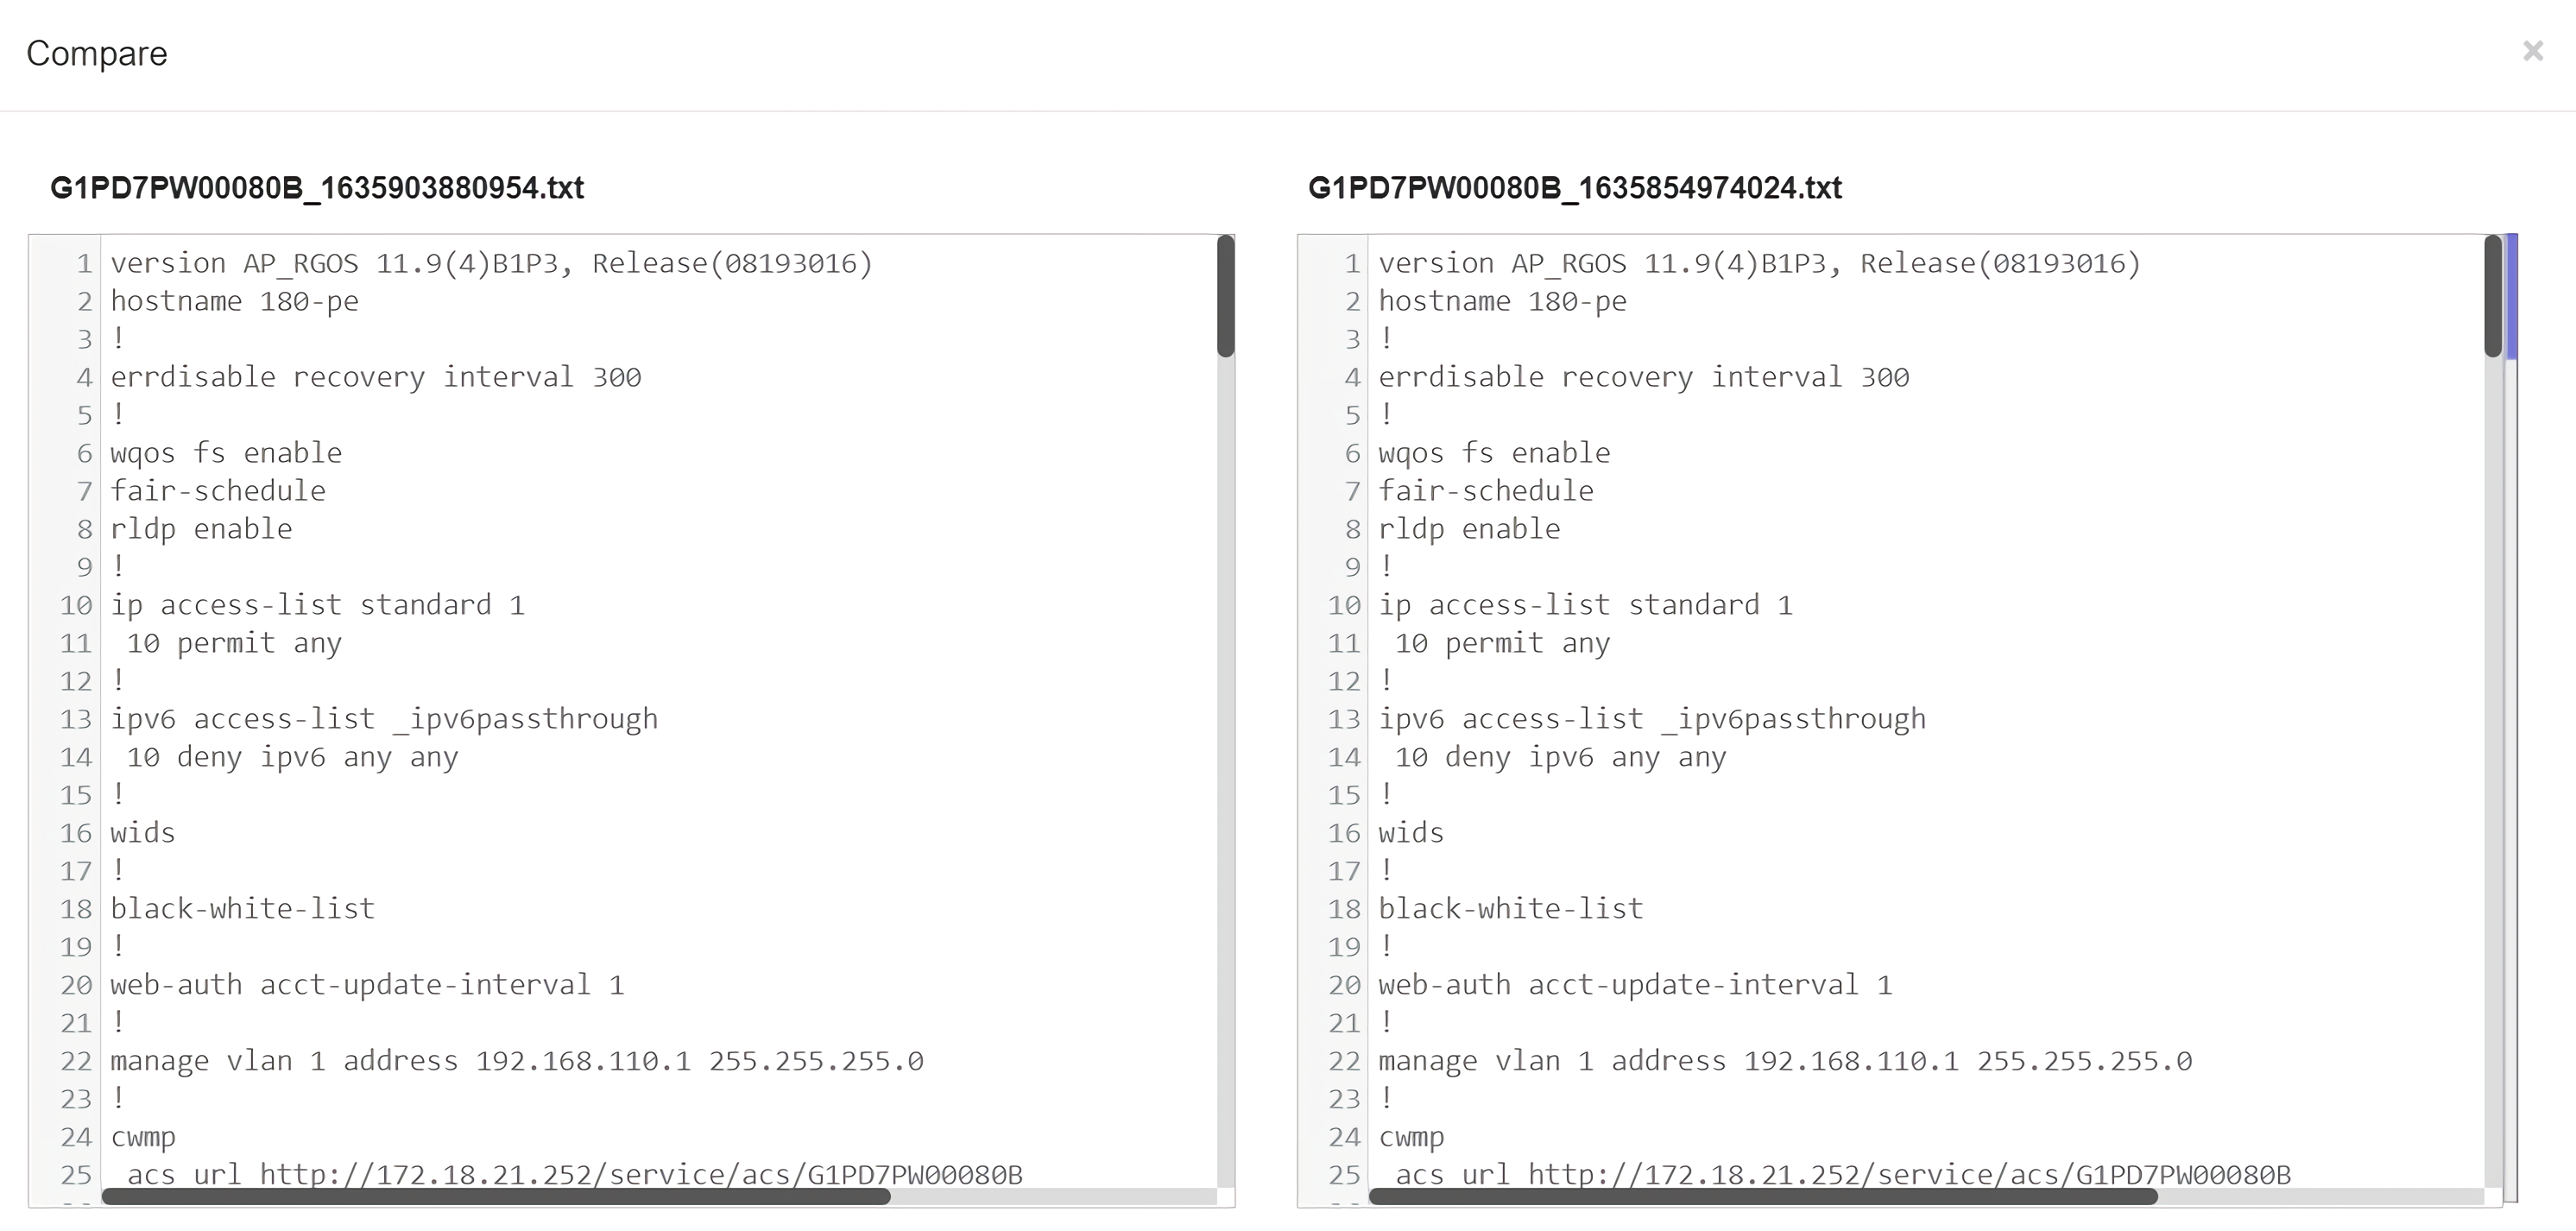
Select two records, and click Compare to compare the differences.
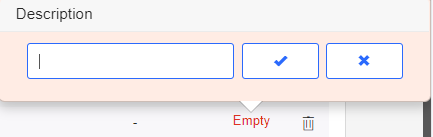
Description can be edited. Click Details in the Action column to check the backup configuration.
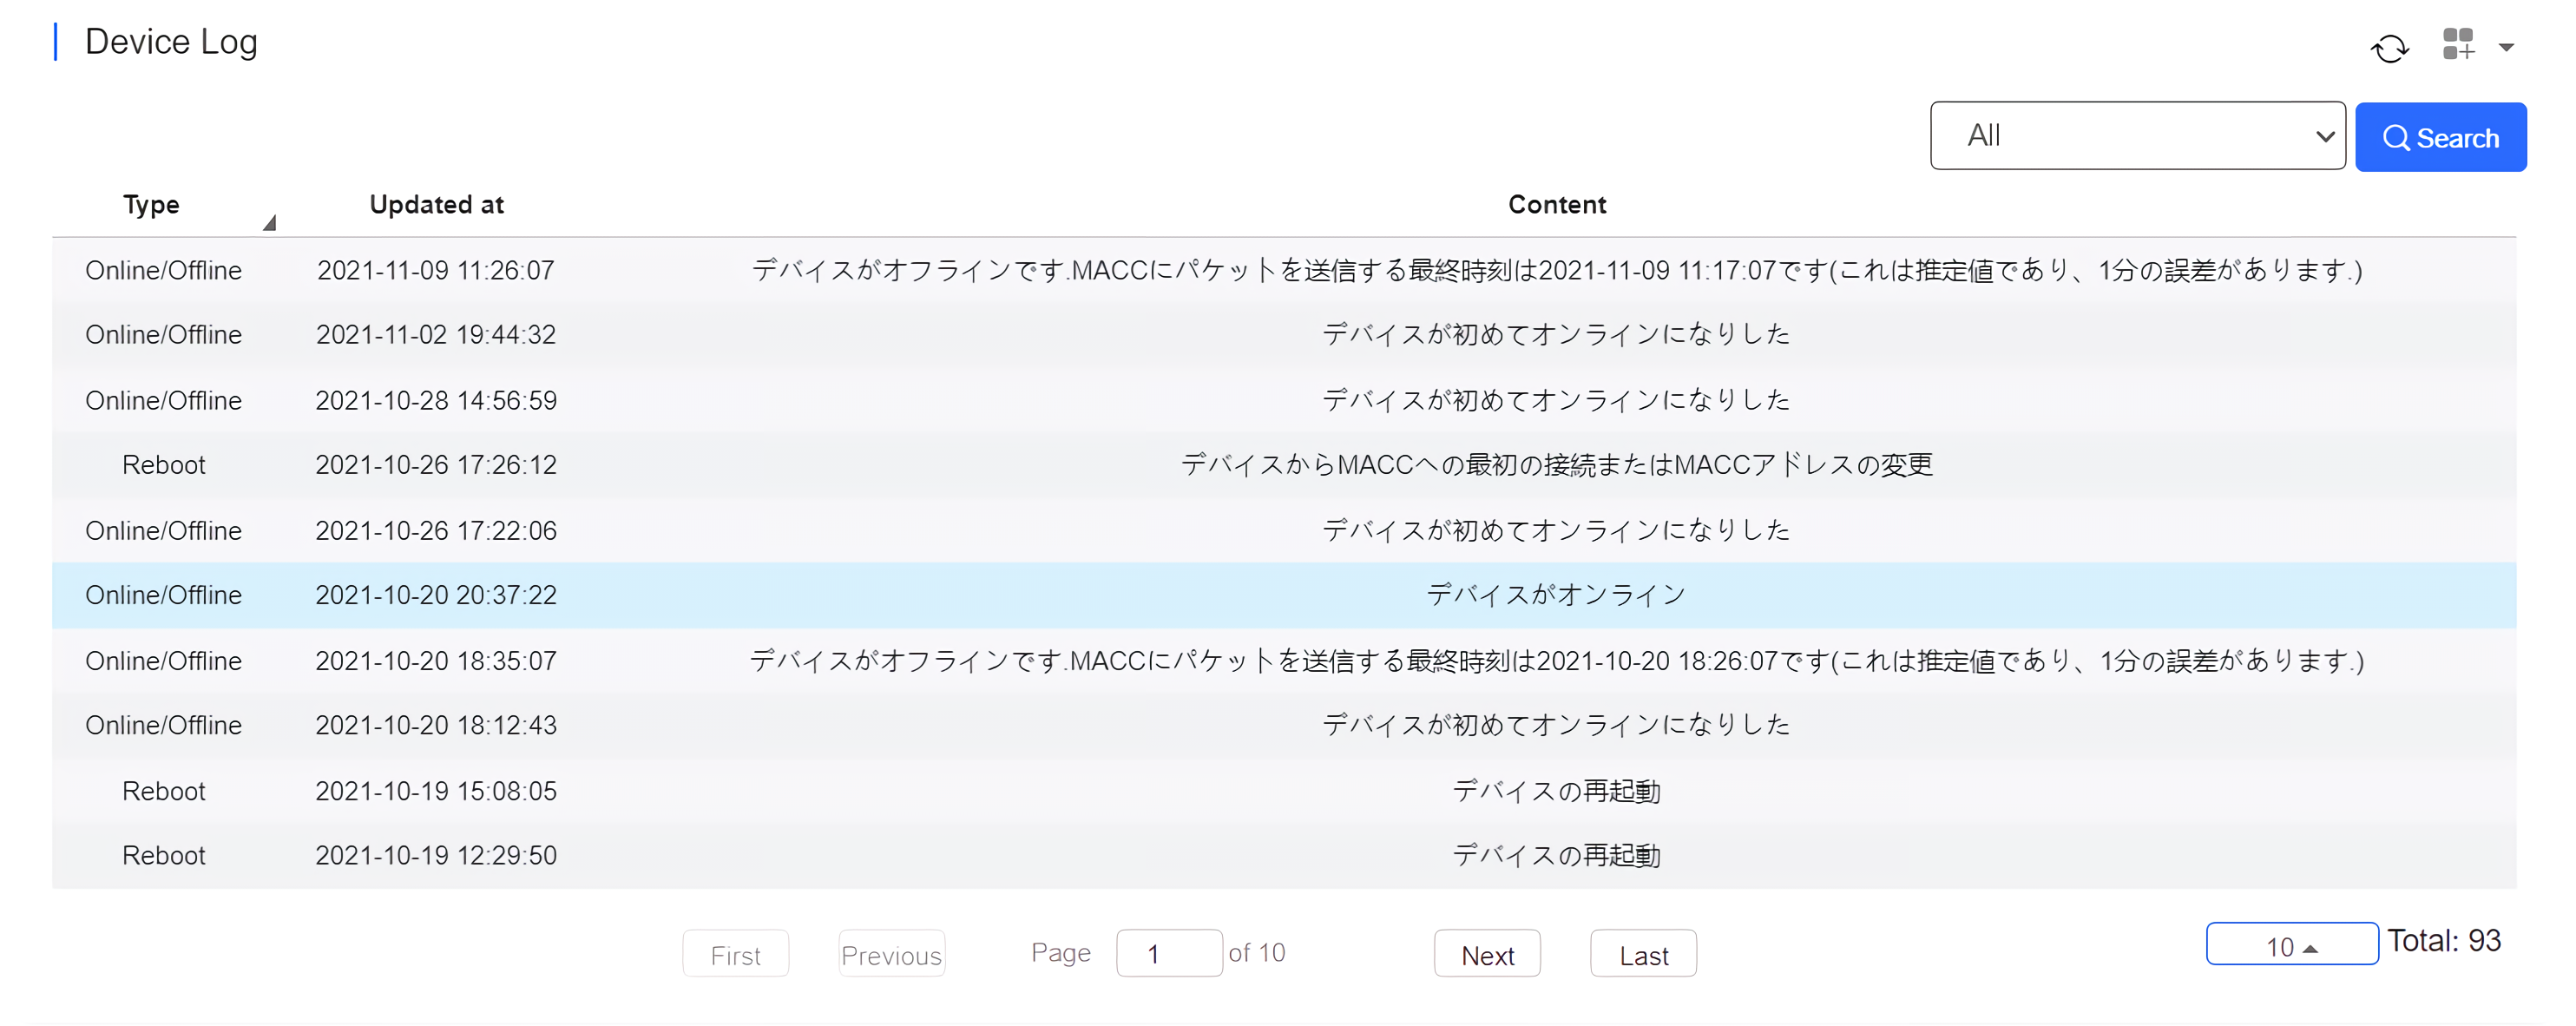
The device log records the historical operations, and currently supports the online/offline records, restart records, and upgrade records, and supports queries based on the log type and period.
Select the network, and click Add. Both batch import and manual add are supported.
Non-apartment Scenario
To batch import APs, click Download Template to download the template, enter AP information, and click ‘.xls’ File to import the template.
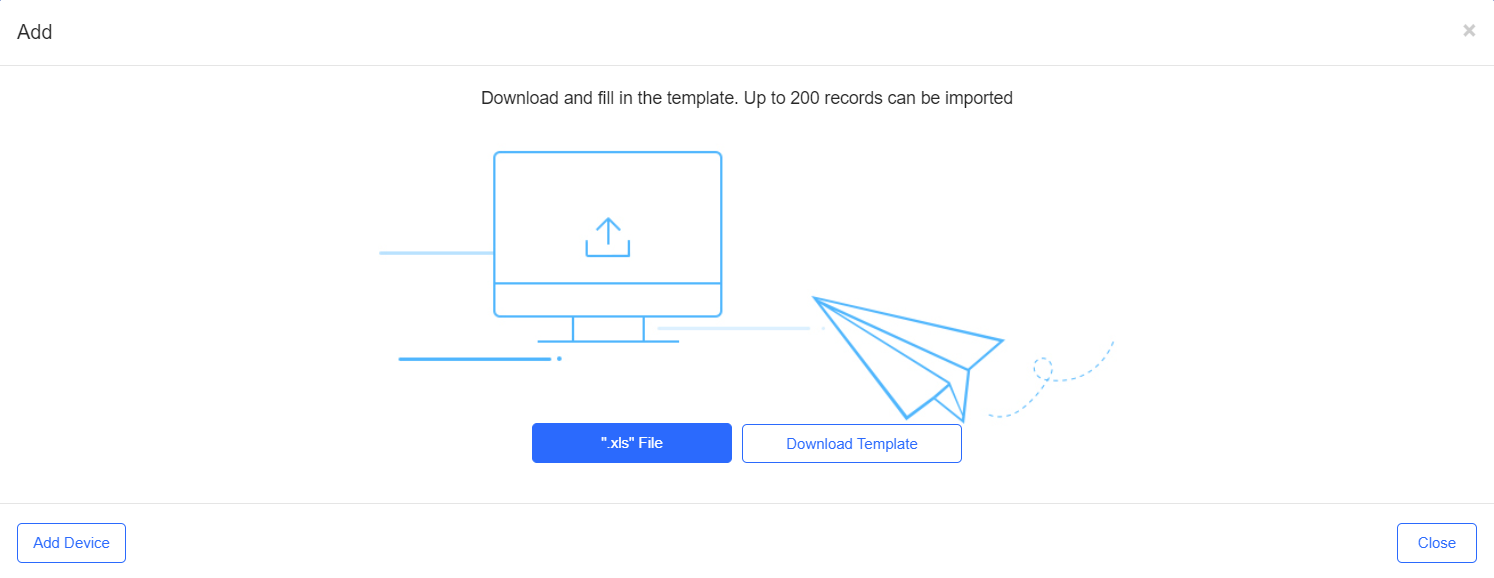
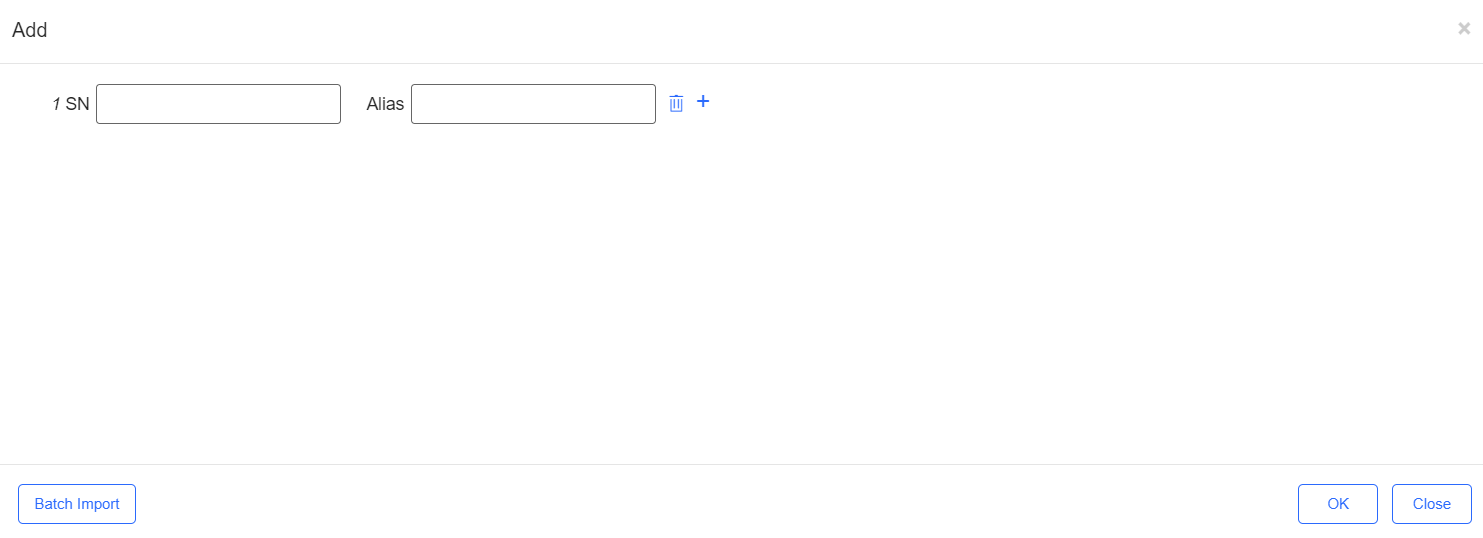
To manually add APs, click Add Device , enter SN and alias of the AP, and click OK . Click to add multiple APs.
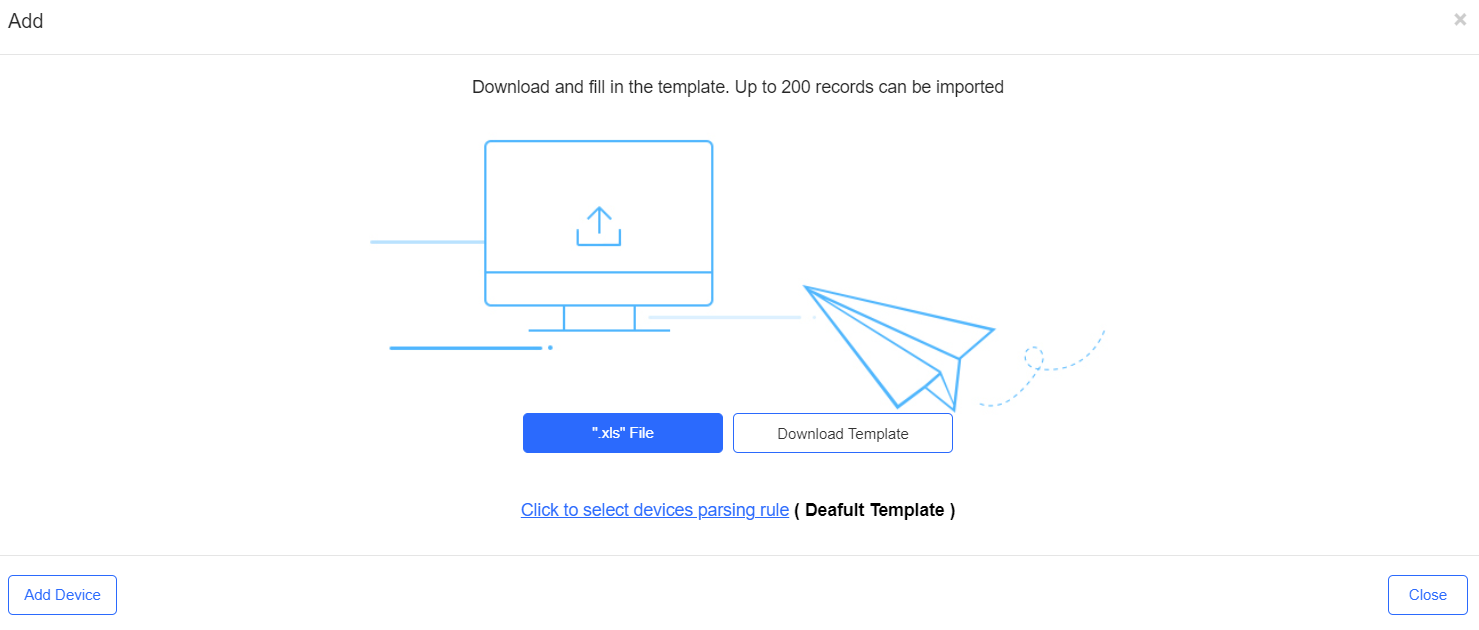
Apartment Scenario
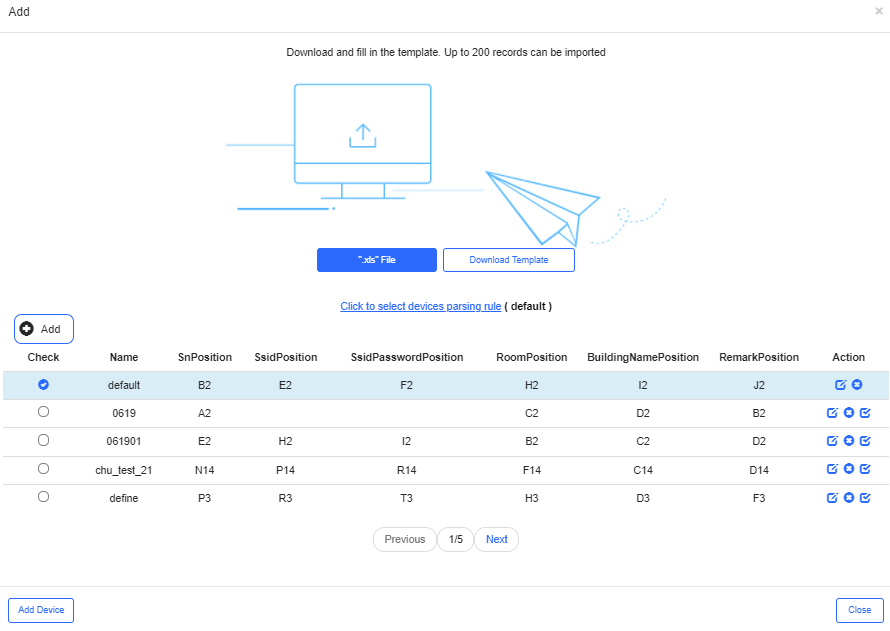
To batch import APs, click Download Template to download the template, enter AP information, and click ‘.xls’ File to import the template.

Model : device model (optional)
SN : device serial number (mandatory)
MAC : device MAC address (optional)
PN : device part number (optional)
SSID/SSID Password : support up to 4 SSIDs/SSID password, and each SSID and password need to be separated by "," (optional)
Alias : device alias (optional)
Room : the room that installs the device (optional)
Building Name : the building that installs the device (optional)
Remark : device remark (optional)
You can also customize the template in EXCEL file to import devices. In order to parase the EXCEL file correctly, you should first create and specify the parse role.
Click Click to select devices parsing rule , and a new window pops up.
There will be one default rule.
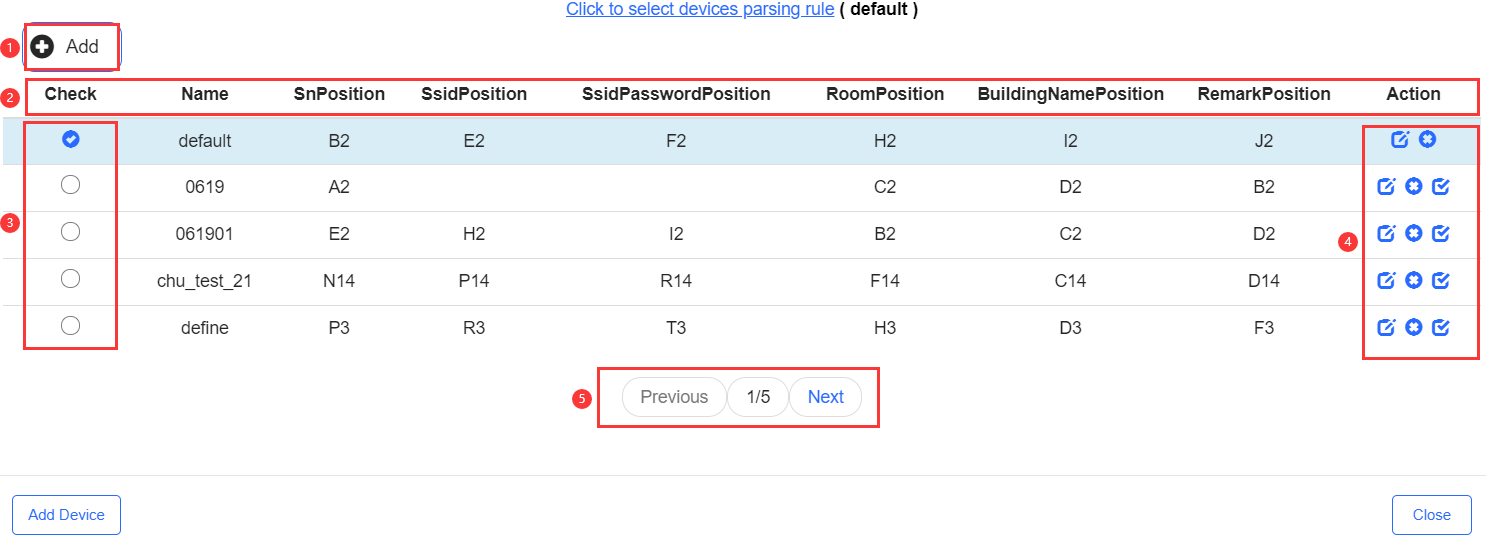
(1) Add button: Add a new rule
(2) Menu bar: Display rule content
Name: User defined name.
SnPosition: Specify the starting position of SN in template.
SsidPosition: Specify the starting position of SSID in template.
SsidPasswordPosition: Specify the starting positin of SSID's password in template.
RoomPosition: Specify the starting position of room number in template.
BuildingNamePosition: Specify the starting position of building name in template.
RemarkPosition: Specify the starting position of remark in template.
If an entry is left empty, it will be imported when importing the template. For example, SsidPosition will not imported if it is empty.
Use can customize the EXCLE parsing rule from column A to Z and rows 1 to 15.
(3) Check box: Only one can be selected at a time.
(4) Rule control button:
 Edit the rule
 Delete the rule
 Set the rule as default rule
(5) Page up and down button
Import device by custom EXCLE file.
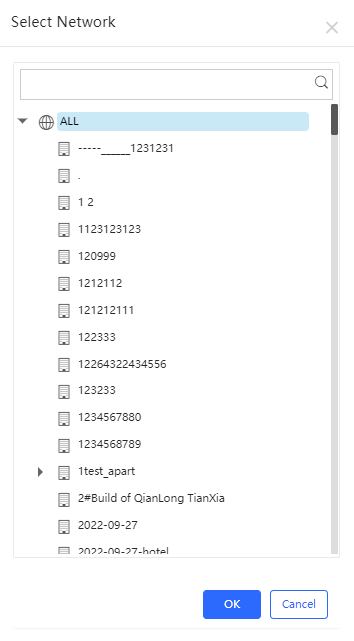
Select one or multiple devices in the AP List , click More > Move to , select the new network and click OK.
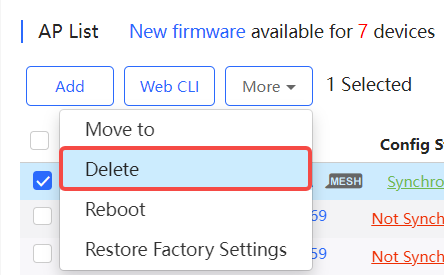
Select one or multiple devices in the AP List , click More > Delete and click OK.
Select one or multiple devices in the AP List , and click Reboot.
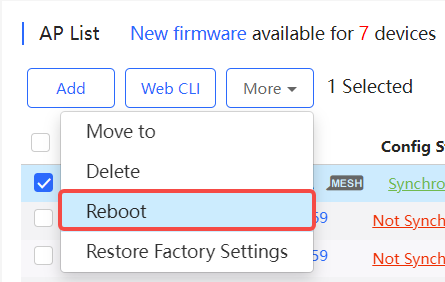
Select one or multiple AP 180 series access points in the AP List, click Restore Factory Settings to restore the devices to factory settings.

全部评论