Step 1: Select CONFIGURATION > NETWORKS , and click Add Network.
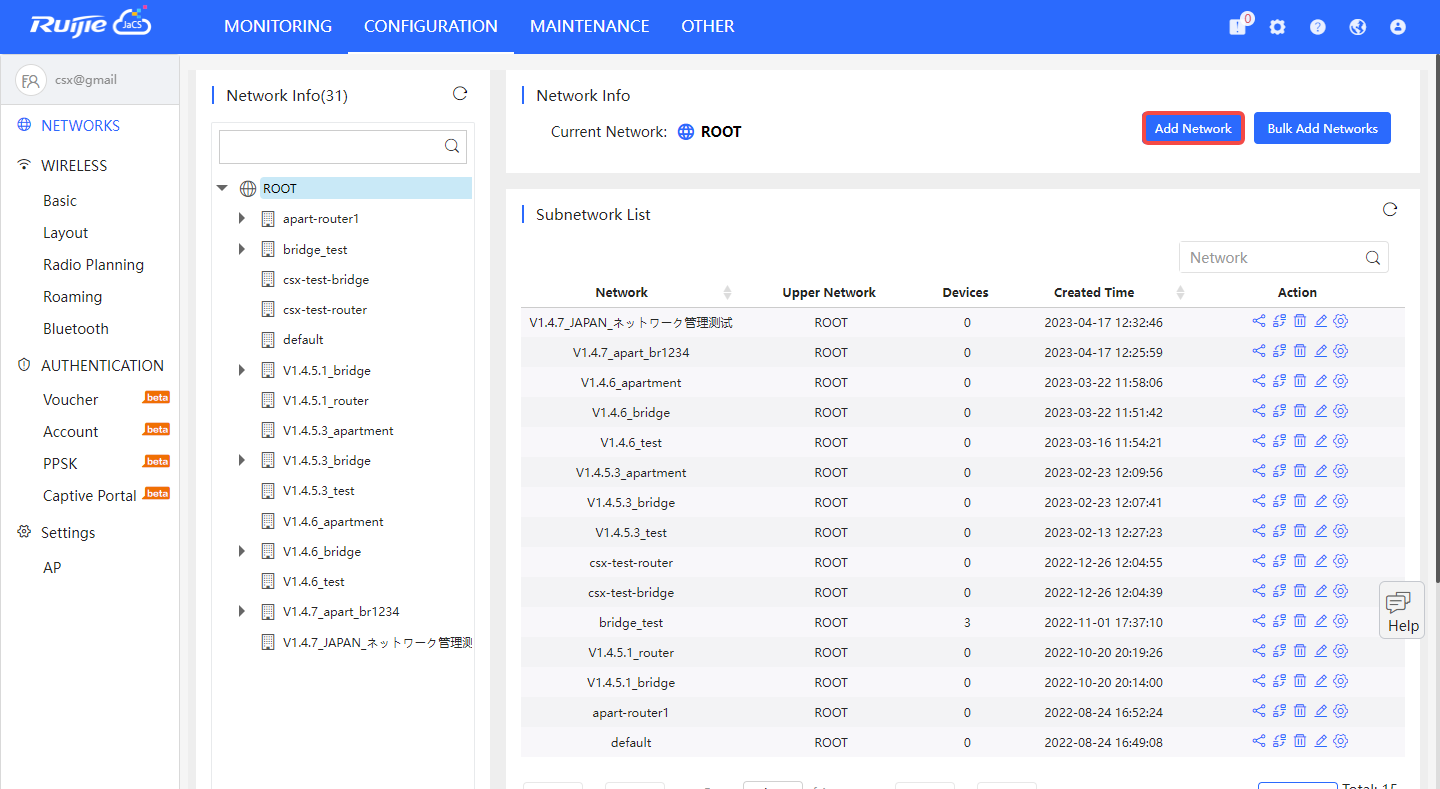
Step 2: Enter a network name, and select a scenario.
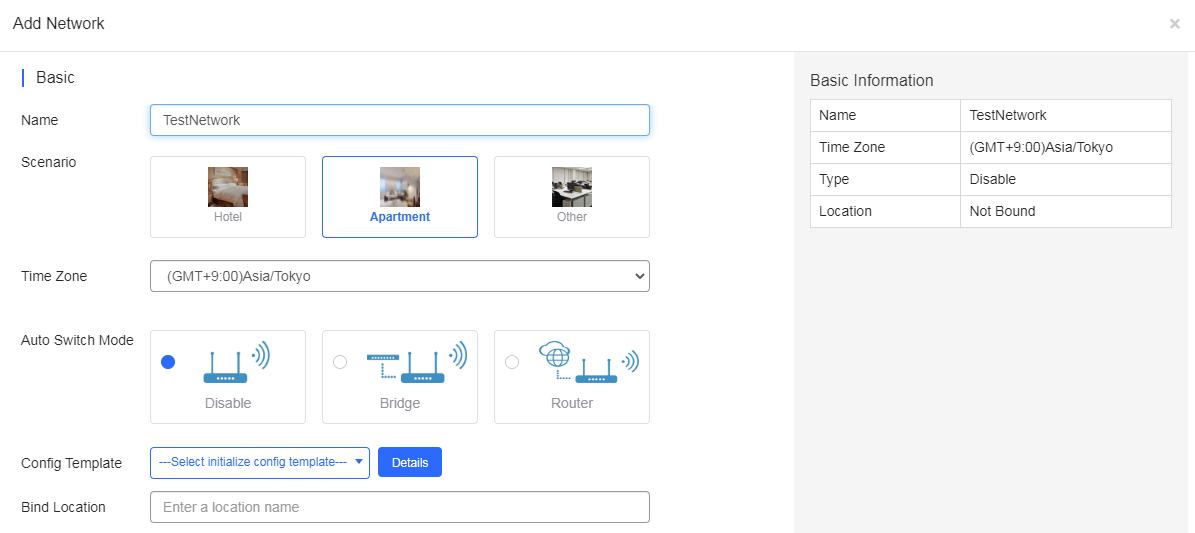
Step 3: (Optional) When adding an Apartment network, you can decide whether to apply an initial configuration template to the devices in the network.
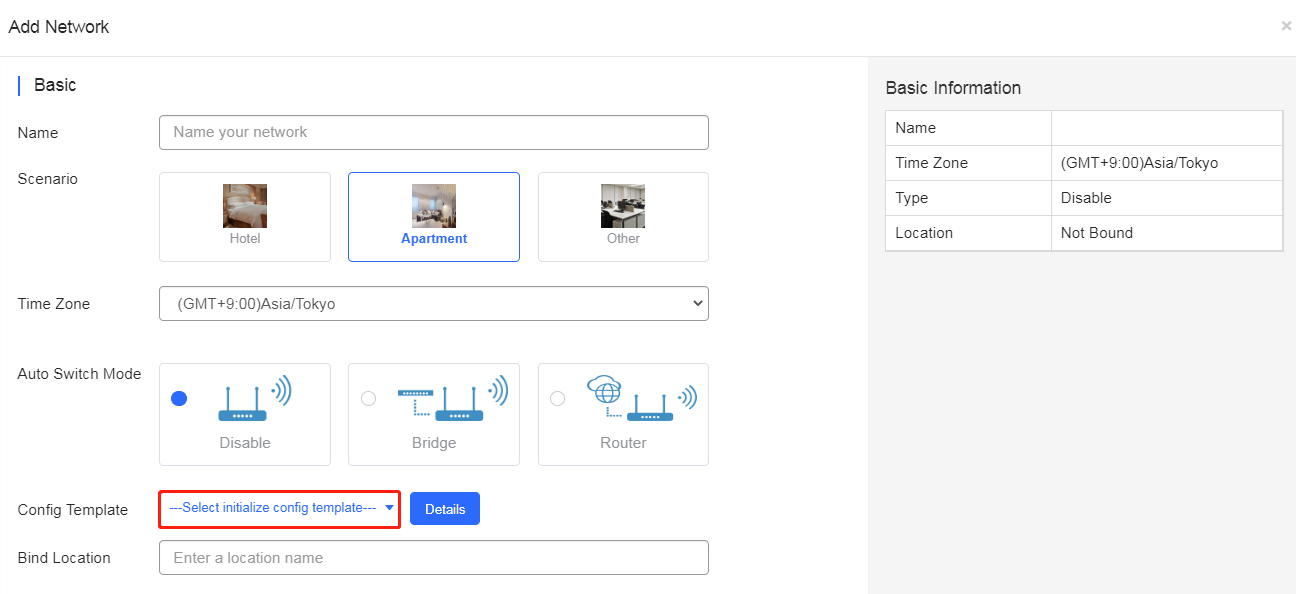
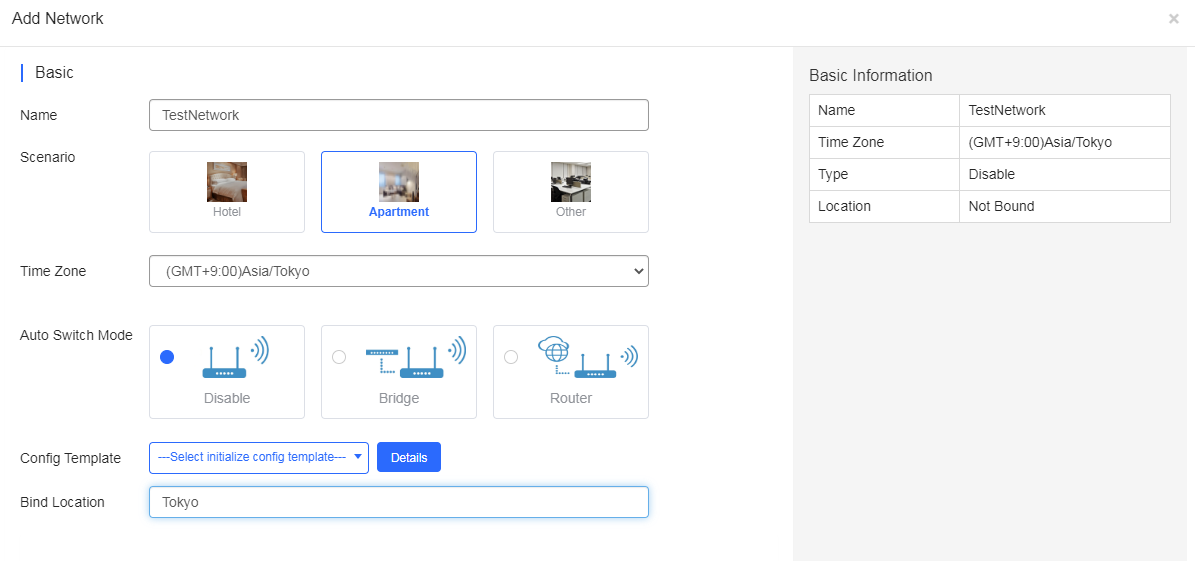
Step 4: Specify the network location.
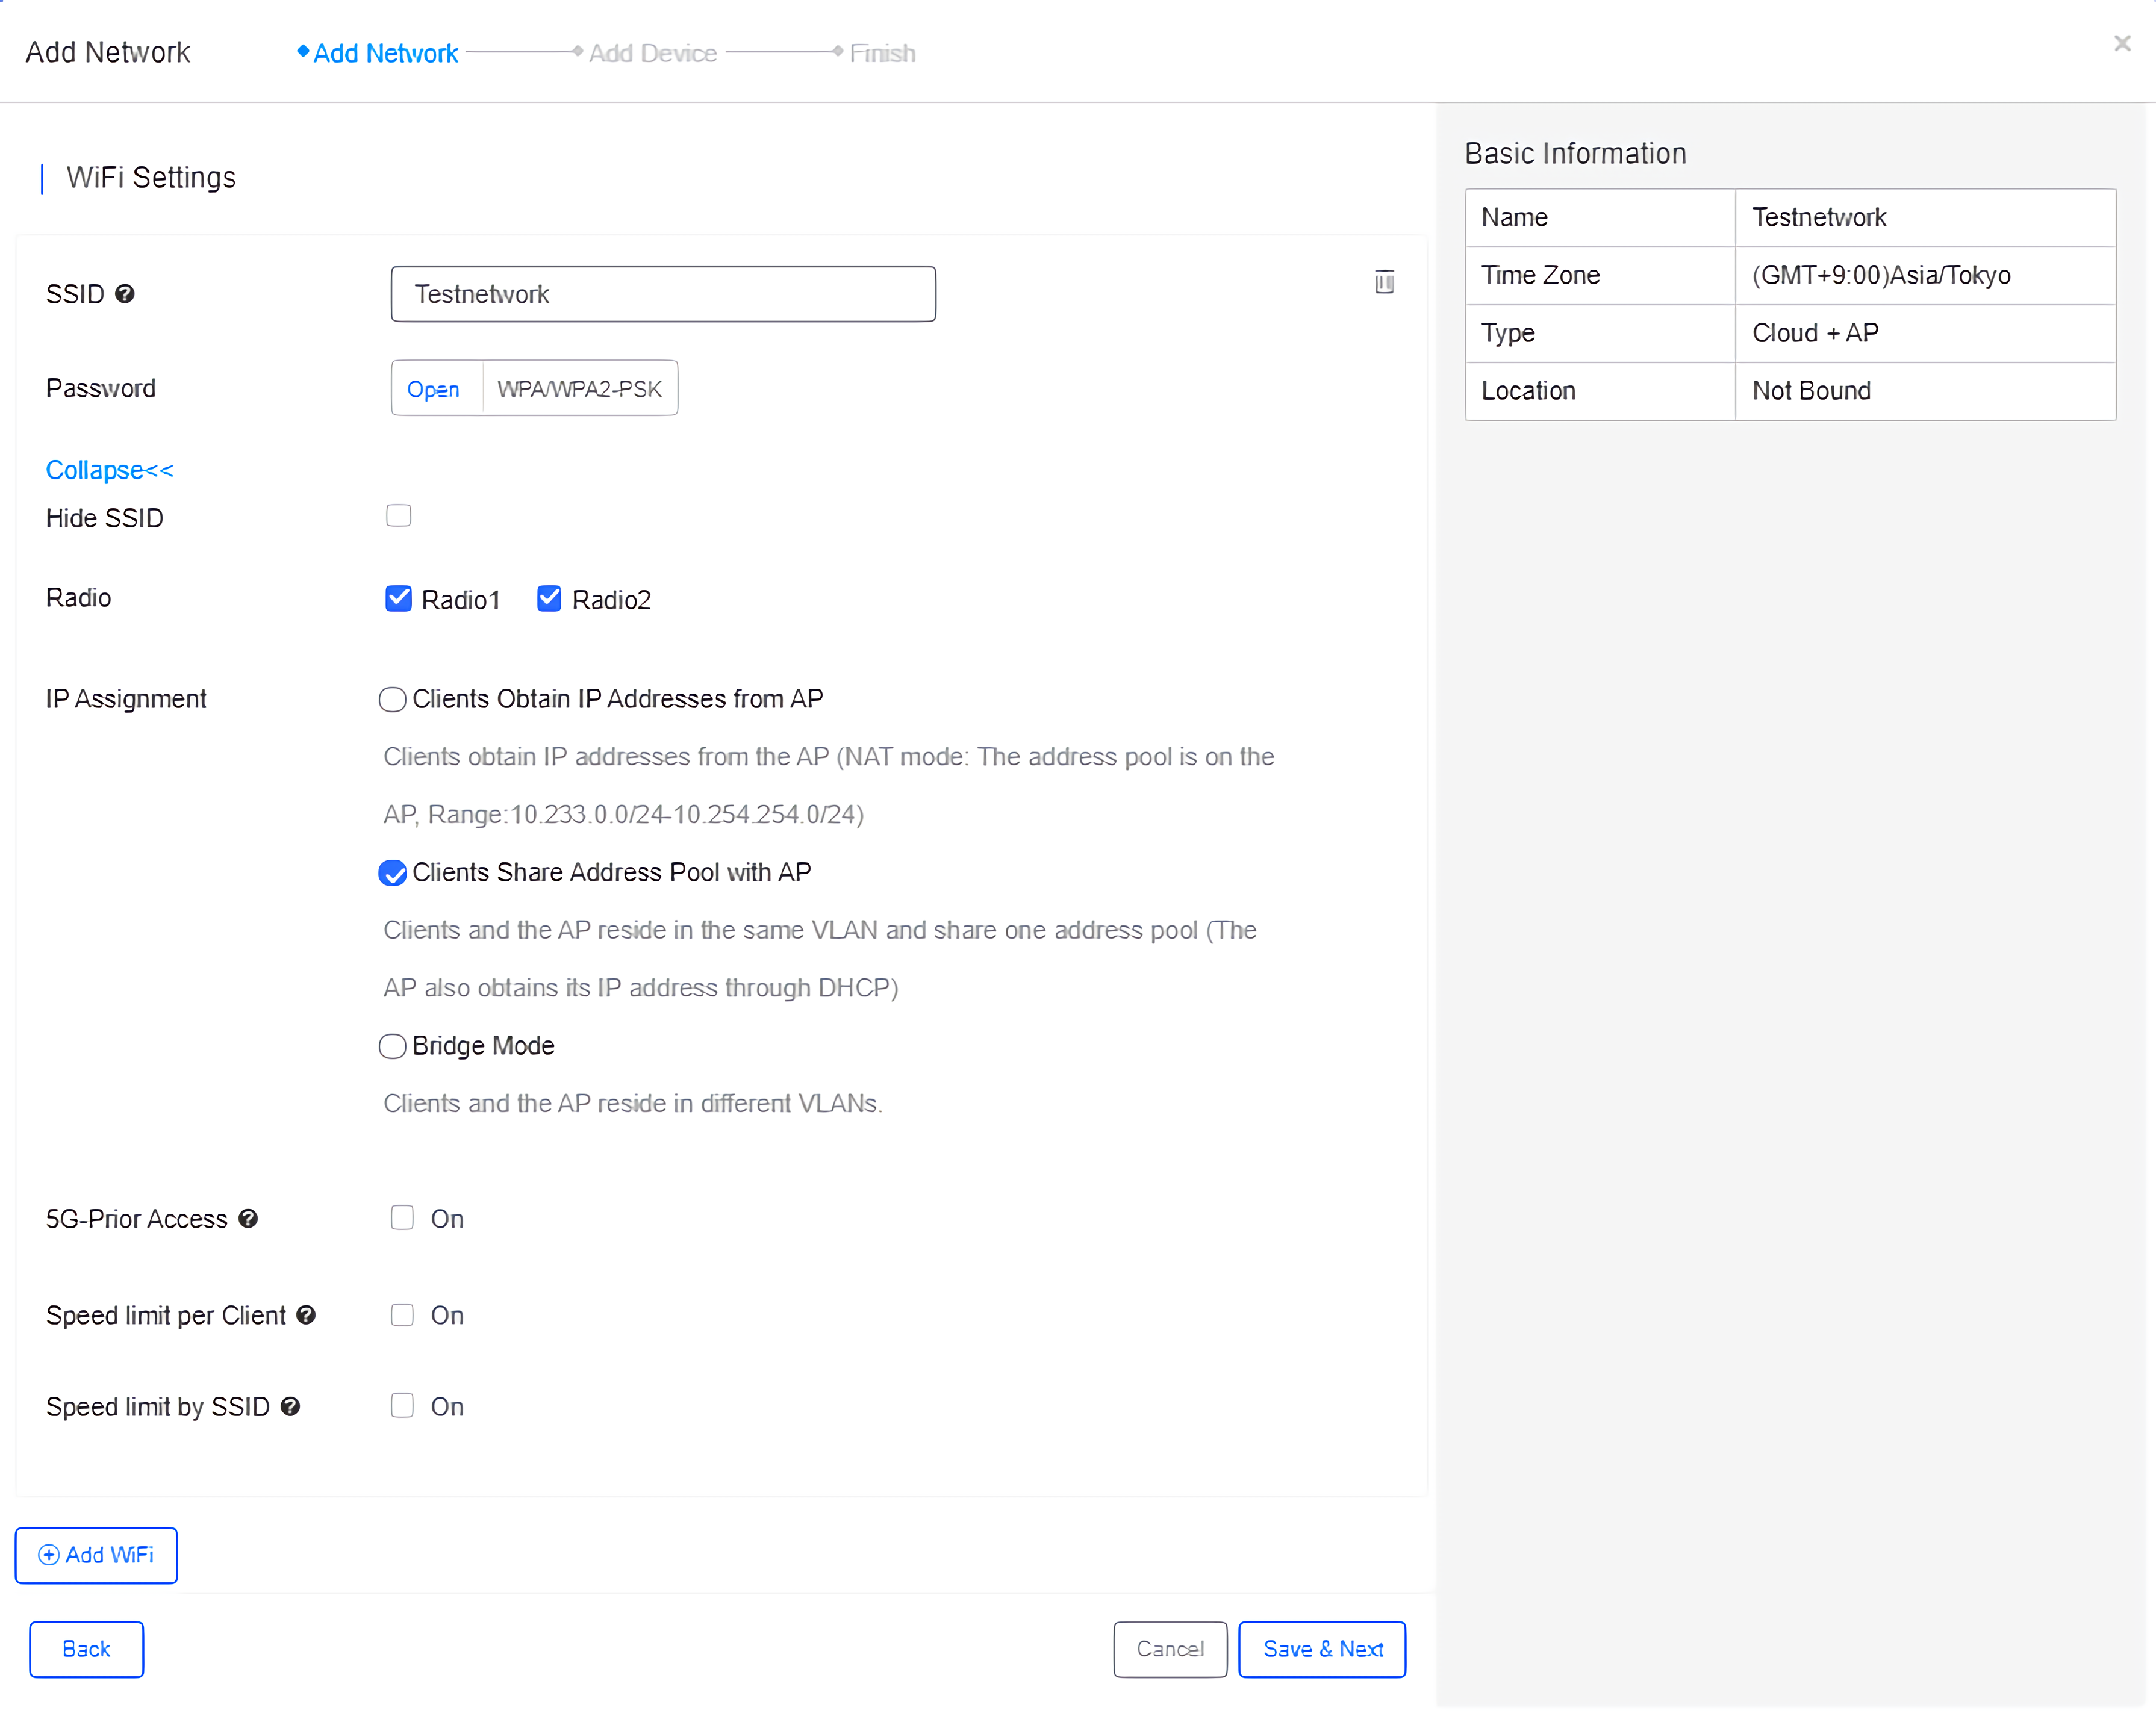
Step 5: Enter the WiFi information as required.
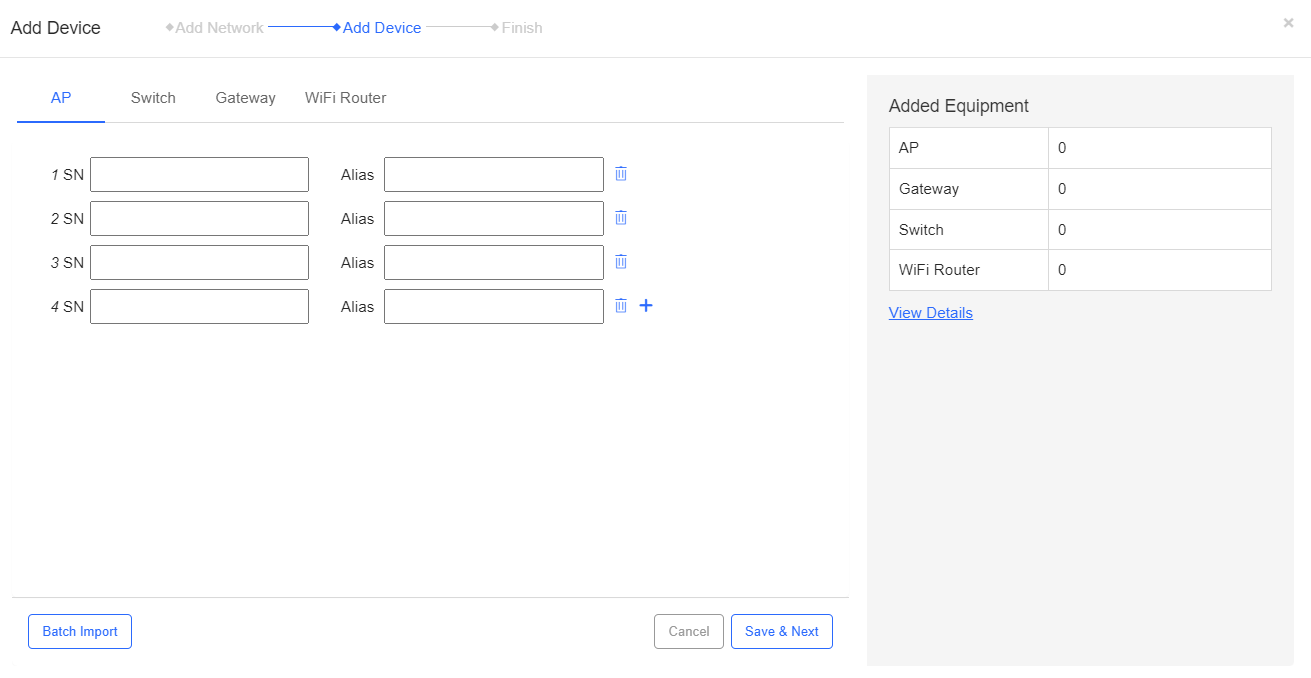
Step 6: Enter the information of APs, switches and gateways, and click Save & Next . Or click Batch Import to download the template, enter the device information in the table, and then batch import devices into the system.
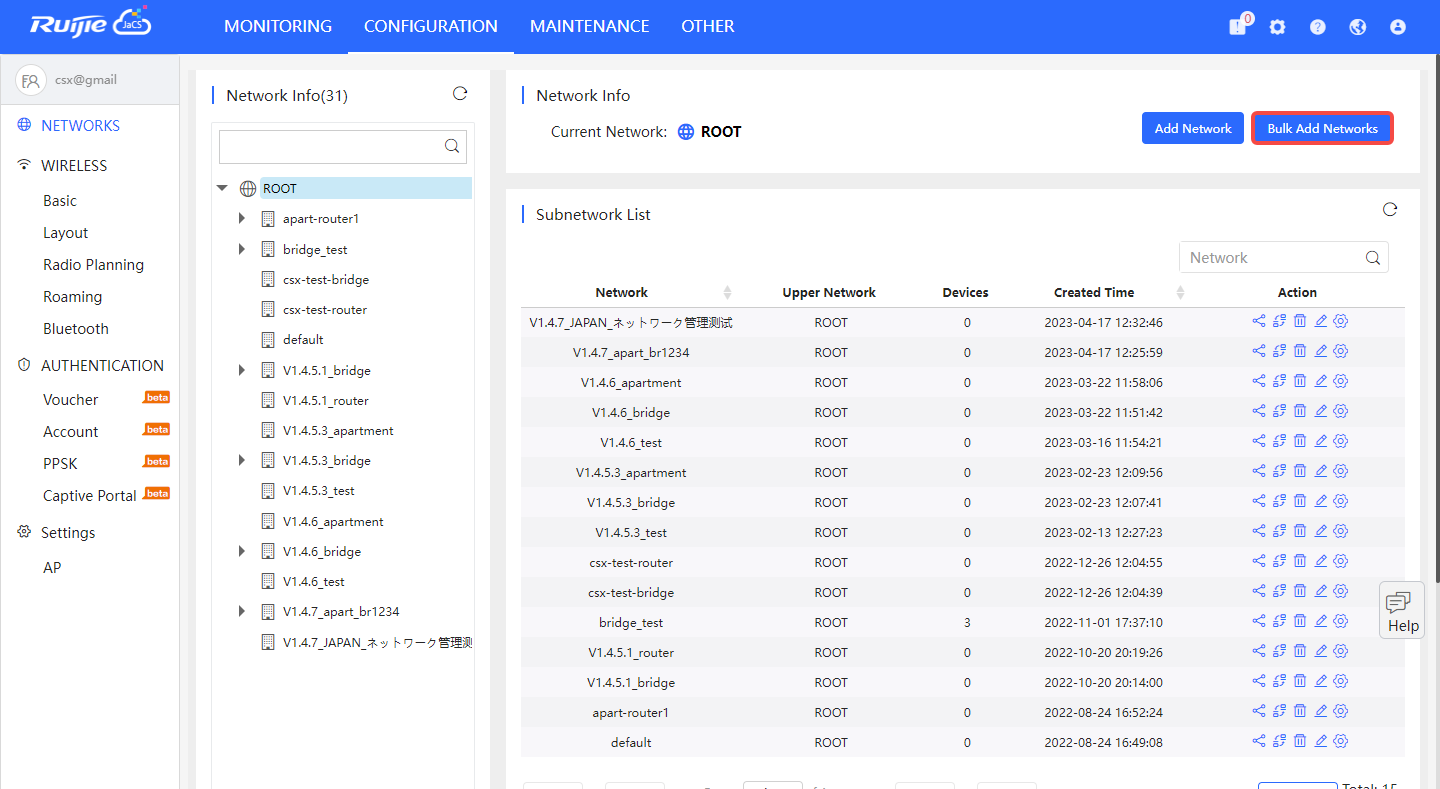
Step 1: Click Bulk Add Networks to enter the setting page.
Step 2: Specify the Scenario, Time Zone, Auto Switch Mode and Configuration Template (optional).
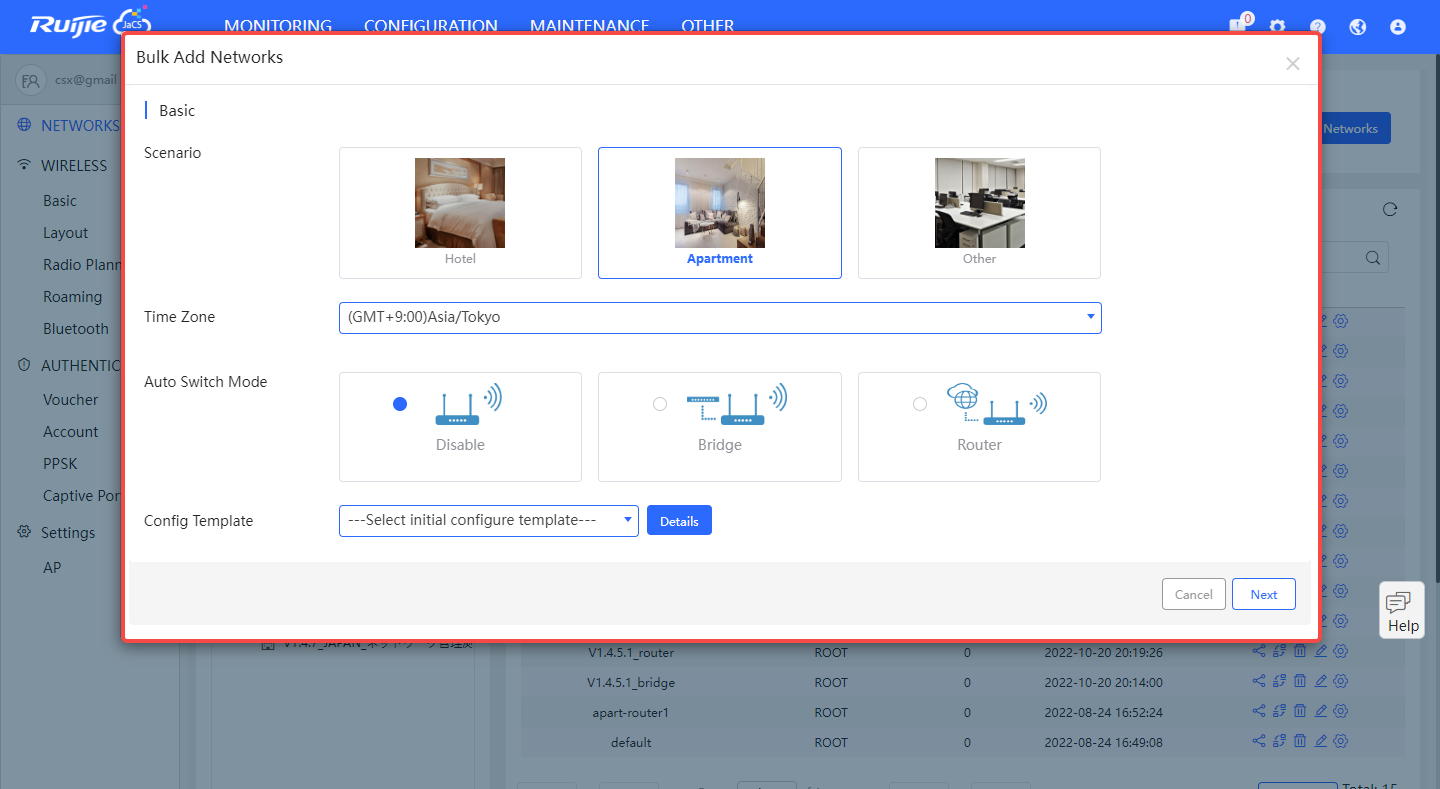
Note: When an initial configuration template is selected, the Enabled button appears. By default, the function is disabled. When it is enabled, the configurations in the template will be delivered to all devices in the network when they go online for the first time.
Step 3: Click Download Template to download and fill in the template.

Step 4: Click Batch Import to import the filled template.

Note: If a wrong file is imported, an error prompt appears for 3s. If a correct file is imported, a confirmation box appears. Click OK in the confirmation box to import the file.
When the file is imported, the created networks will be displayed in the Succeed list. The networks of which parameters are consistent with other networks will be displayed in the Failed list.
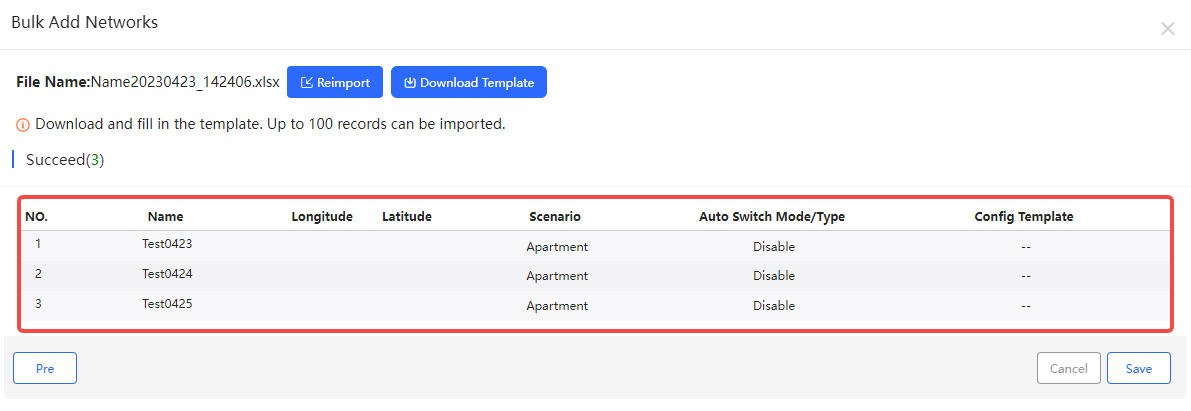
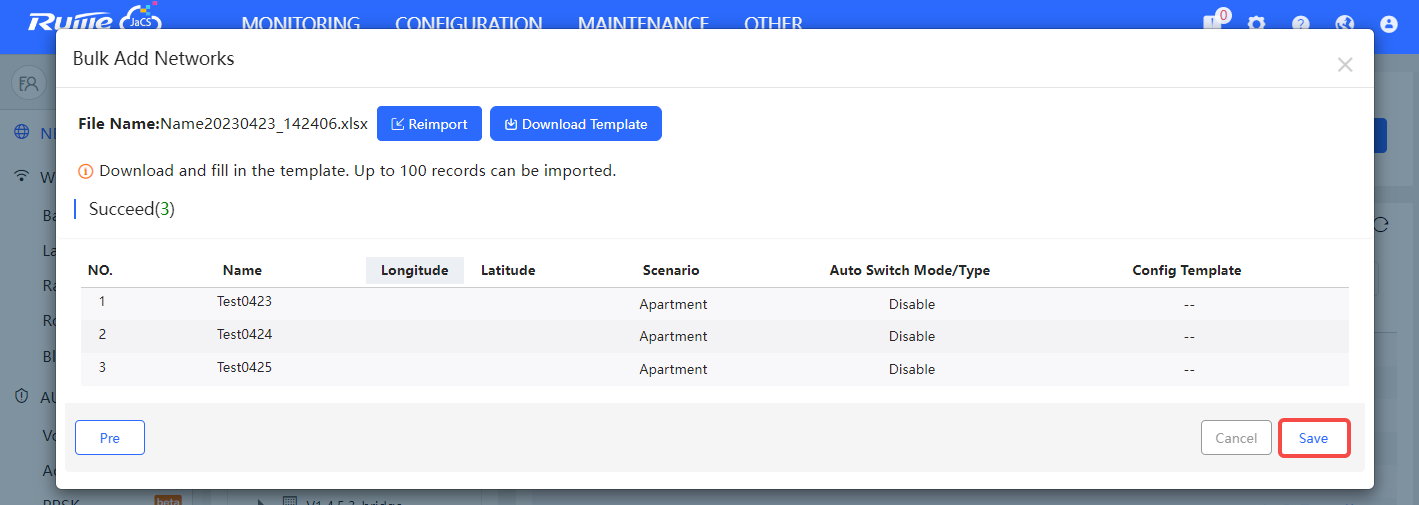
Step 5: Click Save to complete the import. All the networks created will be displayed in the CONFIGURATION > NETWORKS page.
Note: If several users import a same file at the same time, the file imported by the user who clicks Save first will be saved, and error prompt will be sent to the rest of the users.
全部评论