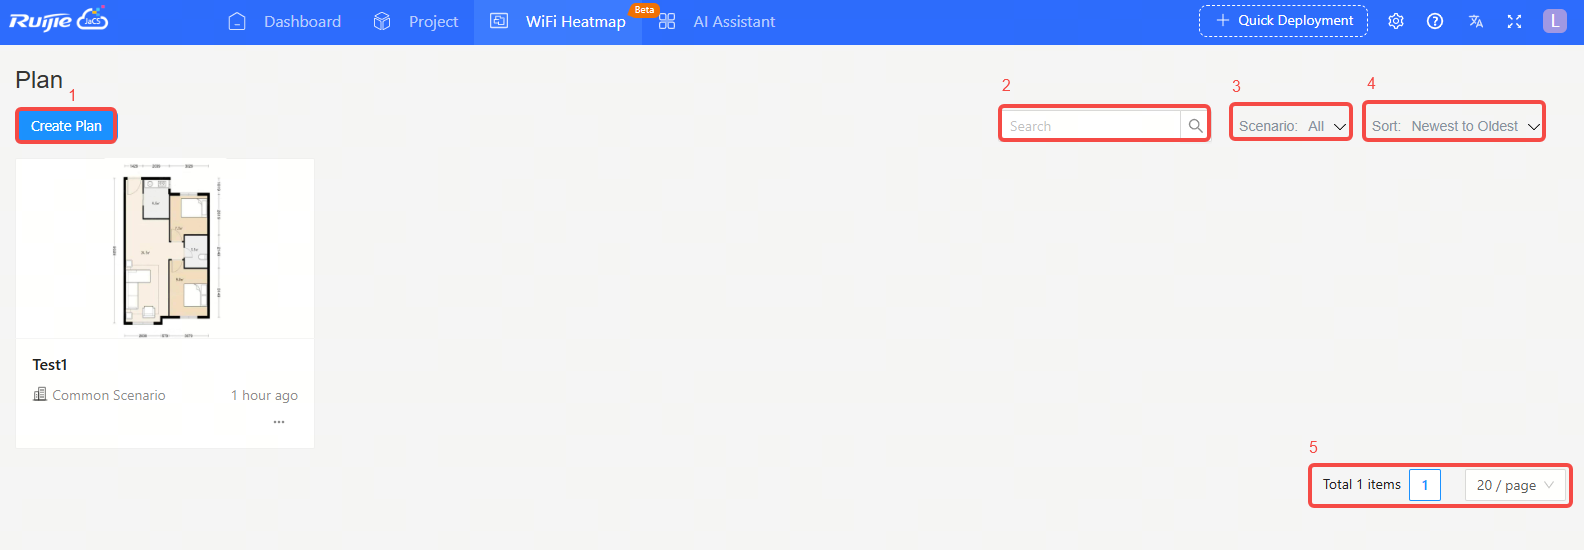
Click [WiFi Heatmap] to go to the WiFi heatmap management page.
| No. | Description |
| 1 | Create Plan button. |
| 2 | Search input box by plan name |
| 3 | Filter plans by scenario: Education Scenario, Hospital Scenario, Enterprise Scenario, Hospital Scenario, Common Scenario |
| 4 | Sort by creation time: newest to oldest or oldest to newest; sort by plan name: A to Z or Z to A |
| 5 | Pagination feature |
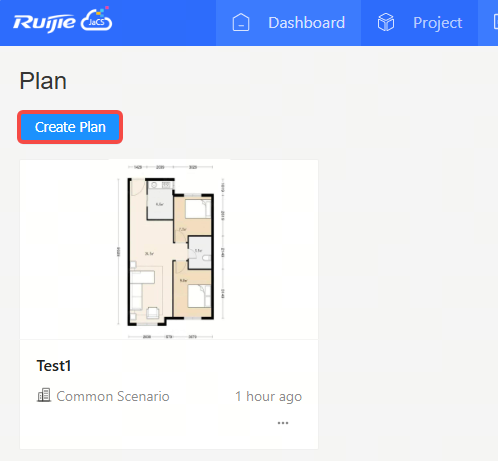
Step 1: Click <Create Plan>.
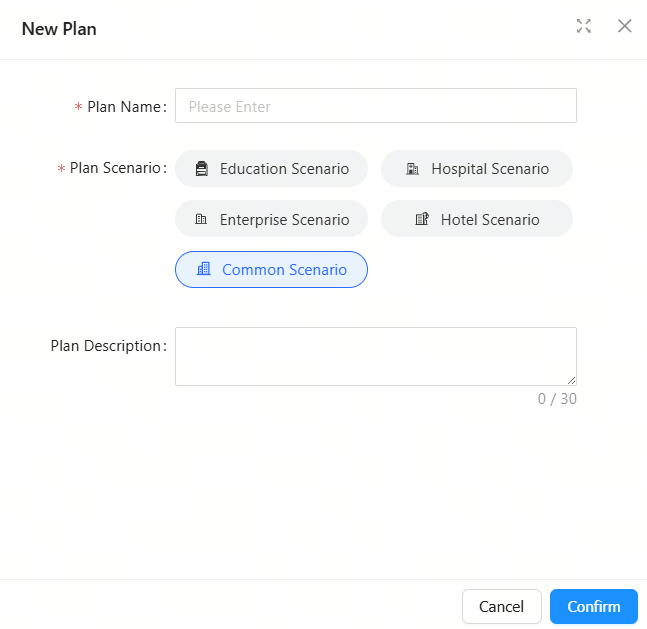
Step 2: Fill in the basic information of the plan.
| Items | Description |
| Plan Name | Required. Set the plan name. Up to 15 characters can be entered. Only letters, numbers, spaces, and the following characters are allowed: - _ # / . [ ] () = : + @. |
| Plan Scenario | Required. Default: Common scenario |
| Plan Description | Optional. Up to 30 characters can be entered. Only letters, numbers, spaces, and the following characters are allowed: - _ # / . [] () = : + @. |
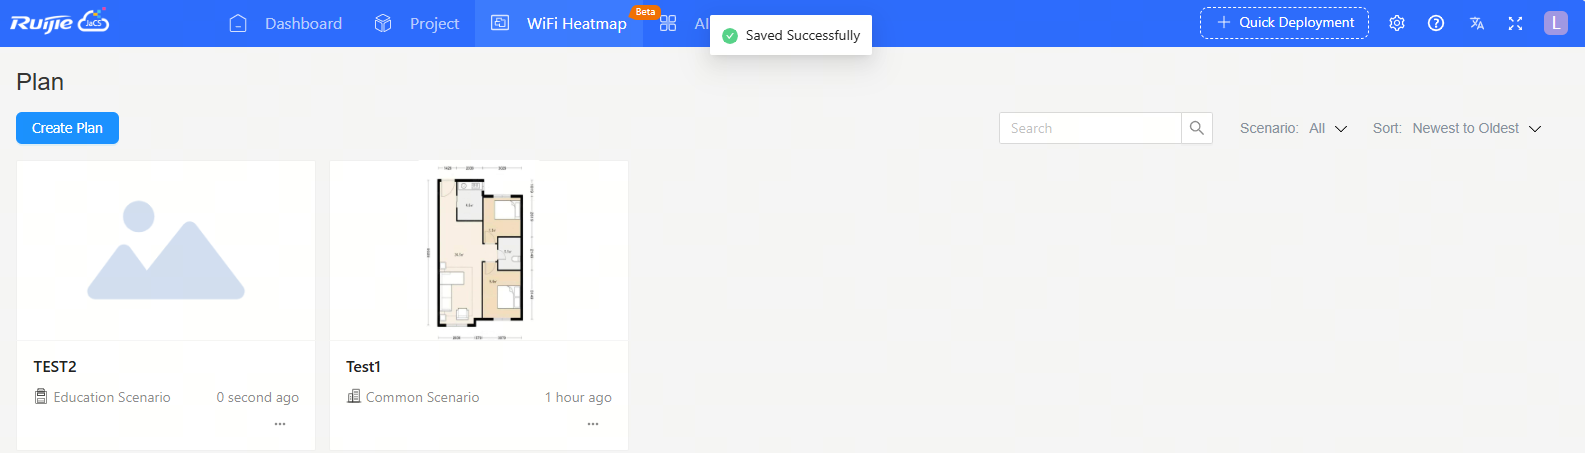
Step 3: After filling the basic information, click <Confirm>. After the “Save Successfully” message appears, the plan is created.
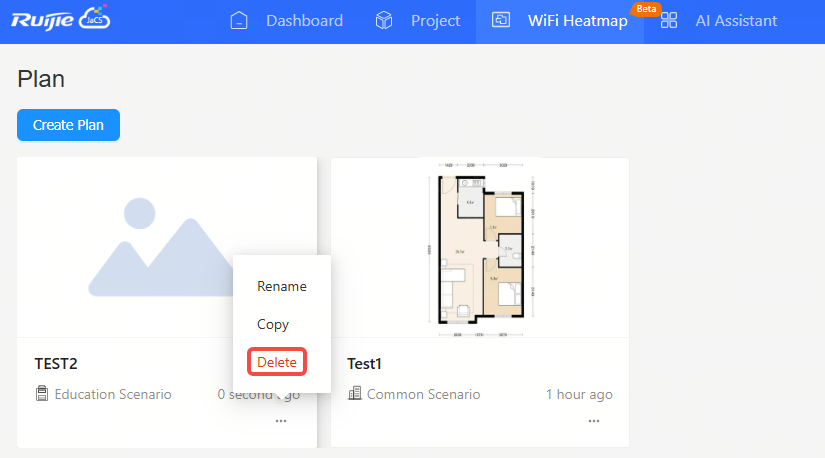
Step 1: Hover your cursor over the icon  on the bottom right corner of the plan to be deleted, and then click <Delete>.
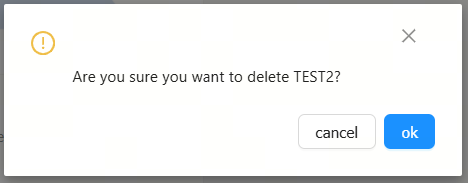
Step 2: Click OK in the confirmation box.
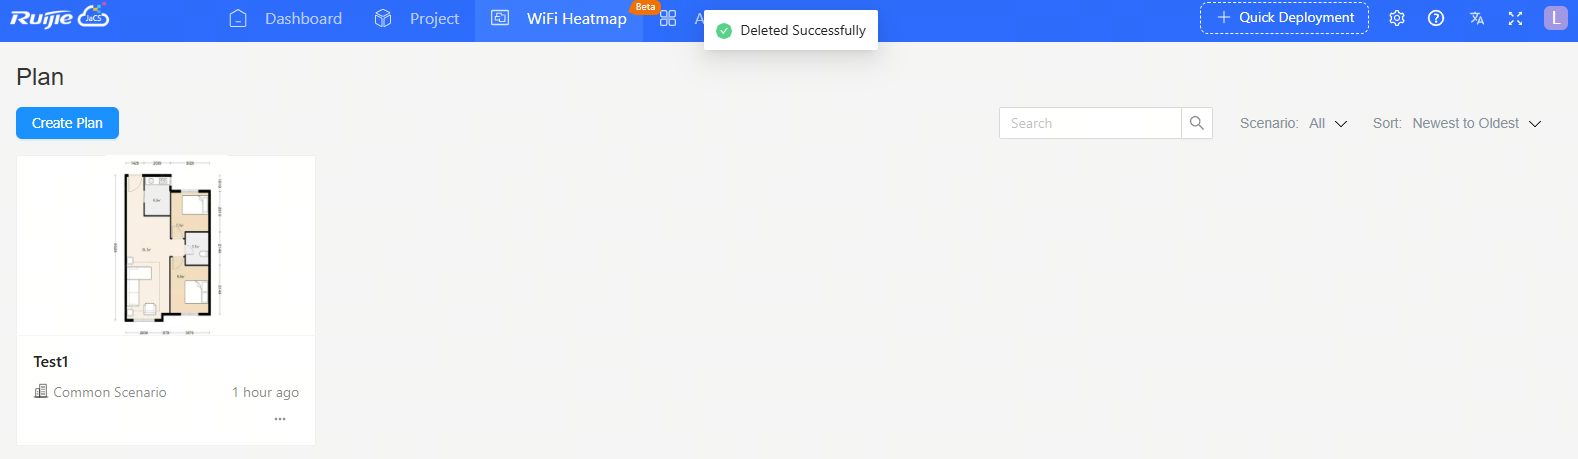
Step 3: When the “Deleted Successfully” message appears, the plan is deleted.
Step 1: Hover your cursor over the  icon on the bottom right corner of the plan, and then click <Rename>.

Step 2: After changing the name, click <Confirm> to save the change.
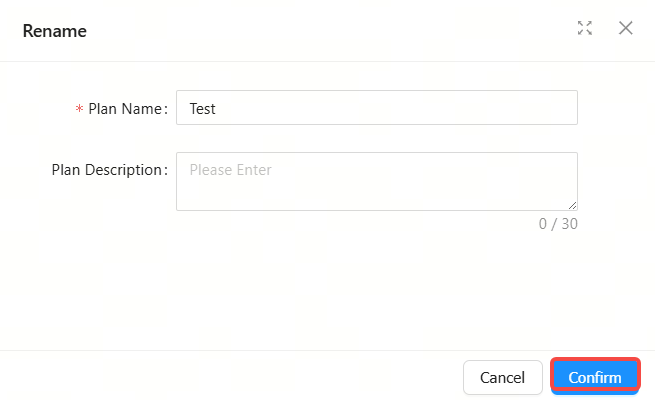
| Items | Description |
| Plan Name | Required. Up to 15 characters can be entered. Only letters, numbers, spaces, and the following characters are allowed: - _ # / . [] () = : + @. |
| Plan Description | Optional. Up to 30 characters can be entered. Only letters, numbers, spaces, and the following characters are allowed: - _ # / . [] () = : + @. |
Step 3: When the “Updated Successfully” message appears, the operation is completed.

Step 1: Hover your cursor over the icon  on the bottom right corner of the plan, and then click <Copy>.
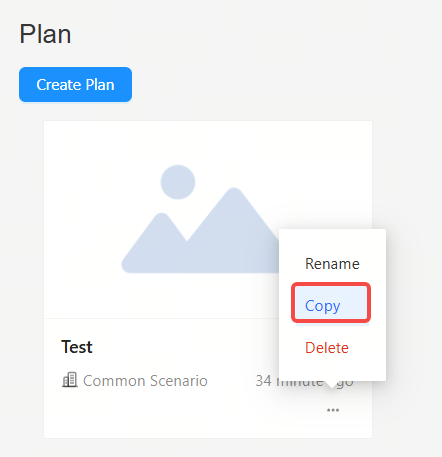
Step 2: When the “Copied Successfully” message appears, the operation is completed.

Note: If the current floor has no floor plan, the import function will appear.
To import the WiFi heatmap of the corresponding floor:
Step 1: Drag a floor plan into this area or click to upload a floor plan.
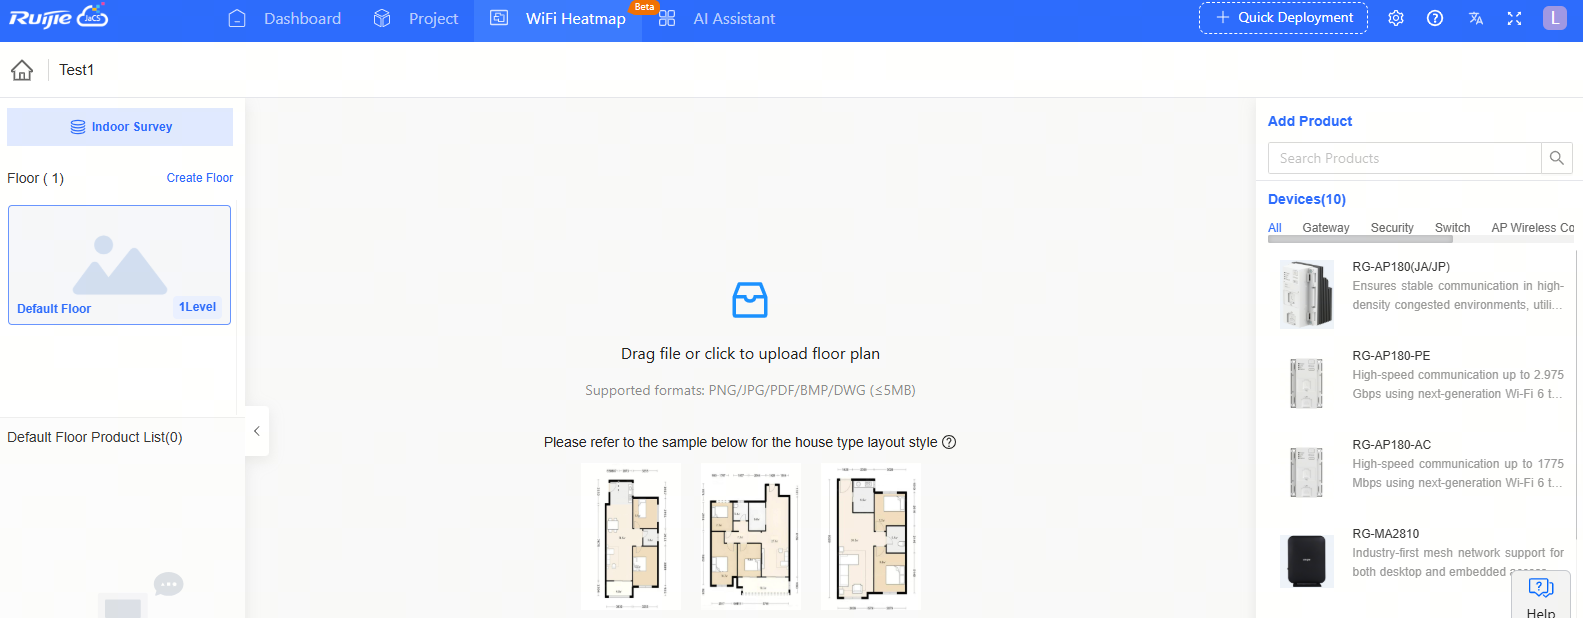
Step 2: When the "Upload Successful" prompt appears, the import is completed.

全部评论