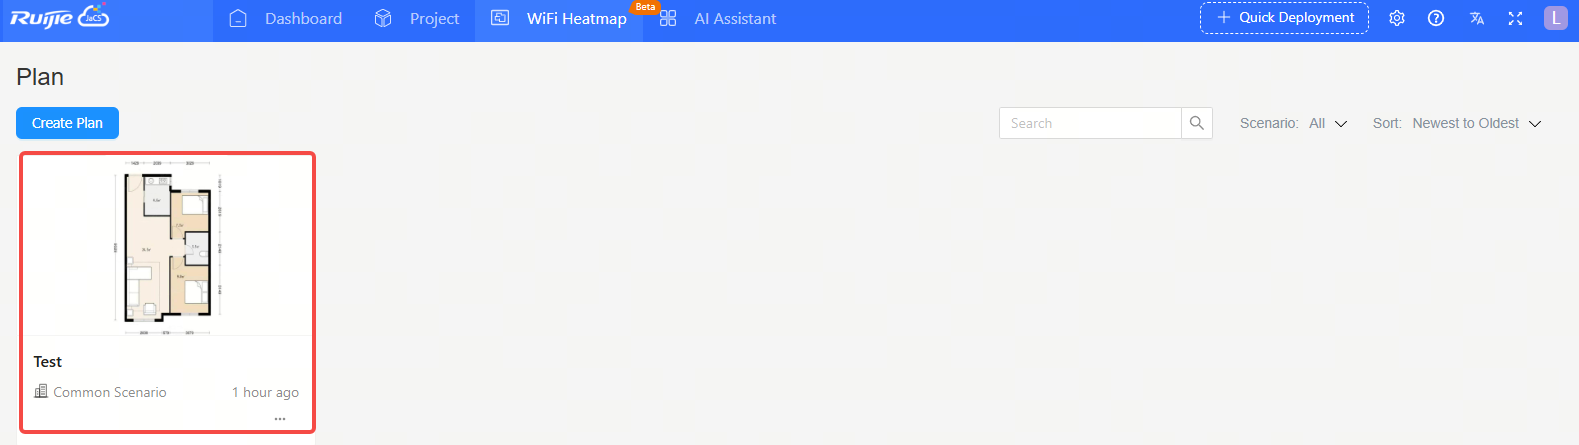
Afer creating a plan, click the plan to go to the floor management page.

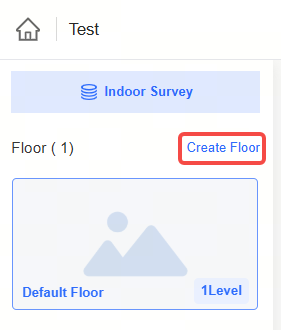
Step 1: Click <Create Floor>.
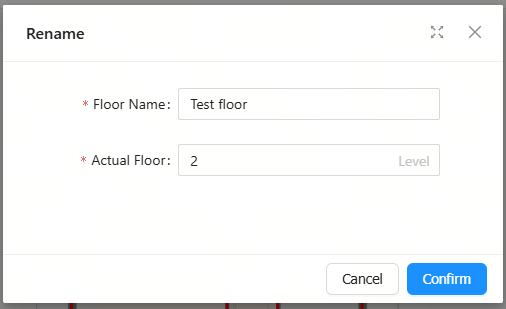
Step 2: Fill in the basic information of the floor.
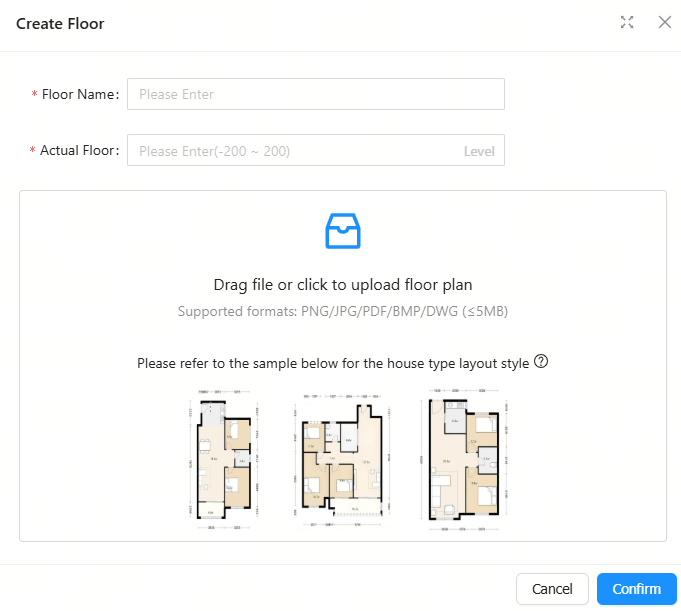
| Items | Description |
| Floor Name | Required. Up to 30 characters can be entered. Only letters, numbers, spaces, and the following characters are allowed: - _ # / . [] () = : + @. |
| Actual Floor | Required. Set the actual floor number. Range: -200 to 200 |
| Floor Plan | Optional. Set the floor plan. The supported formats include PNG, JPG, PDF, BMP and DWG. File size must not exceed 5MB. Only one file can be uploaded. |
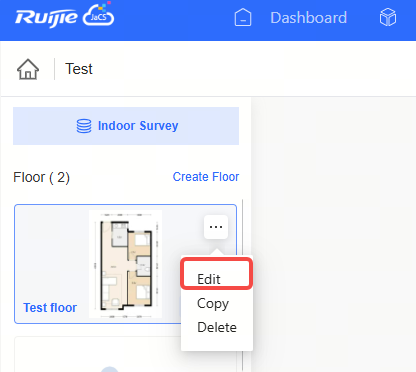
Step 1: Hover your cursor over the  icon, and then click <Edit>.
Step 2: Change the information as needed, and click <Confirm>.
| Items | Description |
| Floor Name | Required. Up to 30 characters can be entered. Only letters, numbers, spaces, and the following characters are allowed: - _ # / . [] () = : + @. |
| Actual Floor | Required. Set the actual floor number. Range: -200 to 200 |
Step 3: When the “Updated Successfully” message appears, the operation is completed.

Step 1: Hover your cursor over the  icon, and then click <Copy>.
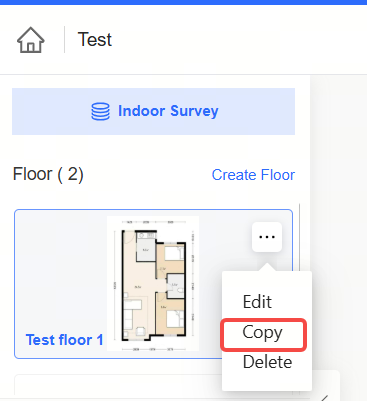
Step 2: When the “Copied Successfully” message appears, the operation is completed.

Step 1: Hover your cursor over the icon on , and then click <Delete>.
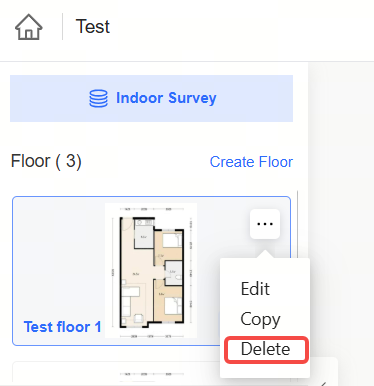
Note: The default floor cannot be deleted.
Step 2: When the confirmation message appears, click <OK>.
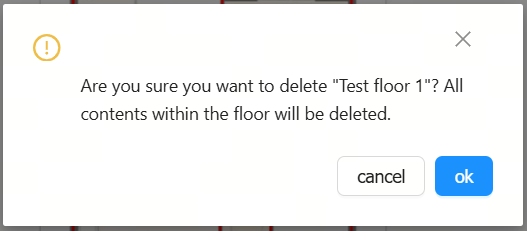
Step 3: When the “Deleted Successfully” message appears, the operation is completed.

全部评论