| Buttons | Description |
 | Undo the previous action on the canvas. You also can press Ctrl+Z. |
 | Redo the next action on the canvas. You also can press Ctrl+Y. |
 | Fix to screen. |
 | Display or hide the wall on the canvas. |
 | Set the scale of the canvas. |
 | Draw walls. When you click on the wall, a checkbox appears. Checking the box will display the wall, while unchecking it will hide the wall. |
 | Identify walls. |
The canvas can be set by length or by area.
Click the  icon, and set the length.
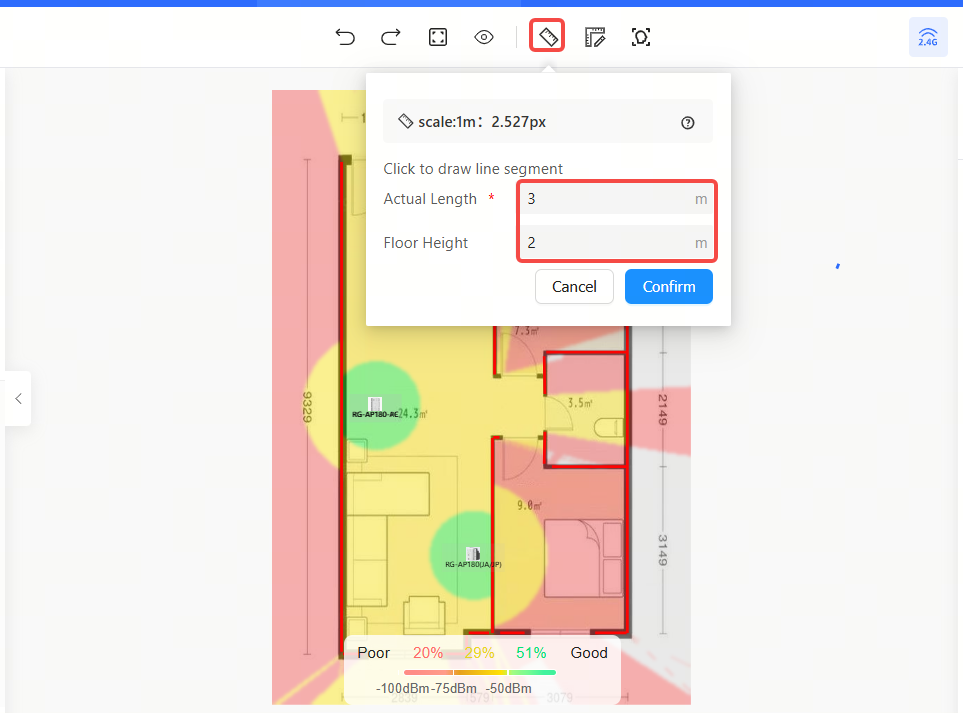
Step 1: Click the  icon, and set the length.
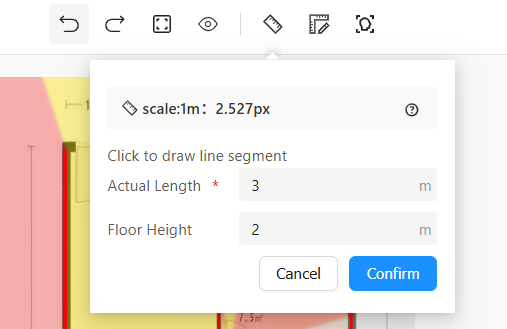
Step 2: Draw a line segment on the canvas.
Step 3: Enter the actual length (required; range: 0-9999)
Step 4: Input floor height.
Step 5: Click the <Confirm>.
Step 6: If the message "Setting Successfully" is displayed, it means the floor scale has been set successfully.
After setting the canvas, the signal coverage map will display the heatmap accordingly
(1) Drawing a Wall
Step 1: Click the  to enter the wall drawing function. When the draw instruction appears, it means that you can draw a wall.
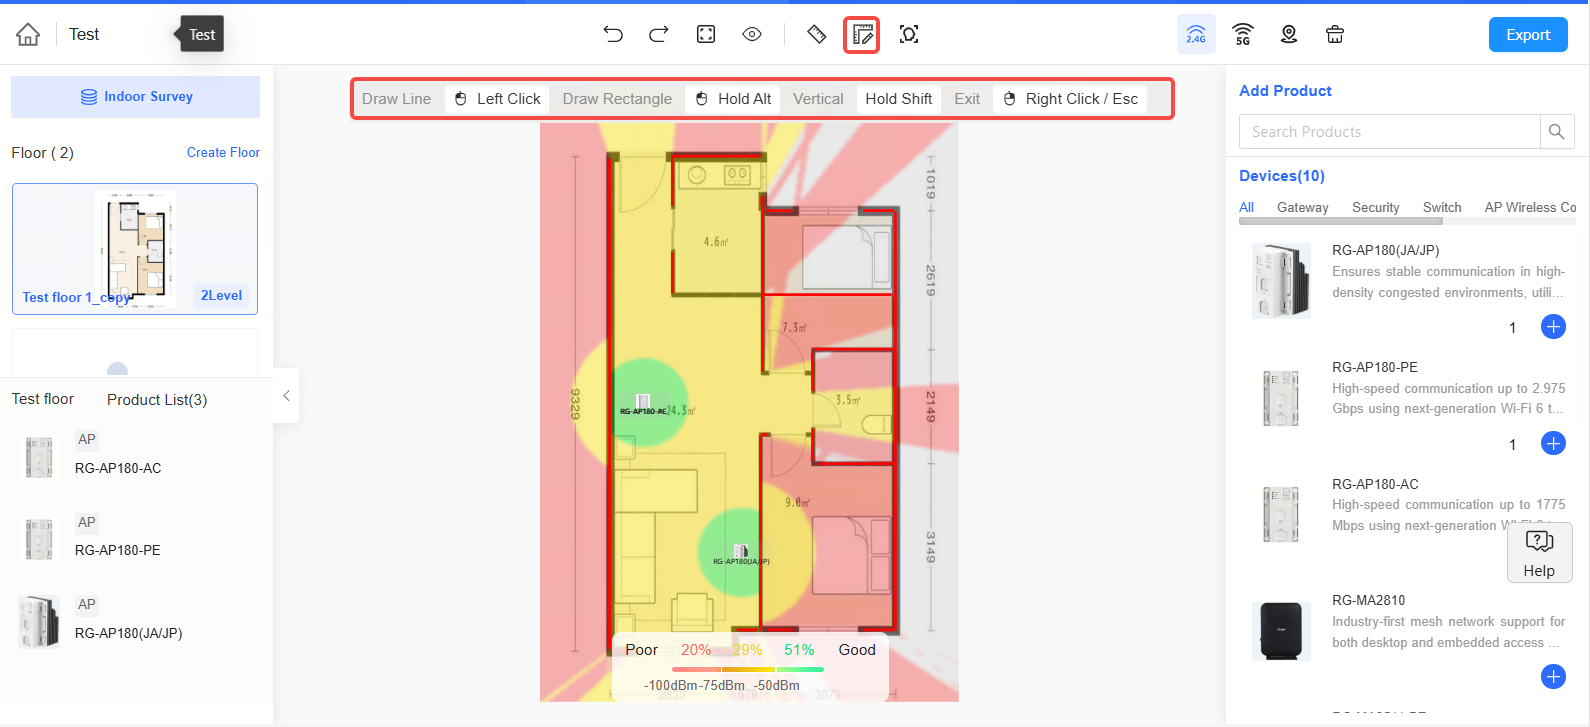
Step 2: Left-click the mouse (hold down ALT to draw a rectangle, or hold down Shift to draw a straight line). 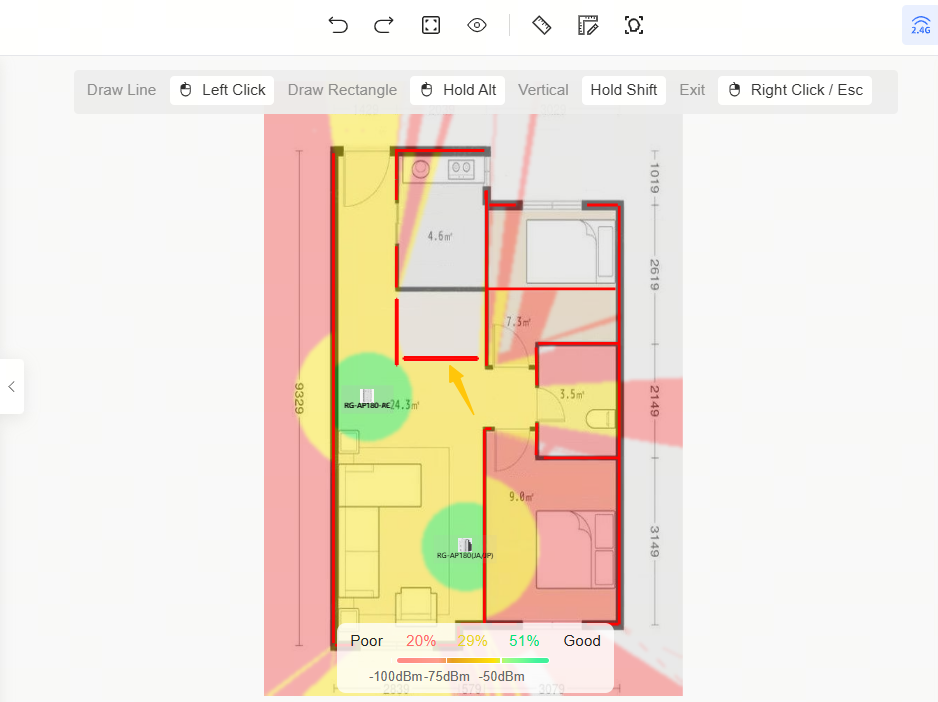
Step 3: After drwaing the walls, right-click the mouse or press the Esc to exit drawing function.
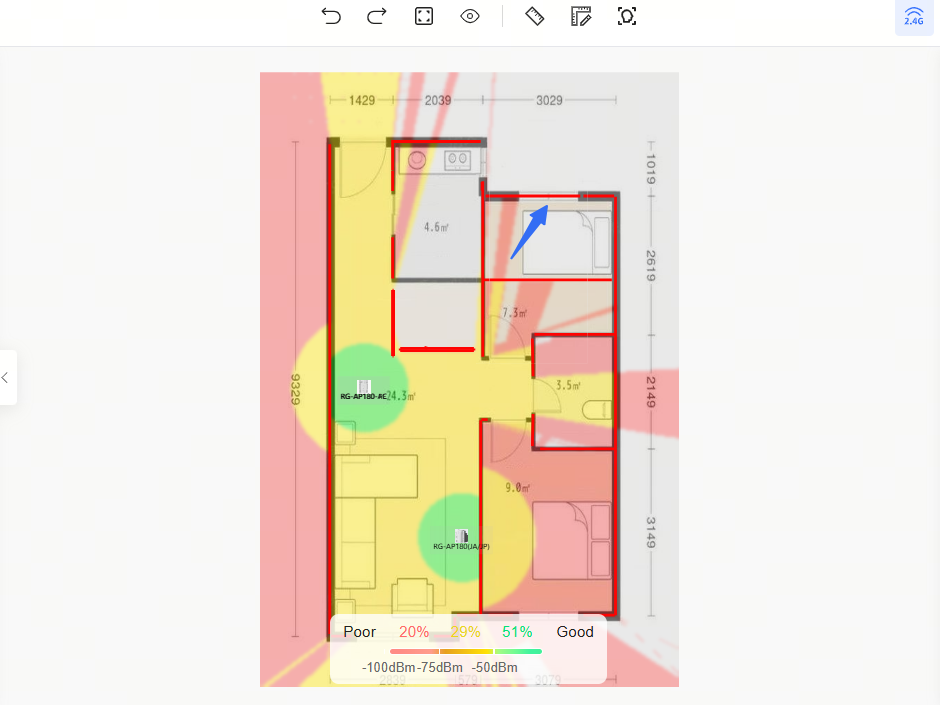
(2) Modifying a Wall
Move the cursor onto a wall, and then two bule dots appear on its two ends. Right-click and drag the blue dots to modify the wall. 
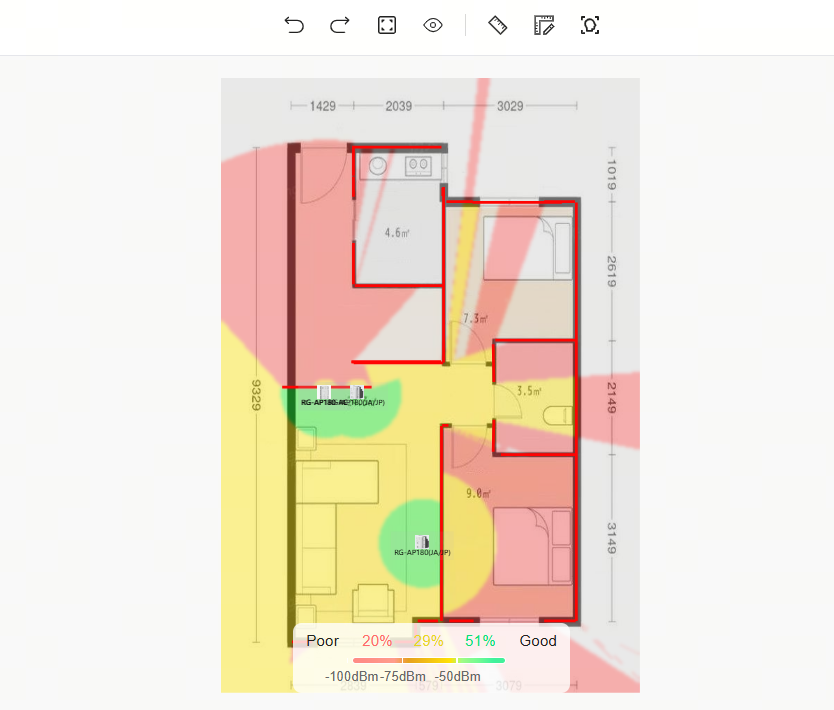
(3) Copying a Wall
Step 1: Hover the cursor over a wall and right-click. Then click <Copy>.
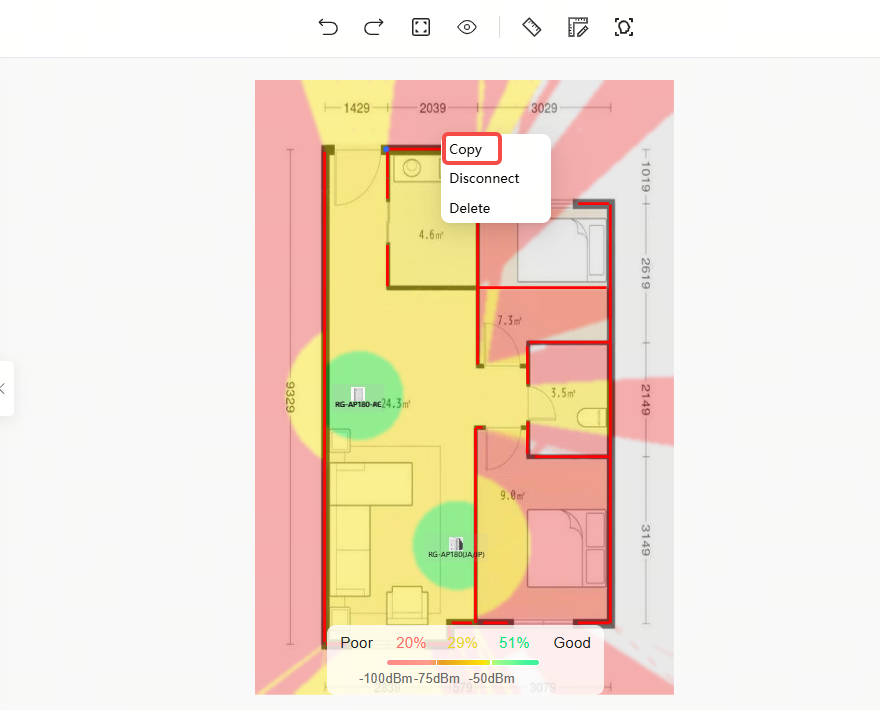
Step 2: Move it to a specific location.

Step 3: Right-click or press Esc to exit the wall copy function.
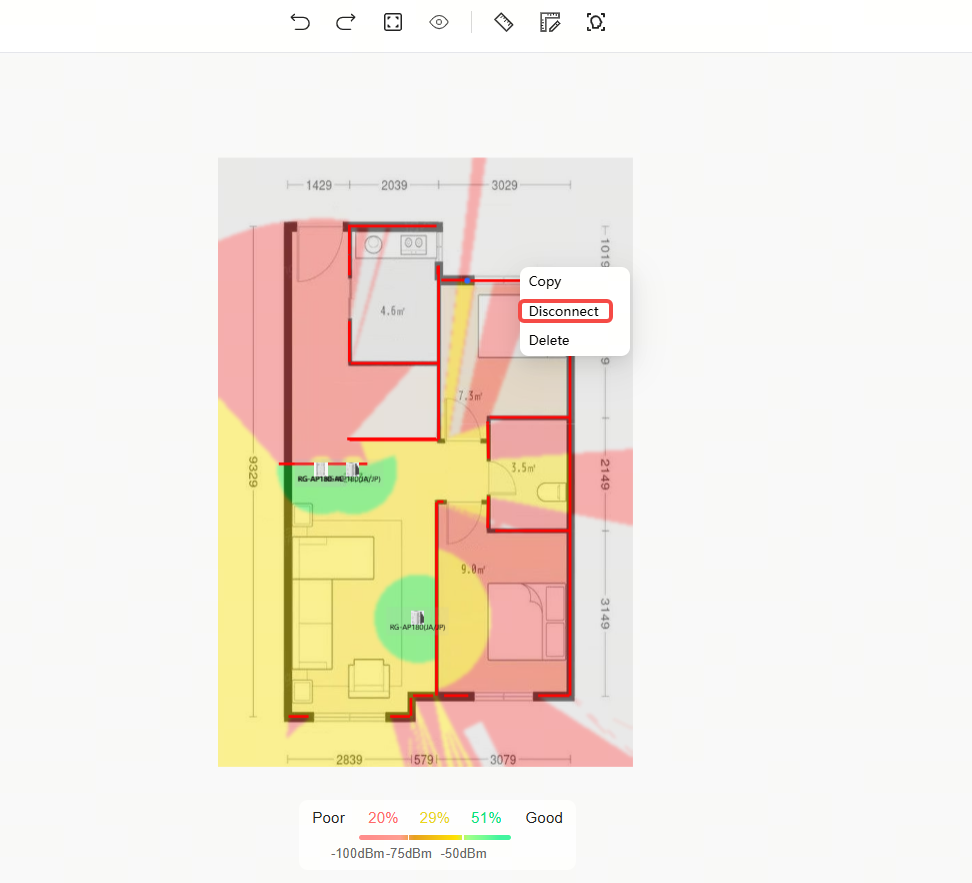
(3) Disconnecting a Wall
Step 1: Hover the cursor over a wall and right-click. Then, click <Disconnect>.
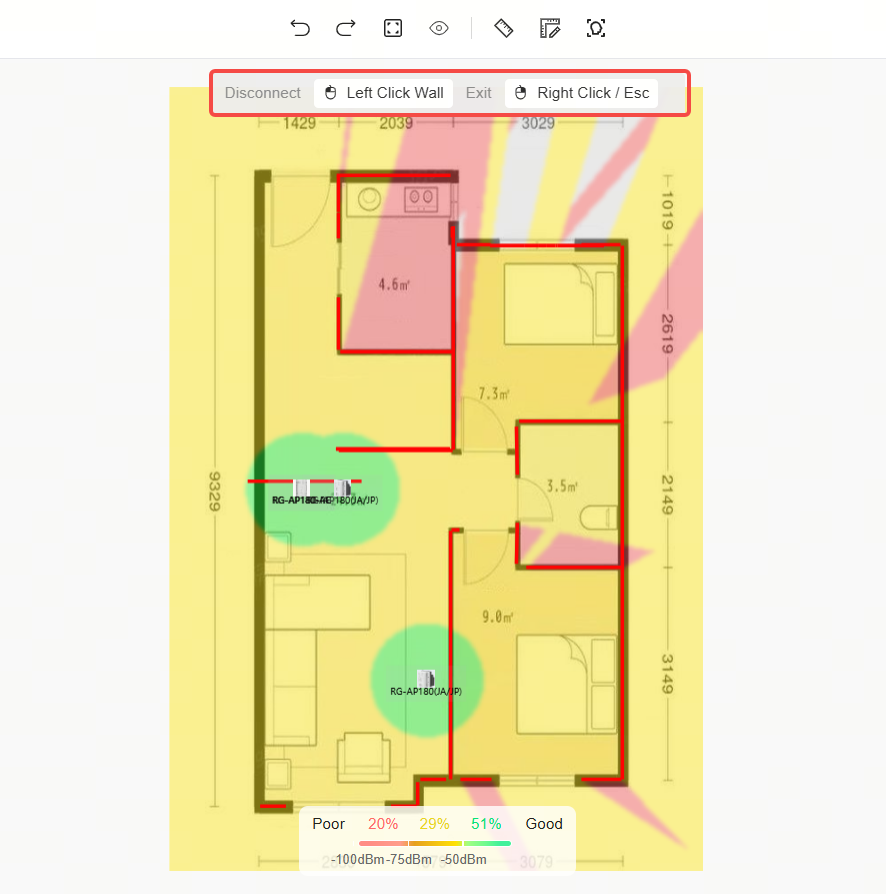
Step 2: When the operation instructions are displayed, it means that the wall can be disconnected.
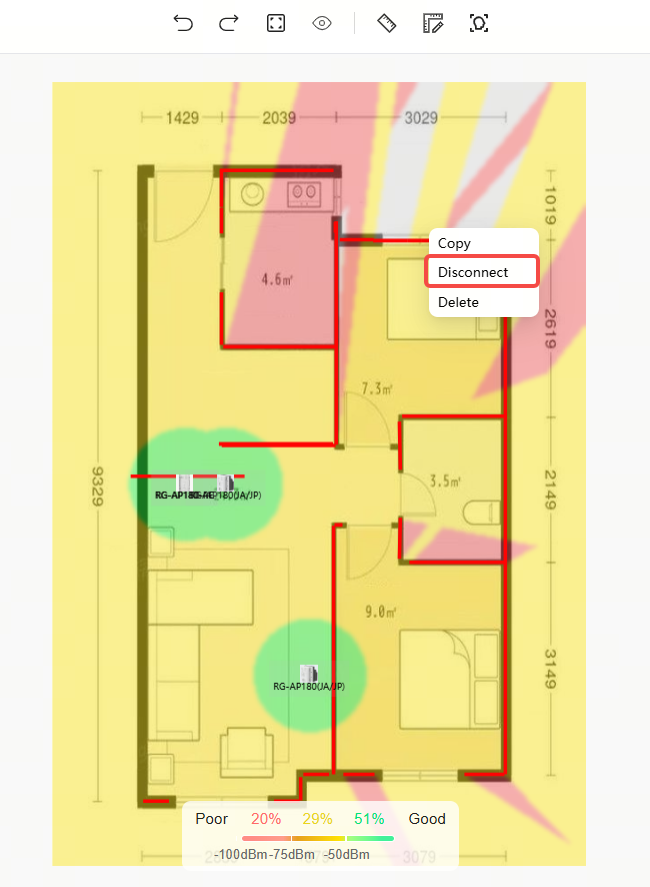
Step 3: When the cursor moves to the wall, a blue dot appears on the wall.
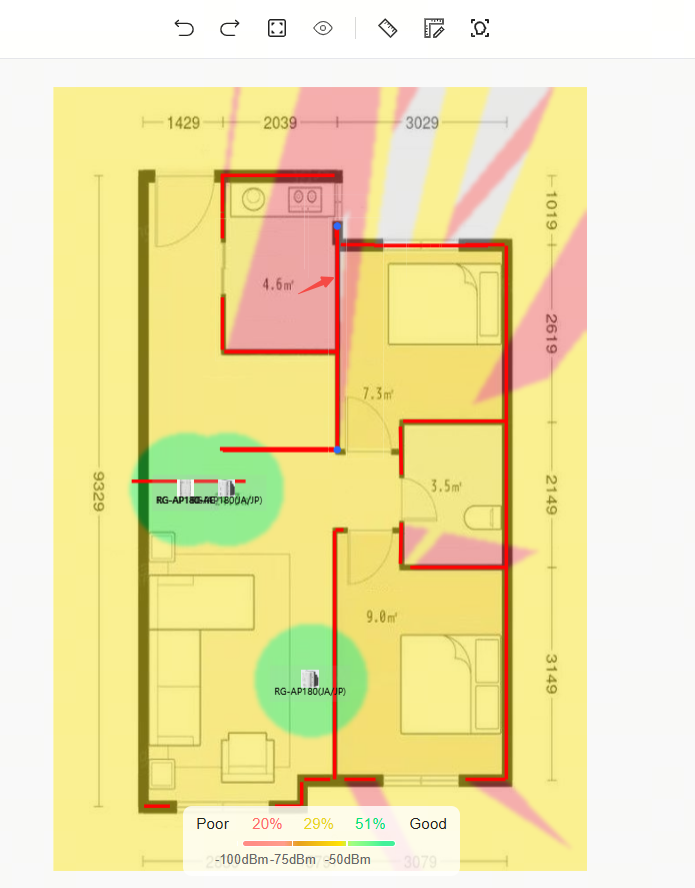
Step 4: Click the blue dot to disconnect the wall.
Step 5: Right-click or press Esc to exit.
(4) Deleting a Wall
Step 1: Hover the cursor over a wall and right-click. Then, click <Delete>.
(5) Editing Wall Properties
Step 1: Left-click a wall.
Step 2: The properties of the current wall are displayed on the right.
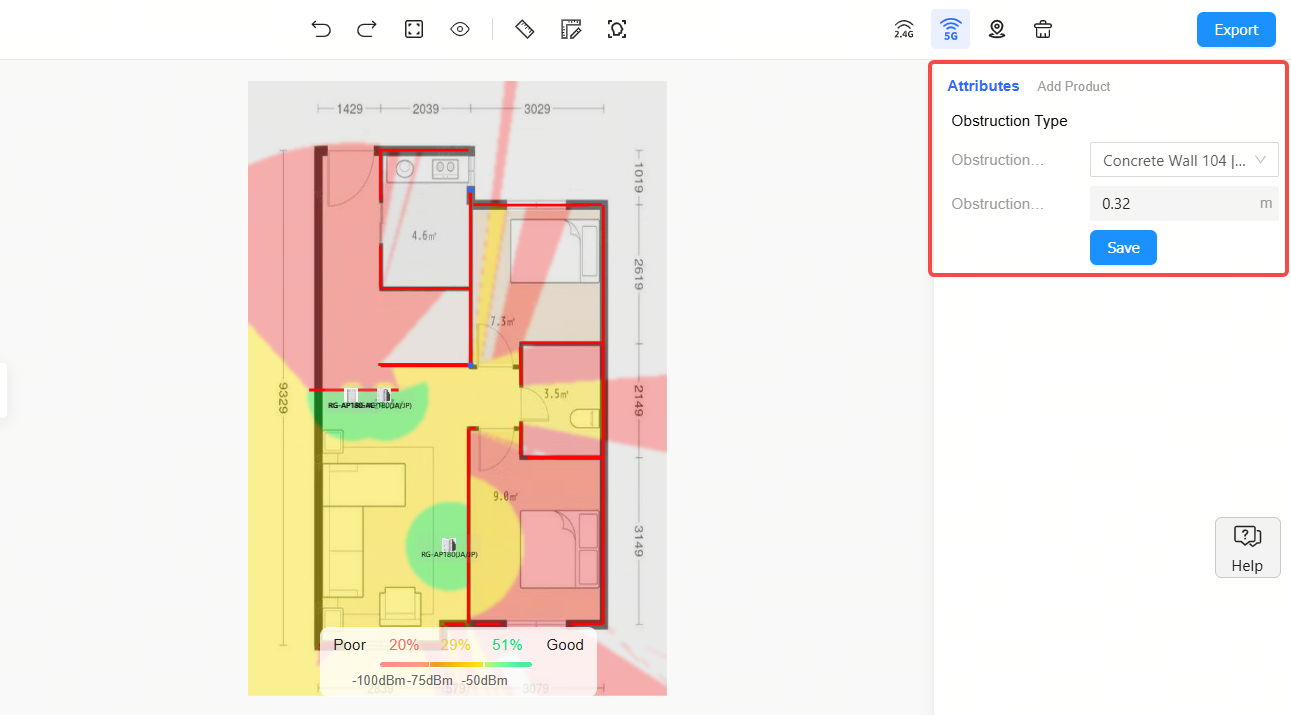
| Items | Description |
| Obstacle material | Required. Select an option from the dropdown |
| Obstacle thickness | Required. Range: 0-100m |
Step 3: After setting the parameters, click <Save>.
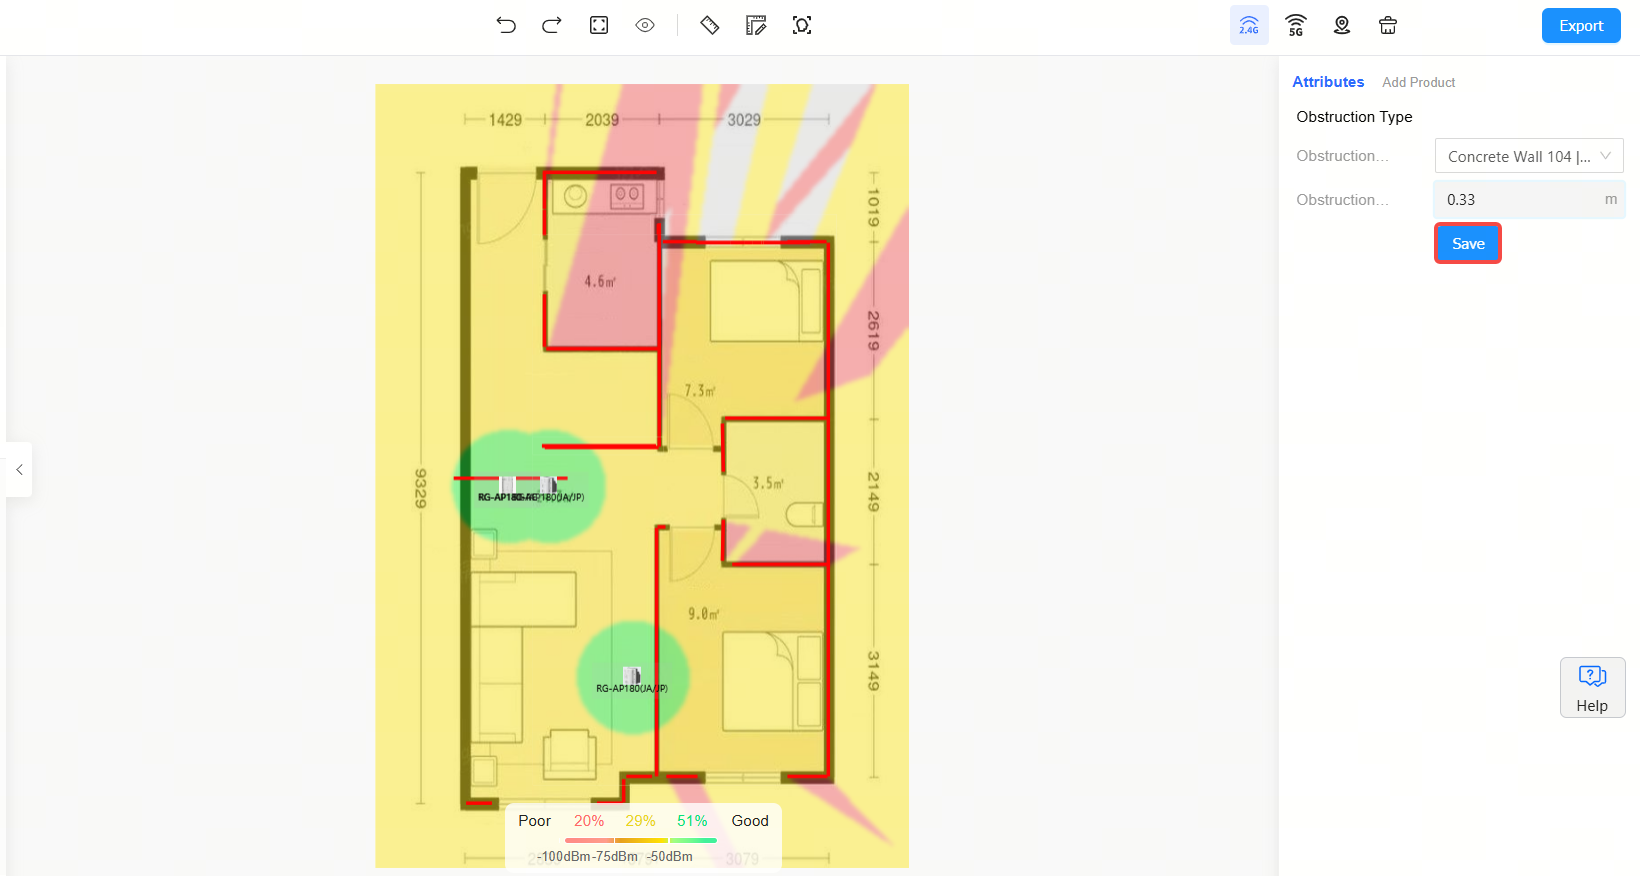
Step 4: After the "Updated Successfully" message appears, the modification is completed.
Step 1: Click the  icon.
icon.
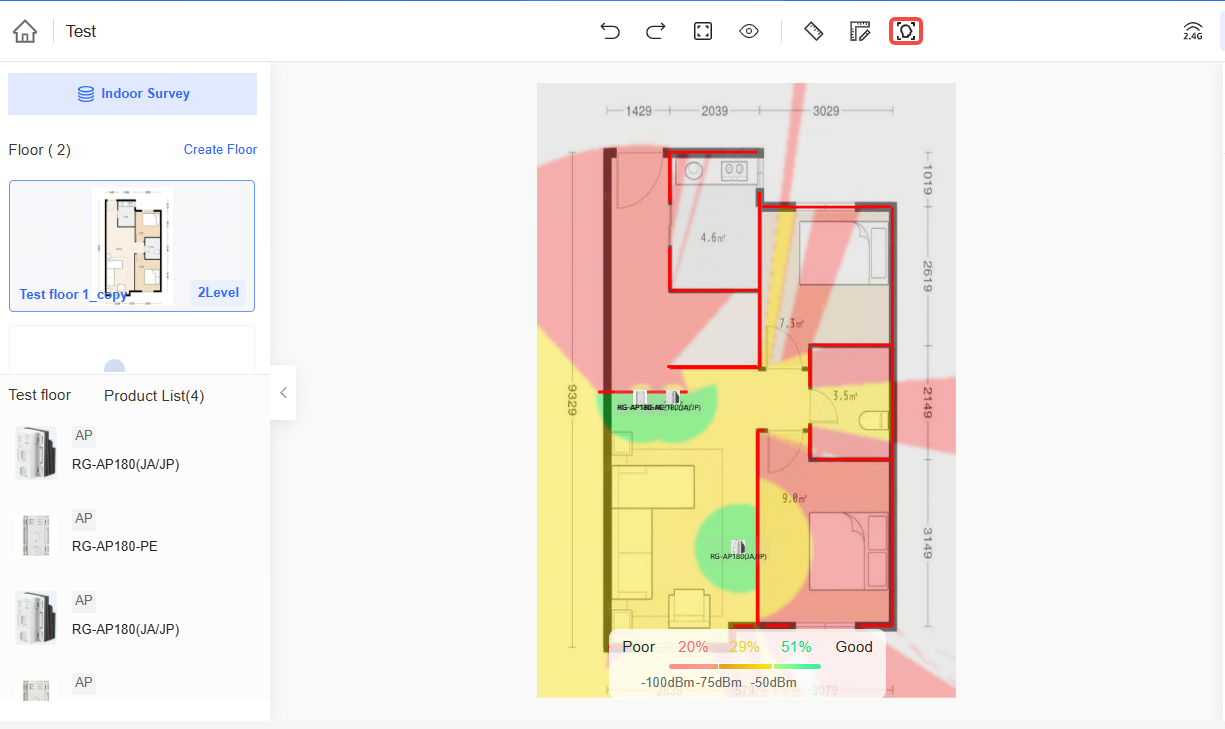
Step 2: Click <OK> in the confirmation box.
Step 3: When the "Setting Applied" message appears, and the wall are re-identified.

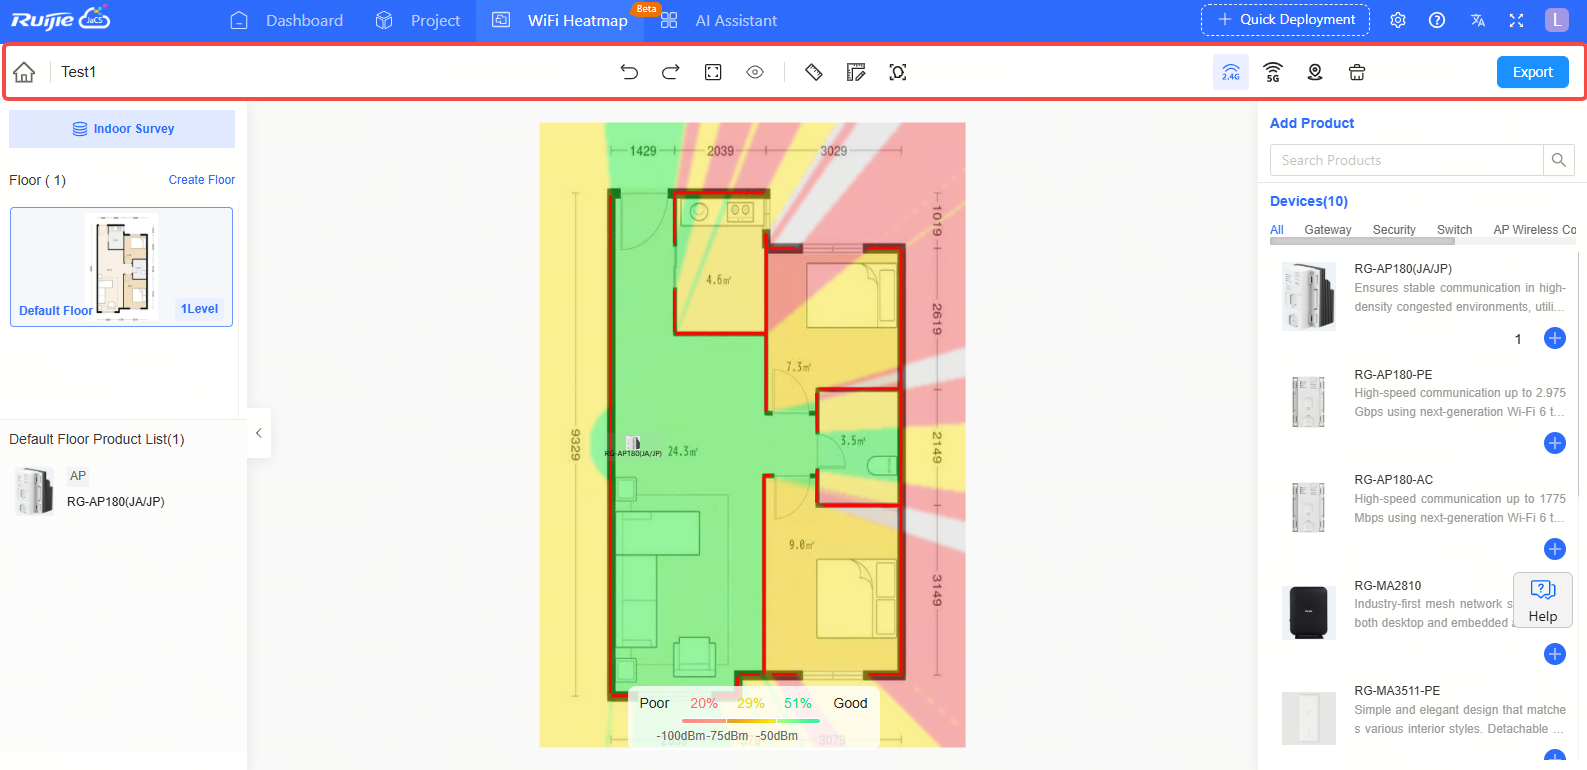
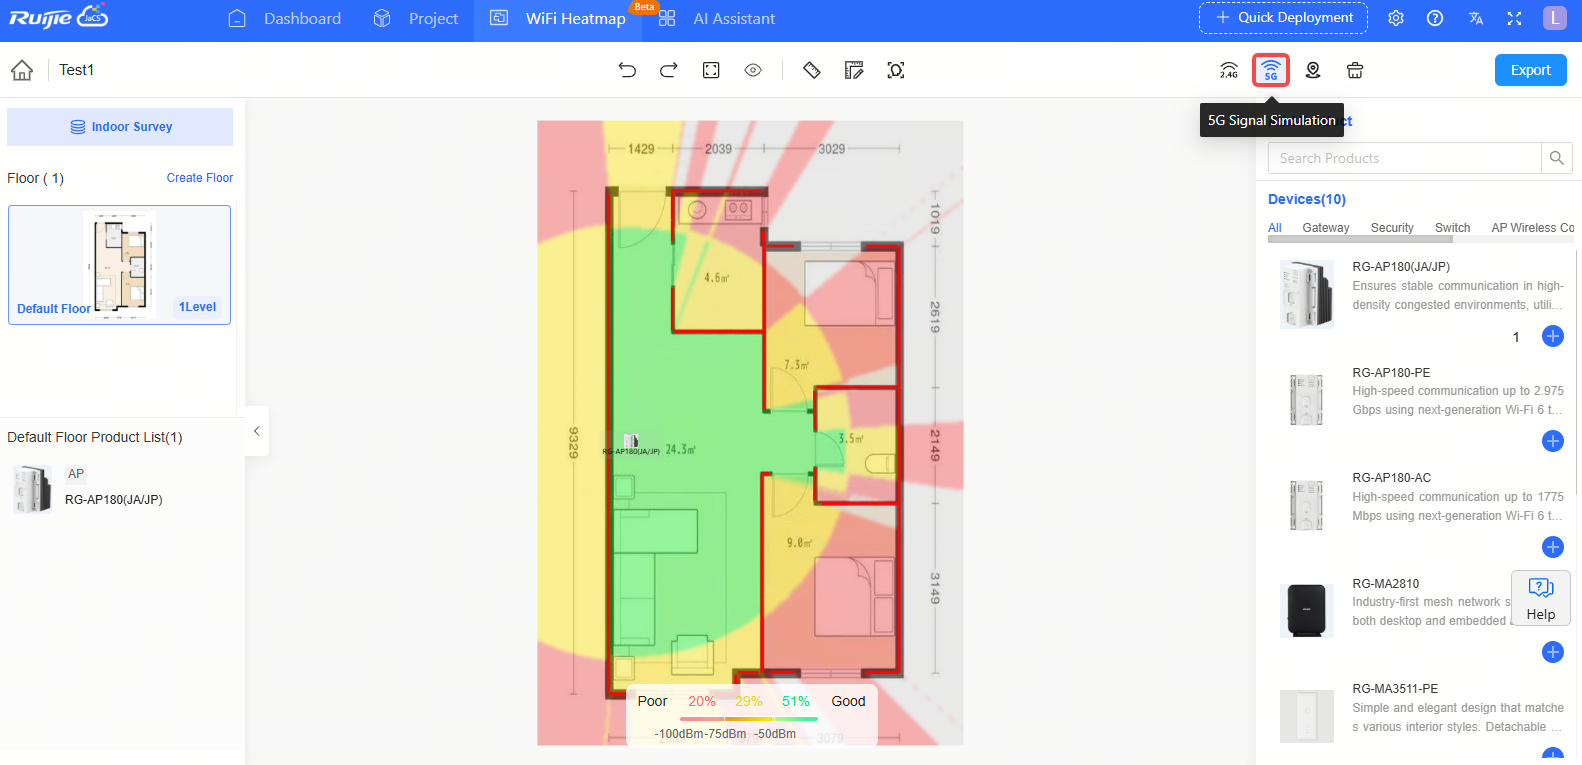
Click  to display 2.4G WiFi heatmap.
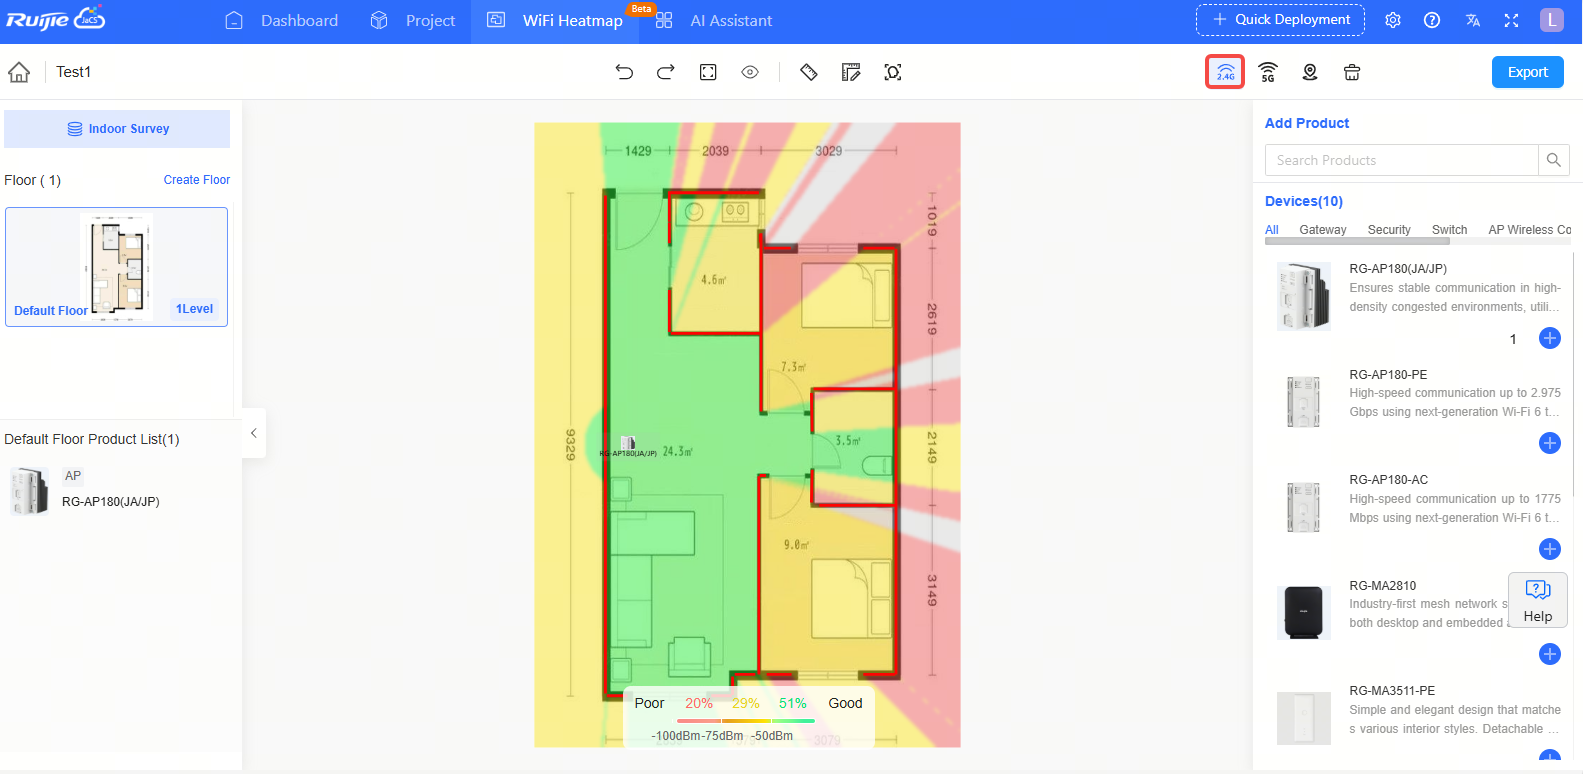
Click  to display 5G WiFi heatmap.
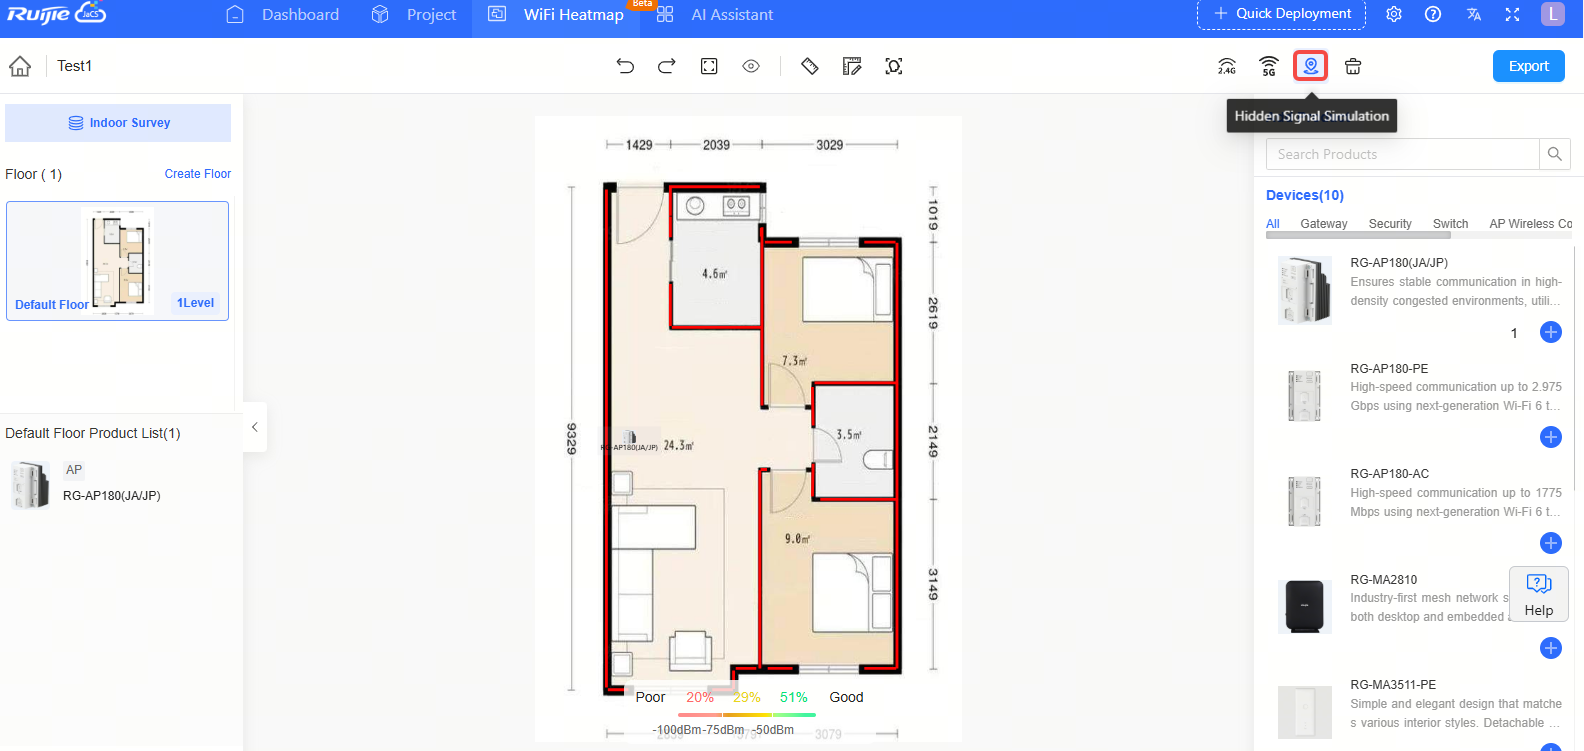
Click the  to hide signal simulation.
Step 1: Click the  button.
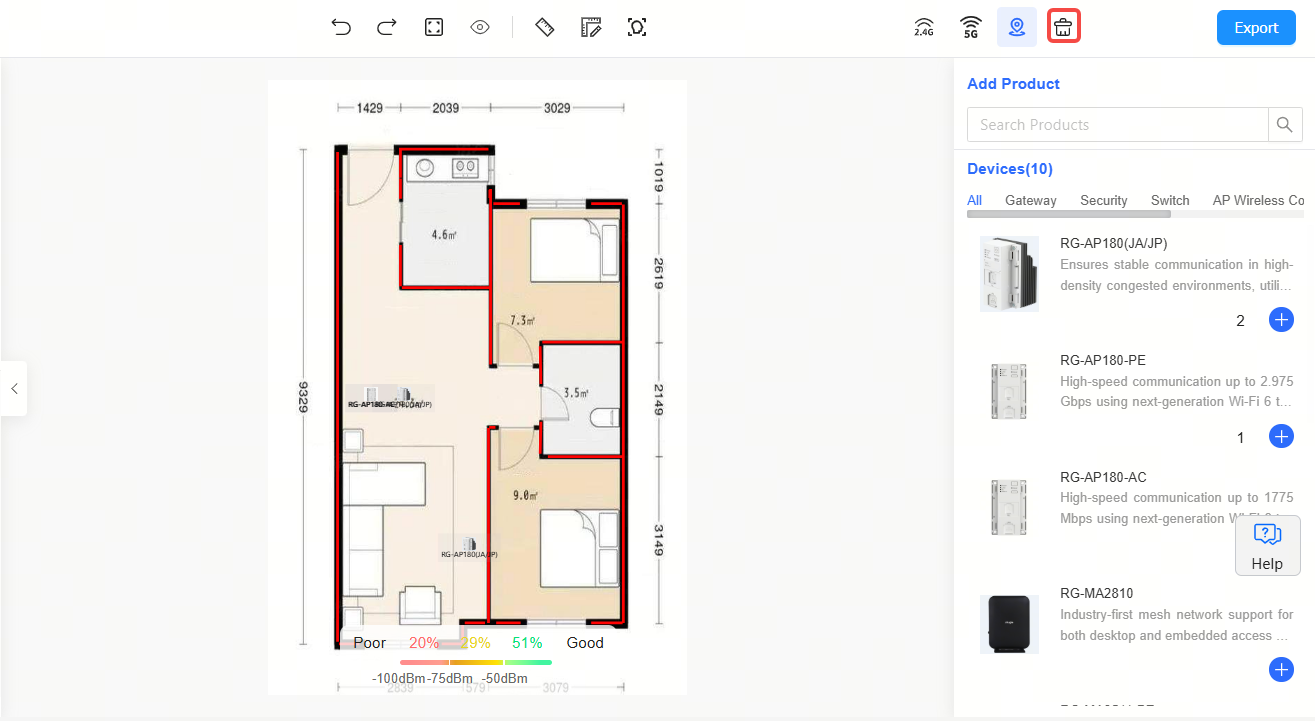
Step 2: When a confirmation box appears, click <OK>.
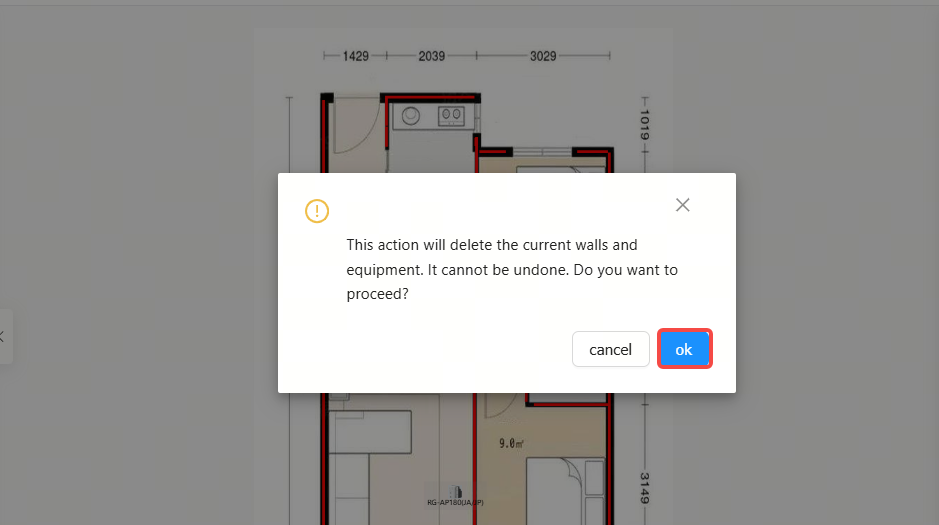
Step 3: If the "Clear Successfully" message appears, it means that the devices and walls of the current canvas have been cleared.

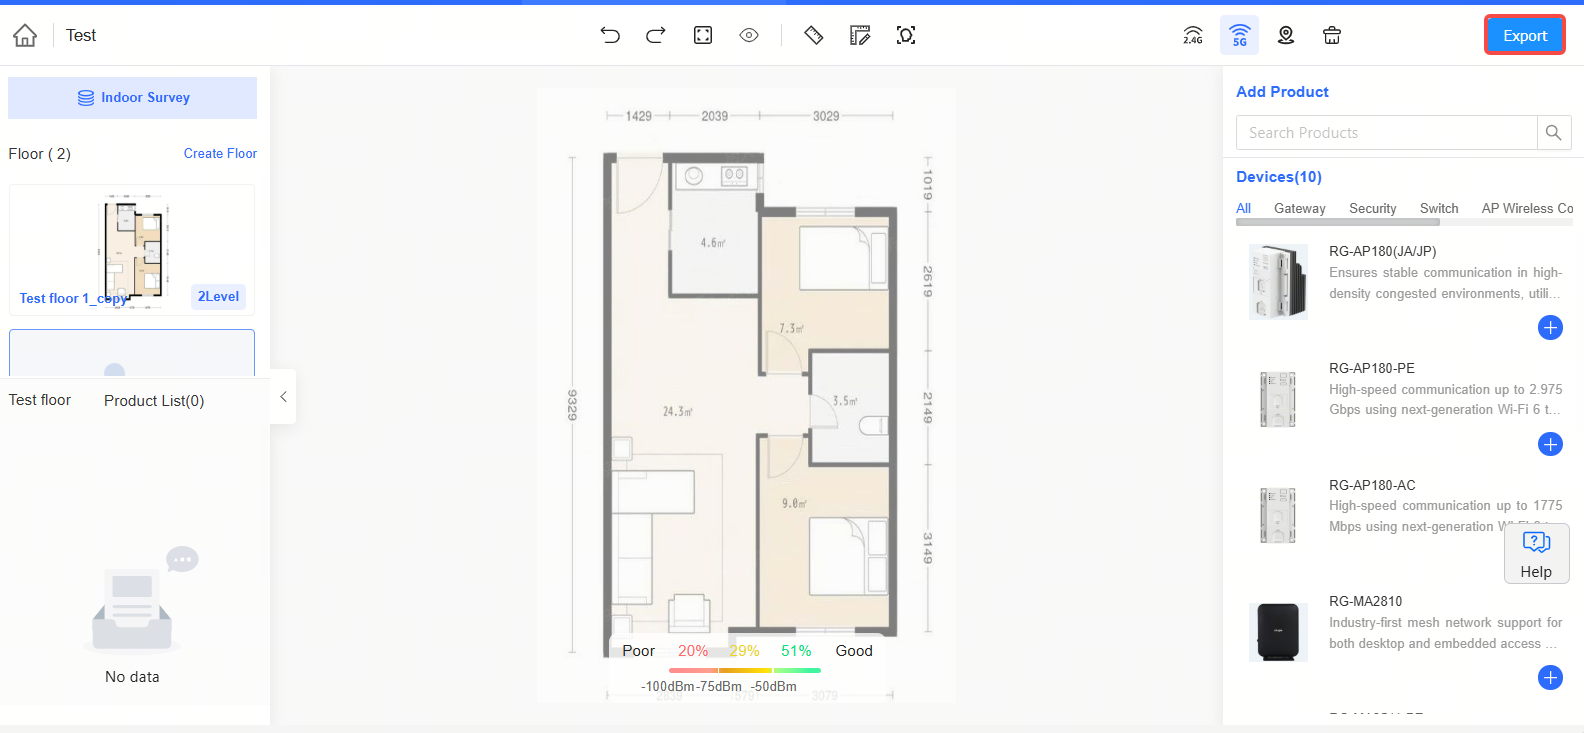
Click <Export> to generate a work file for the 2.4G signal and 5G signal of all floors of the current plan and export it.
全部评论