This adding method is suitable for the situation where no more than 200 devices need to be imported in batches at one time.
Follow the steps below to import APs into an existing project in batches for management:
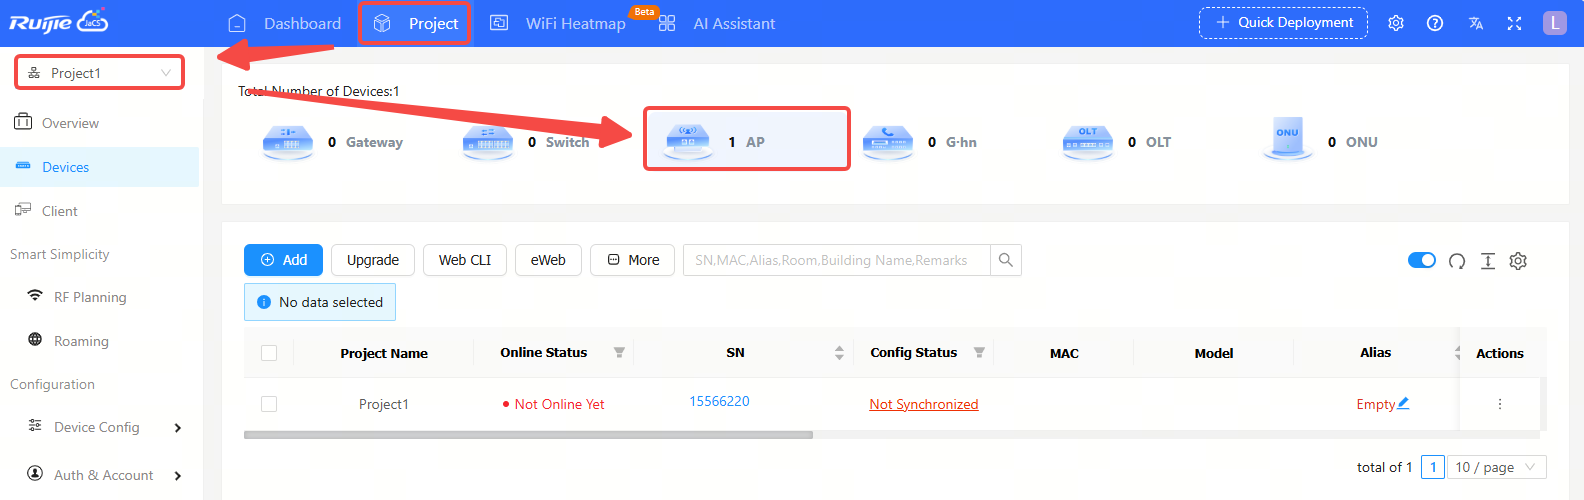
Step 1: Enter the Project interface, select the project where the APs is going to be imported, and then click AP to go to the AP management interface.
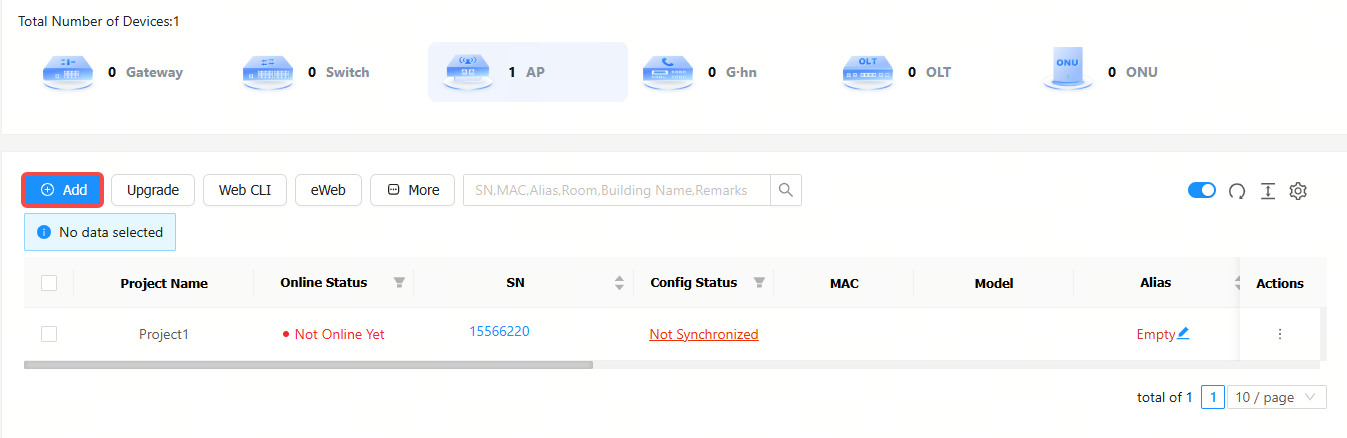
Step 2: Click Add to go to the adding interface.
Step 3: Click Download Template. (Up to 200 devices can be imported via the template each time.)

Step 4: Fill in the template, and then click ".xls" File to upload the template or your custom template. The imported device will be displayed in the AP list.
Introduction to the default batch import template:
If the project scenario is set to hotel or others, the batch import template is as follows:

(1) SN: (Required) Enter the SN of the device. The length should range from 6 to 20 characters. Example: G1PD7PW00060B.
(2) Alias: (Optional) Specify the alias of the device. Up to 64 characters can be entered.
(3) Latitude: (Optional) Specify a latitude between - 90° and 90°.
(4) Longitude: (Optional) Specify a longitude between -180° and 180°.
If the project scenario is set to the apartment, the batch import template is as follows:

(1) Model: (Optional) Enter the product model. For example: RG-AP180-PE.
(2) SN: (Required) Specify the device SN. The SN length ranges from 6 to 20 characters. For example: G1PD7PW00060B
(3) MAC: (Optional) Specify the MAC address of the device.
(4) PN: (Optional) Specify the part number, which can be left blank.
(5) 2.4G_SSID/5G_SSID: (Optional) The length of the SSID ranges from 4 to 32 characters. The supported characters include letters, numbers, and special symbols ("_", "-", "." or "@"). When setting multiple SSIDs, separate them with commas (,), such as: ssid-test1, ssid-test2.
(6) 2.4G_SSID Password/5G_SSID Password: (Optional) The length of the password should range from 8 to 32 characters. The supported characters include letters, numbers, and special symbols (@!*#<>=[]()._-). When setting multiple passwords, separate them with commas (,), such as: 8888888rrrrr, 999999ddddd.
(7) Alias: (Optional) Specify the alias of the device. Up to 64 characters can be configured.
(8) Room: (Optional) Specify the room number where the AP is located. For example: 301. Supports entering 1 to 32 characters.
(9) Building Name: (Optional) Specify the building name. Up to 32 characters can be configured.
(10) Remark: (Optional) Up to 32 characters can be entered.
Introduction to the custom batch import template:
To use a custom configuration template, follow these steps to customize a template:
1. Click "Click to select devices parsing rule".

2. Click the Add button to add a new rule.

3. After setting the rules, click the save icon. When "Do you want to save the parsing rule" appears, click OK.


(1) Name: Specifies the template name.
(2) SnPosition: Specifies the starting column position of SNs in the template.
(3) SsidPosition: Spcifies the starting column position SSIDs in the template.
(4) SsidPasswordPosition: Specifies the starting column position of SSID passwords in the template.
(5) RoomPosition: Specifies the starting column position of room numbers in the template.
(6) BuildingNamePosition: Specifies the starting column position of building names in the template.
(7) RemarkPosition: Specifies the starting column position of remarks in the template.
4. After the "The parsing rule added successfully" prompt appears, the rule is added.

5. Create a new blank .xls file, fill in the relevant information in the corresponding position and save it.

全部评论